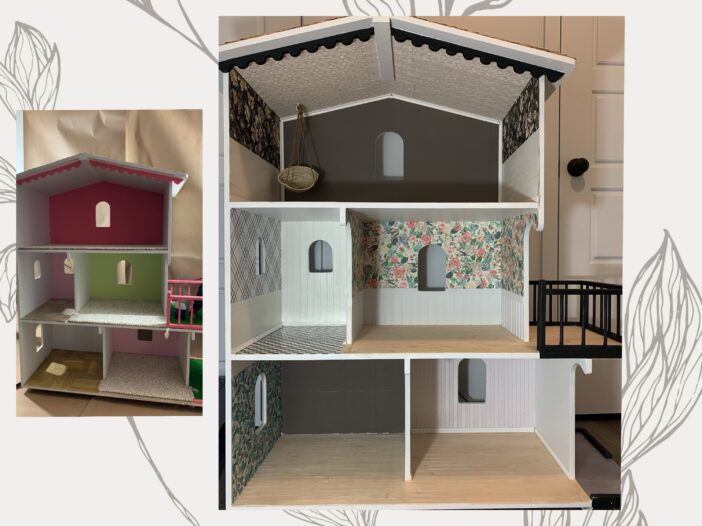
This project was extra meaningful. It was practically preserving 5 generations of LOVE.
My great-grandfather Mackay built this dollhouse for me when I was a little girl. He passed away when I was 8 years old, but he remains one of my favorite spirits ever.
For the past decade my aunt had it for my three girl cousins. I am very thankful she saved it from my grandparent’s garage when she did.
I wanted to renovate it and give it a modern touch for my Remi girl.
I had so much creative help from my friend Whitney–she even made the darling custom hanging chair! Love you Whit.
My husband David, and my mom helped a lot too. It became a bit of a family affair– which made it even more of a beautiful, fun experience.
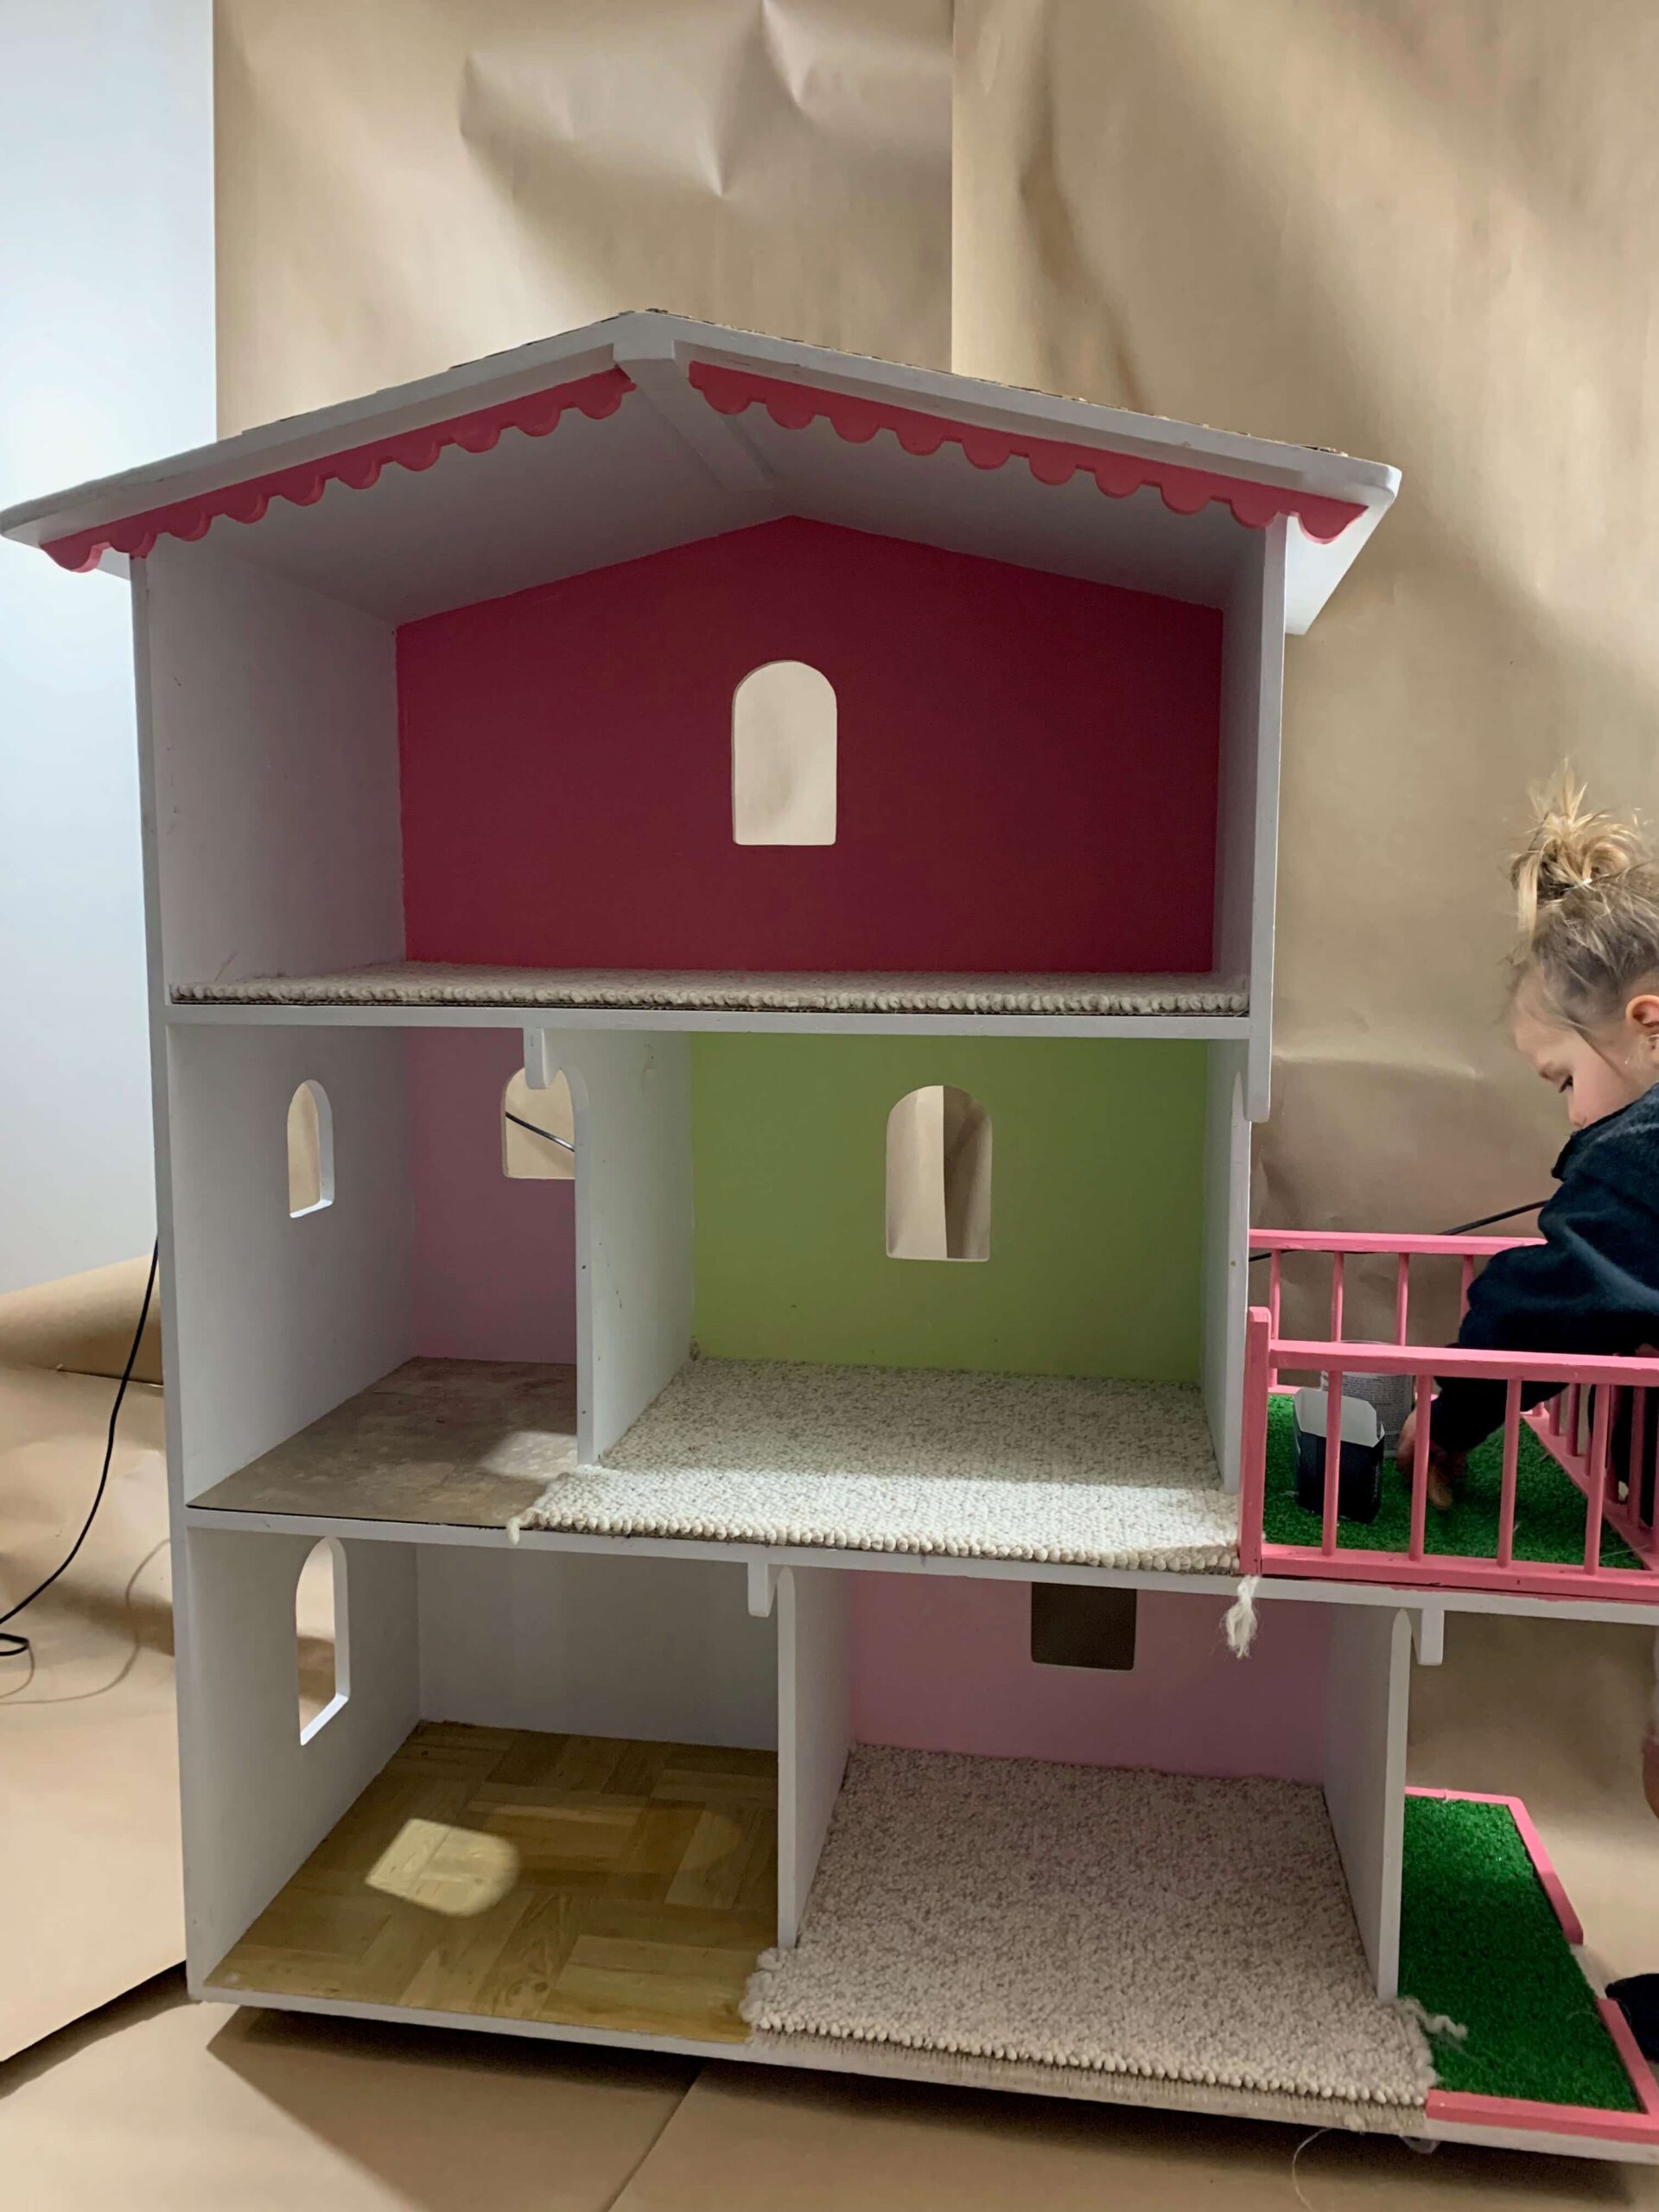
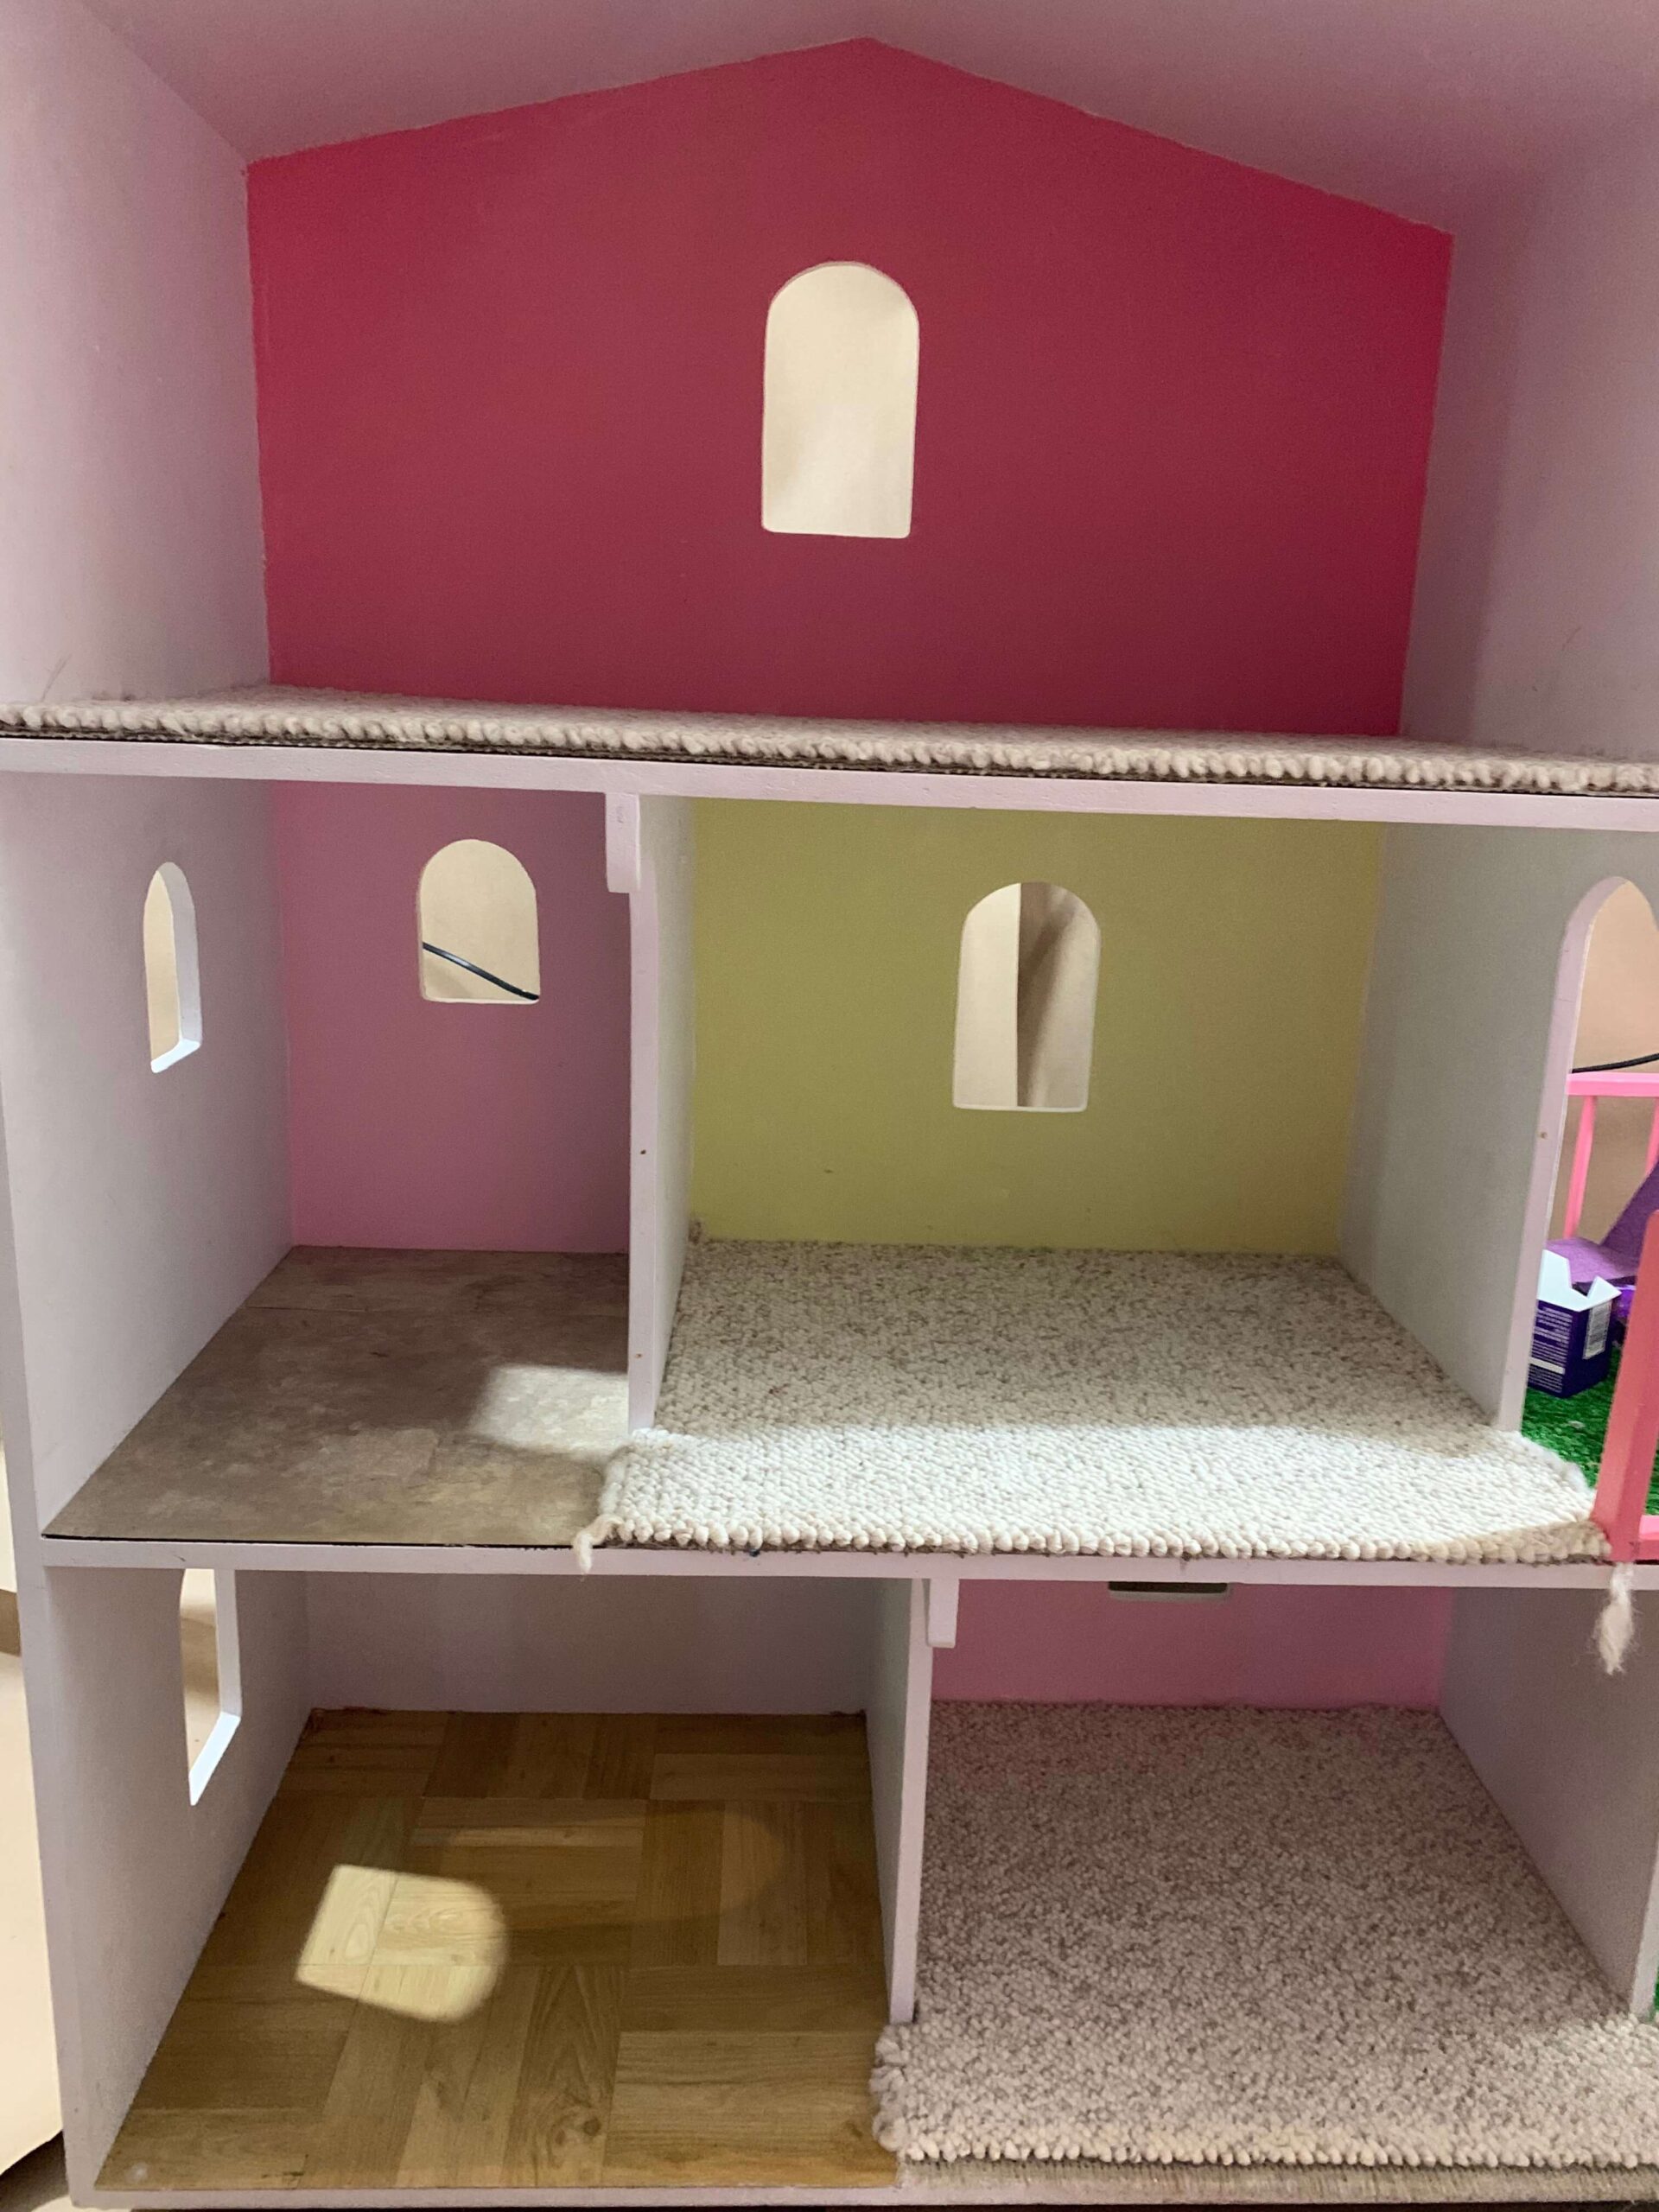
THE BEFORE
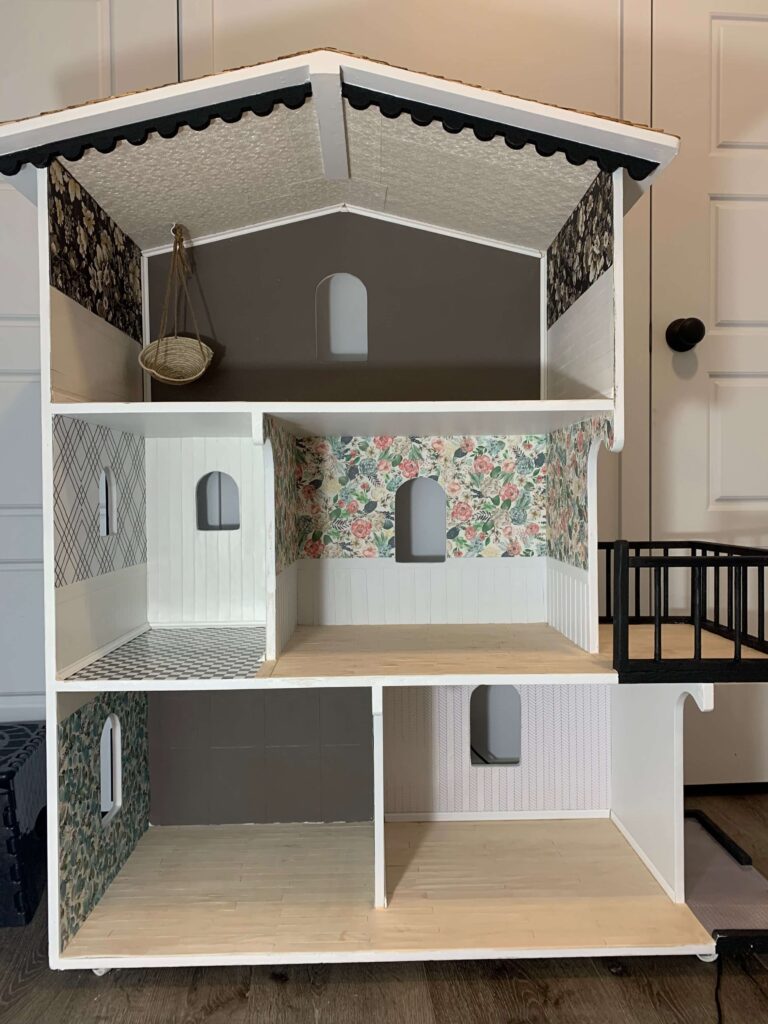
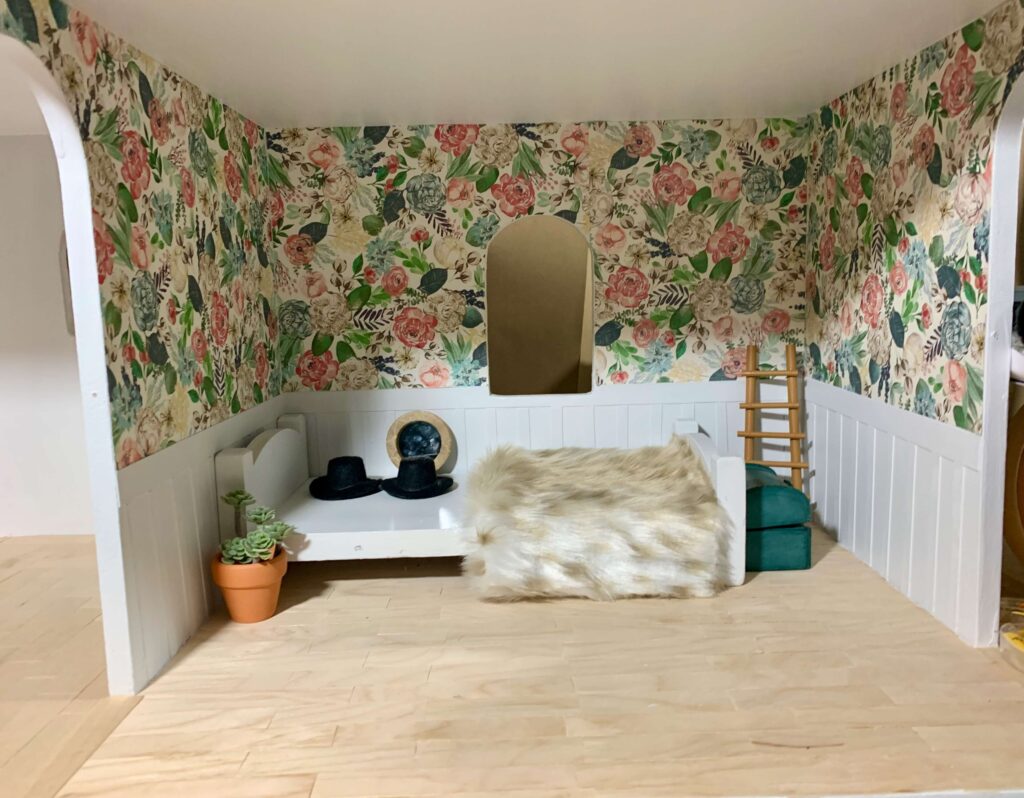
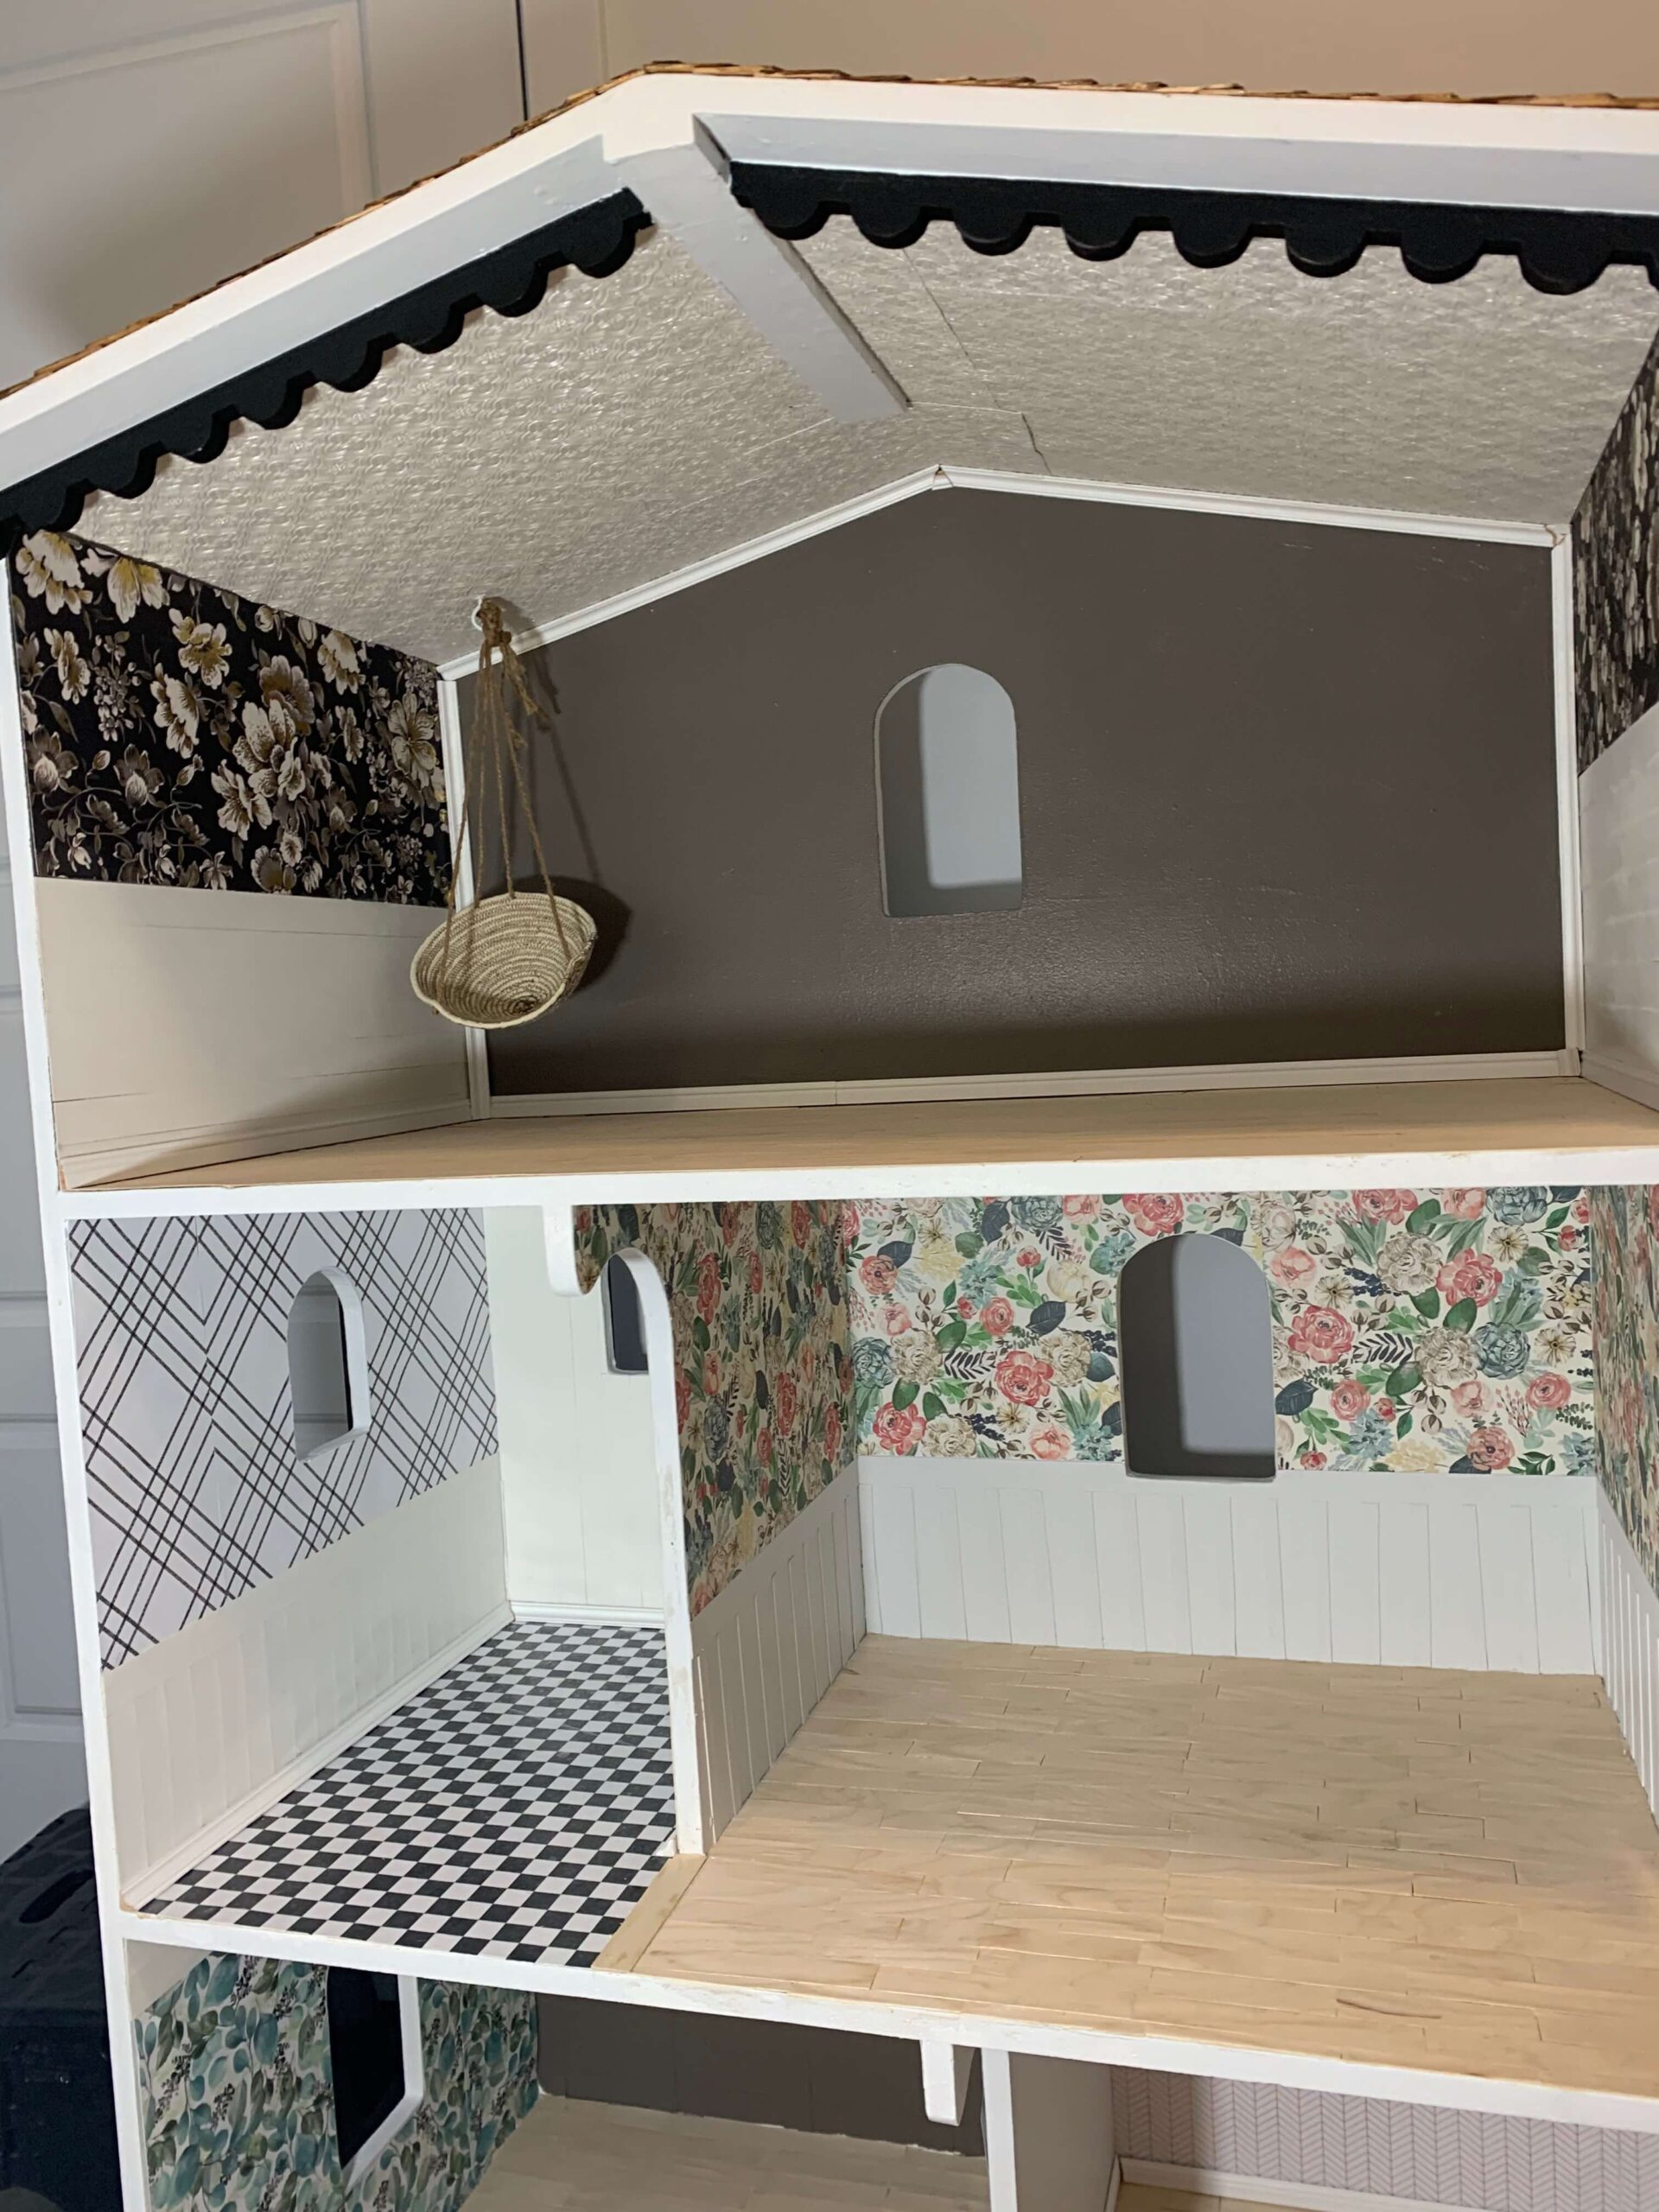
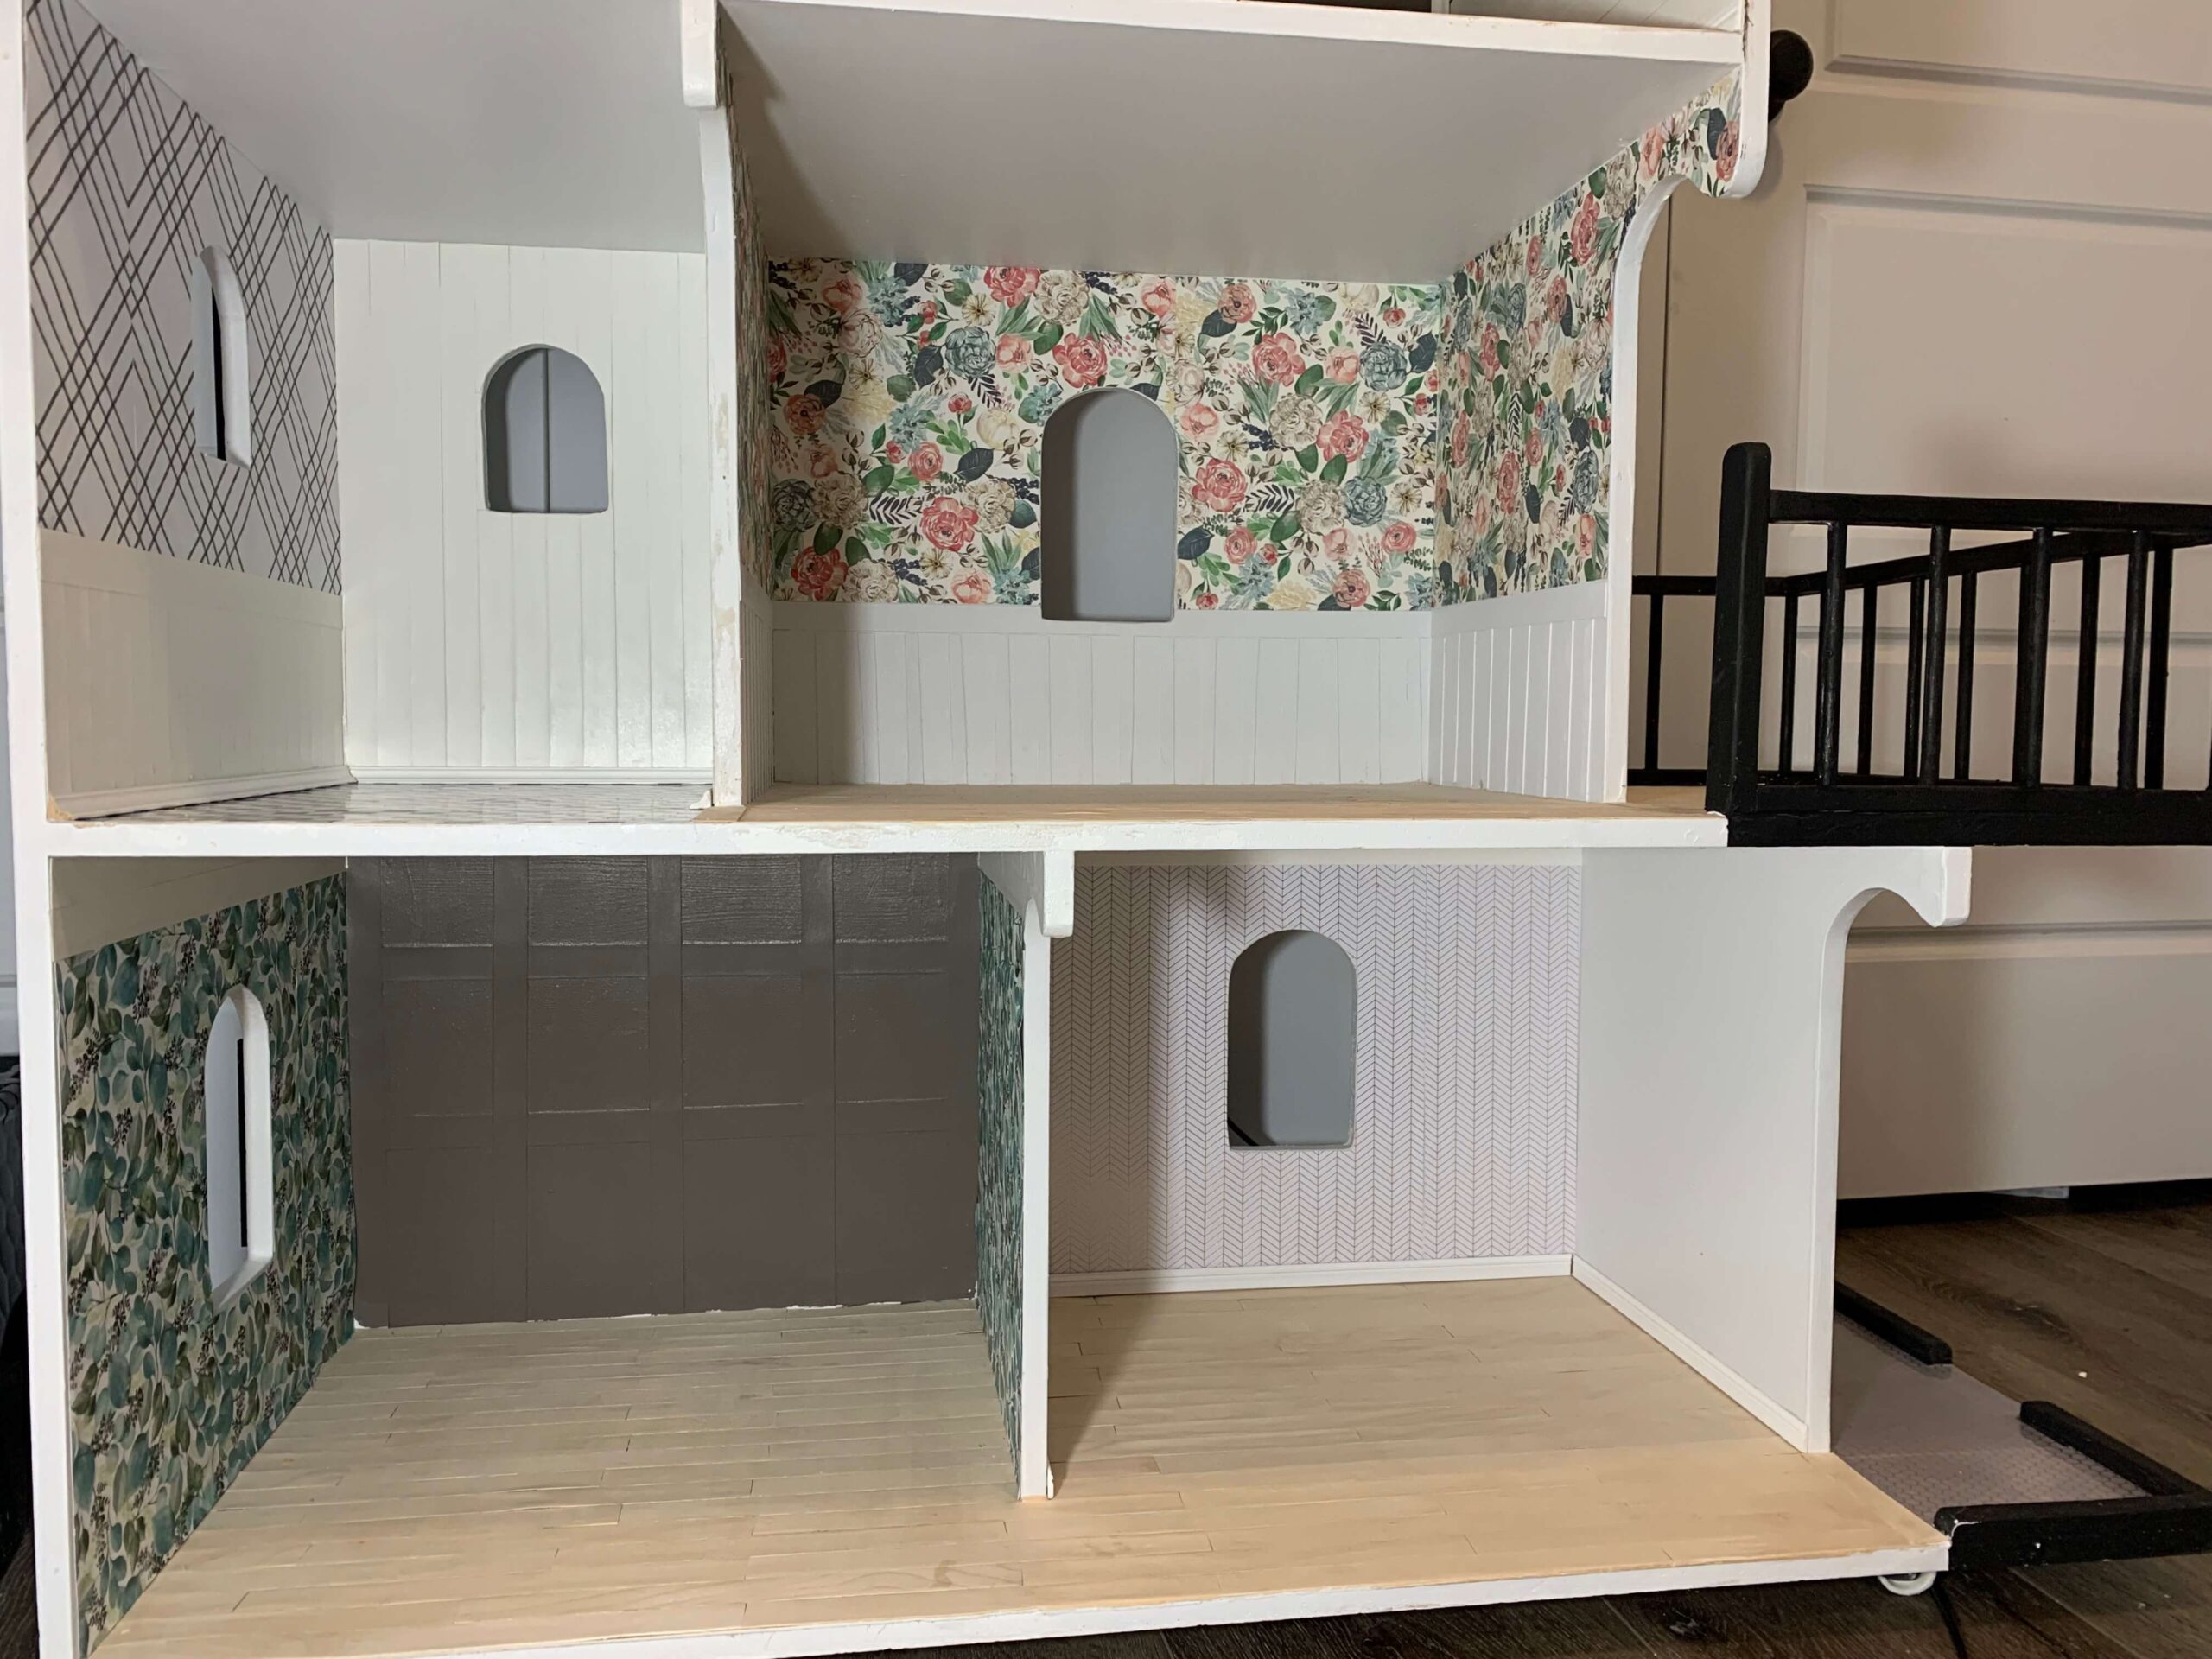
THE AFTER
INSPIRATION.
I have an entire Pinterest board with all my favorite inspiration pins found HERE.
I love a lot of Mini Adventure Co’s inspiration and tutorials; specifically THIS wood floor tutorial, as well as her wallpaper tutorial.
Mini doll houses are quite trendy right now, so you can find a lot of good stuff everywhere. Check out all these fun supplies at Hobby Lobby!!
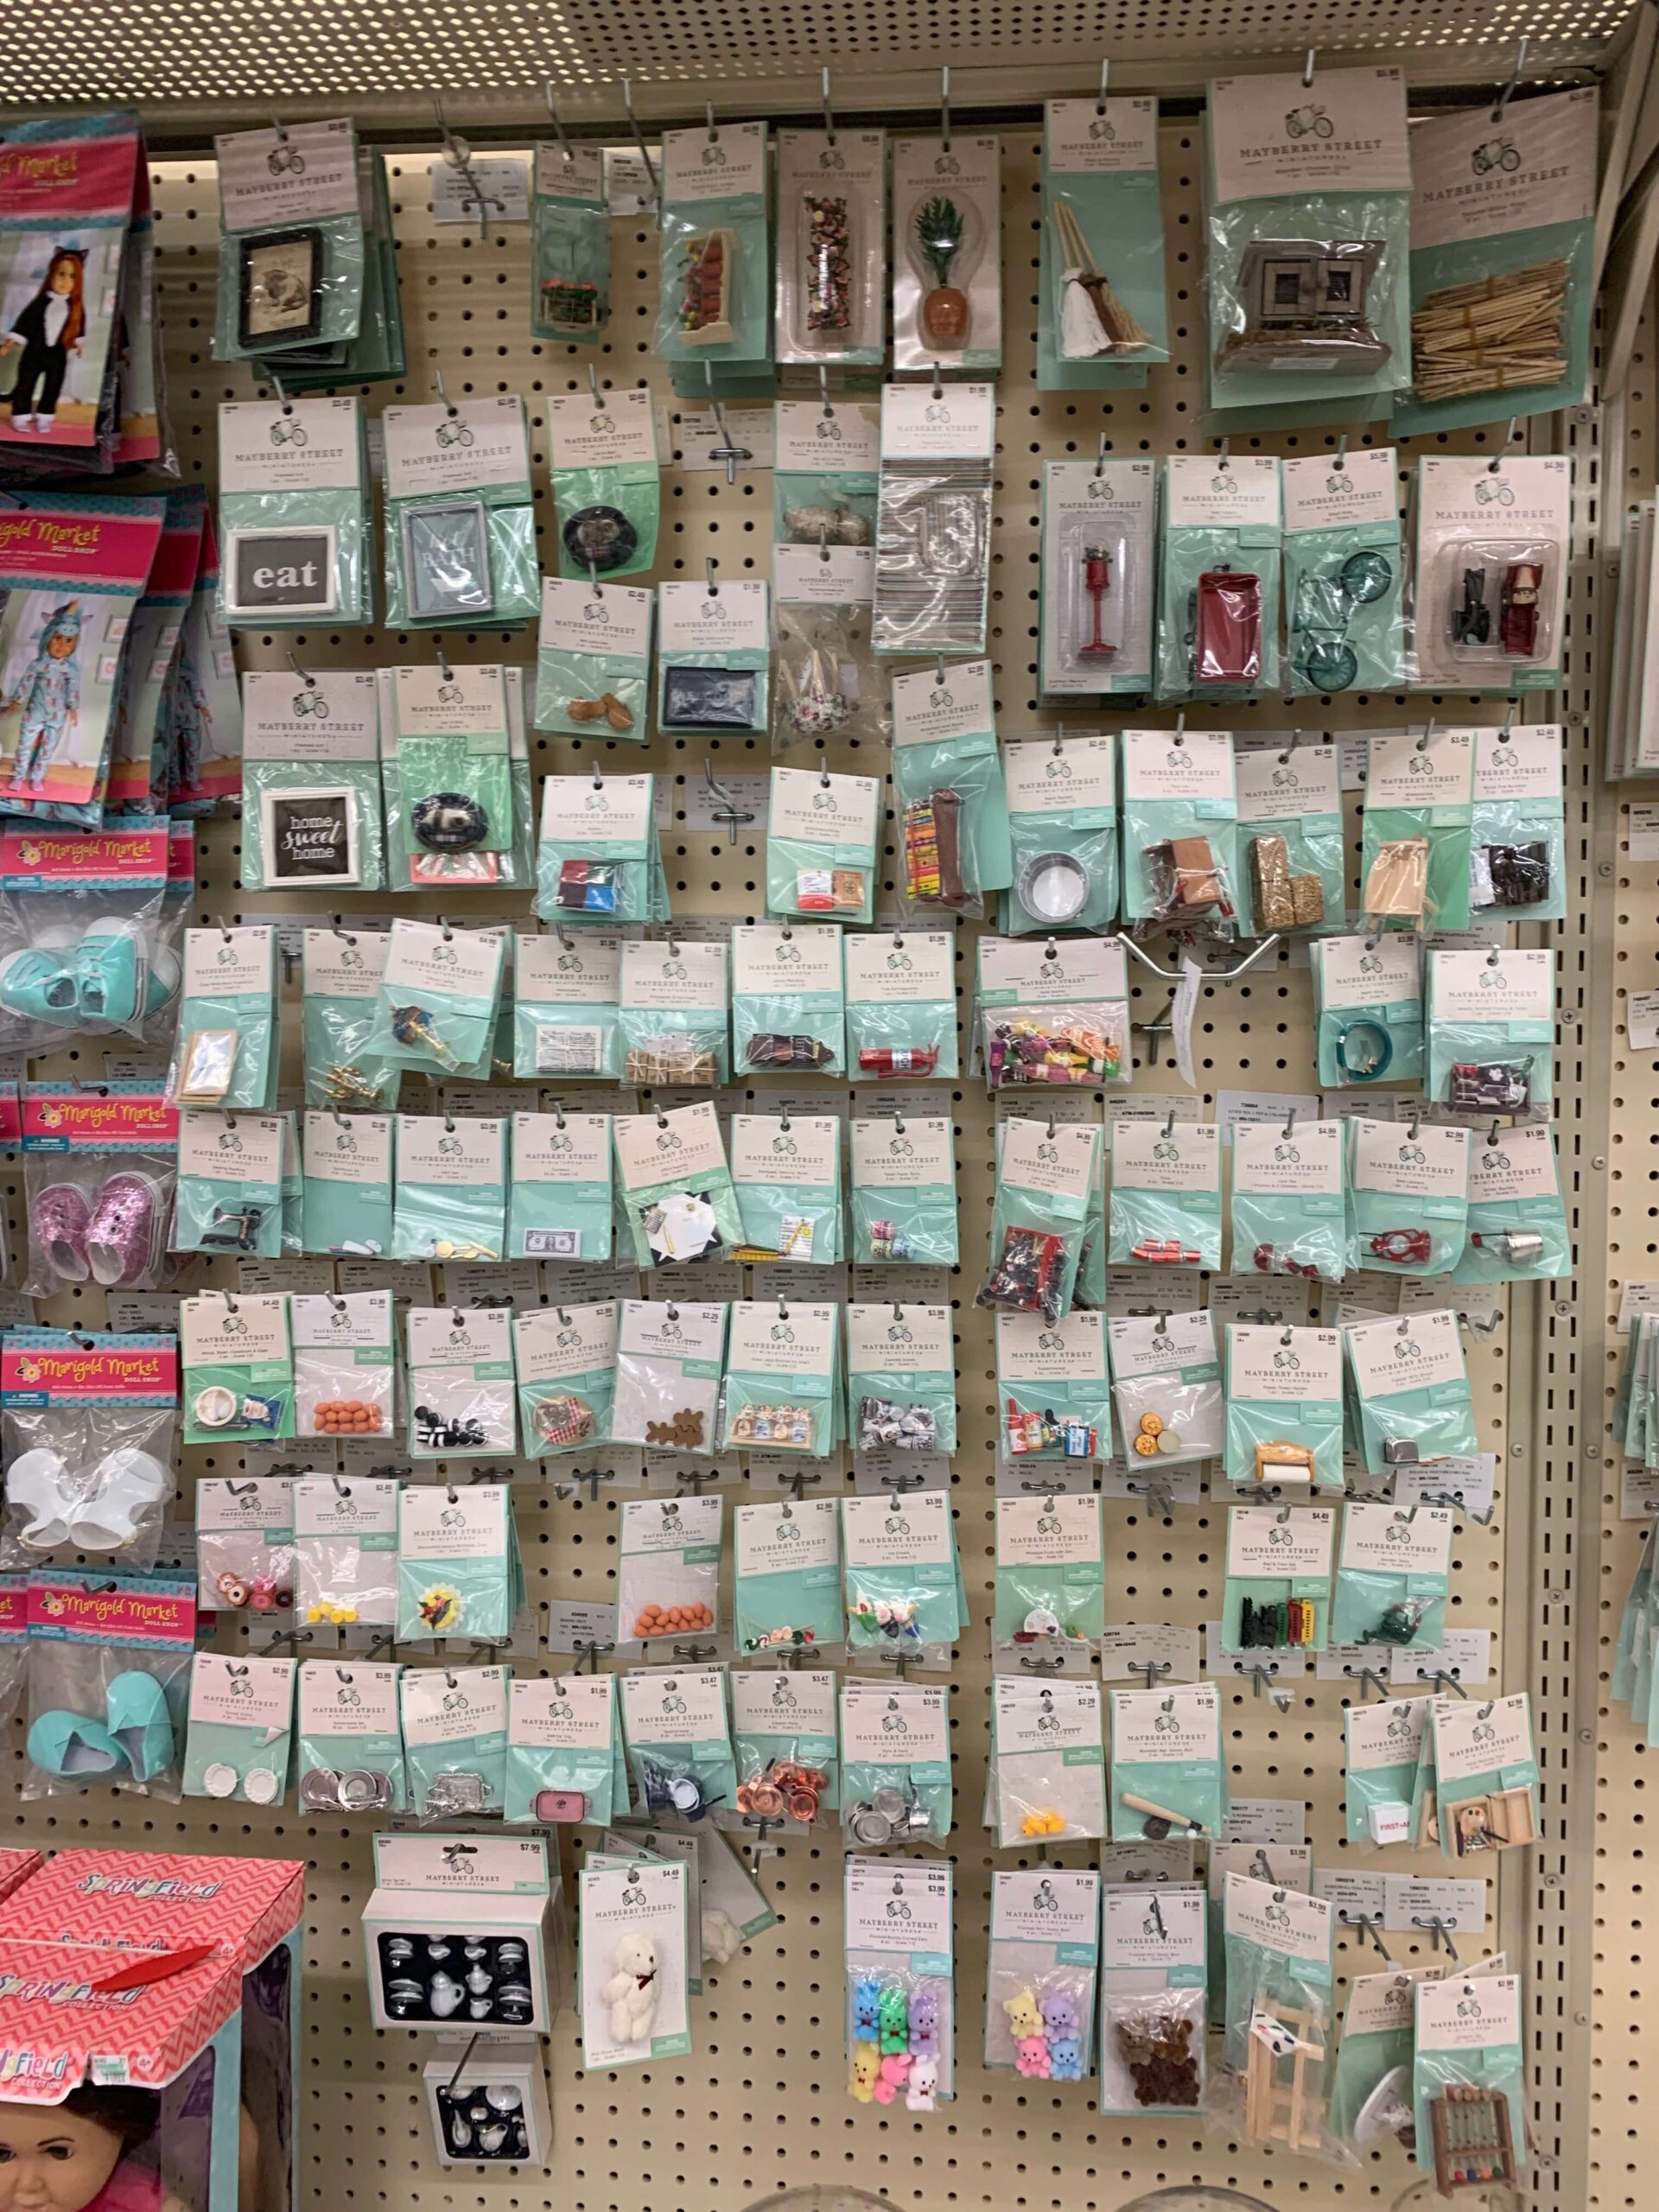
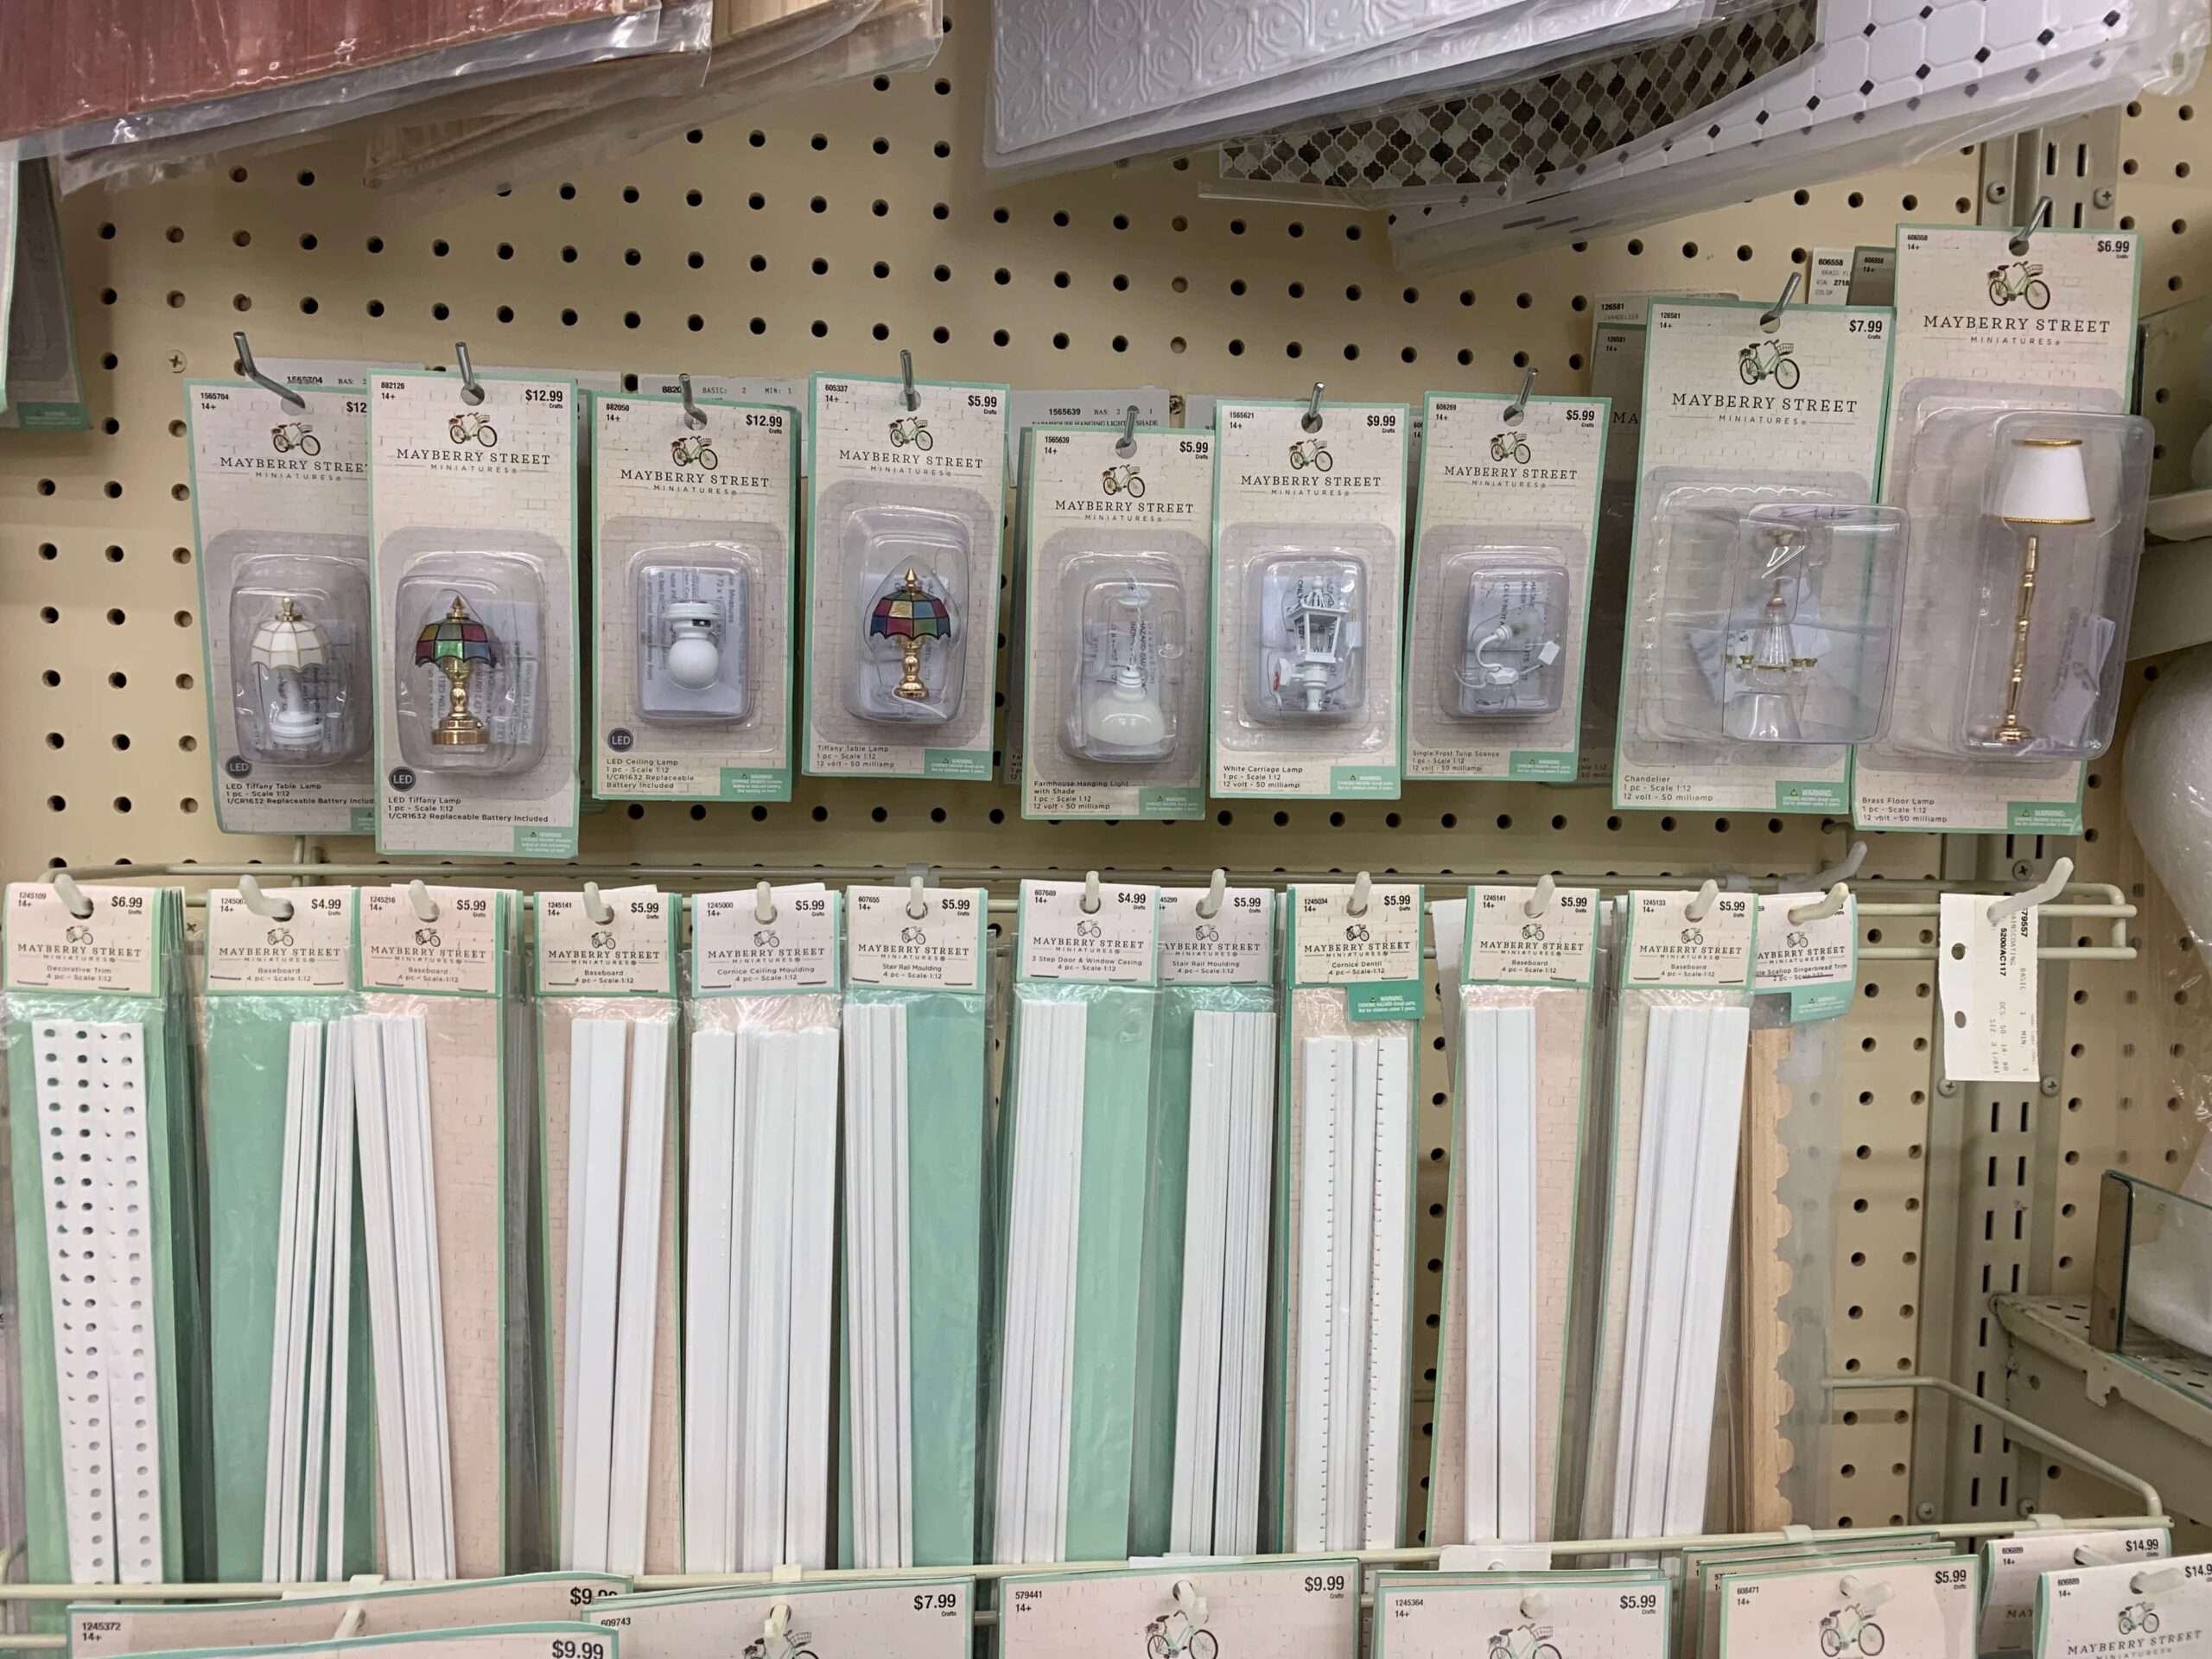
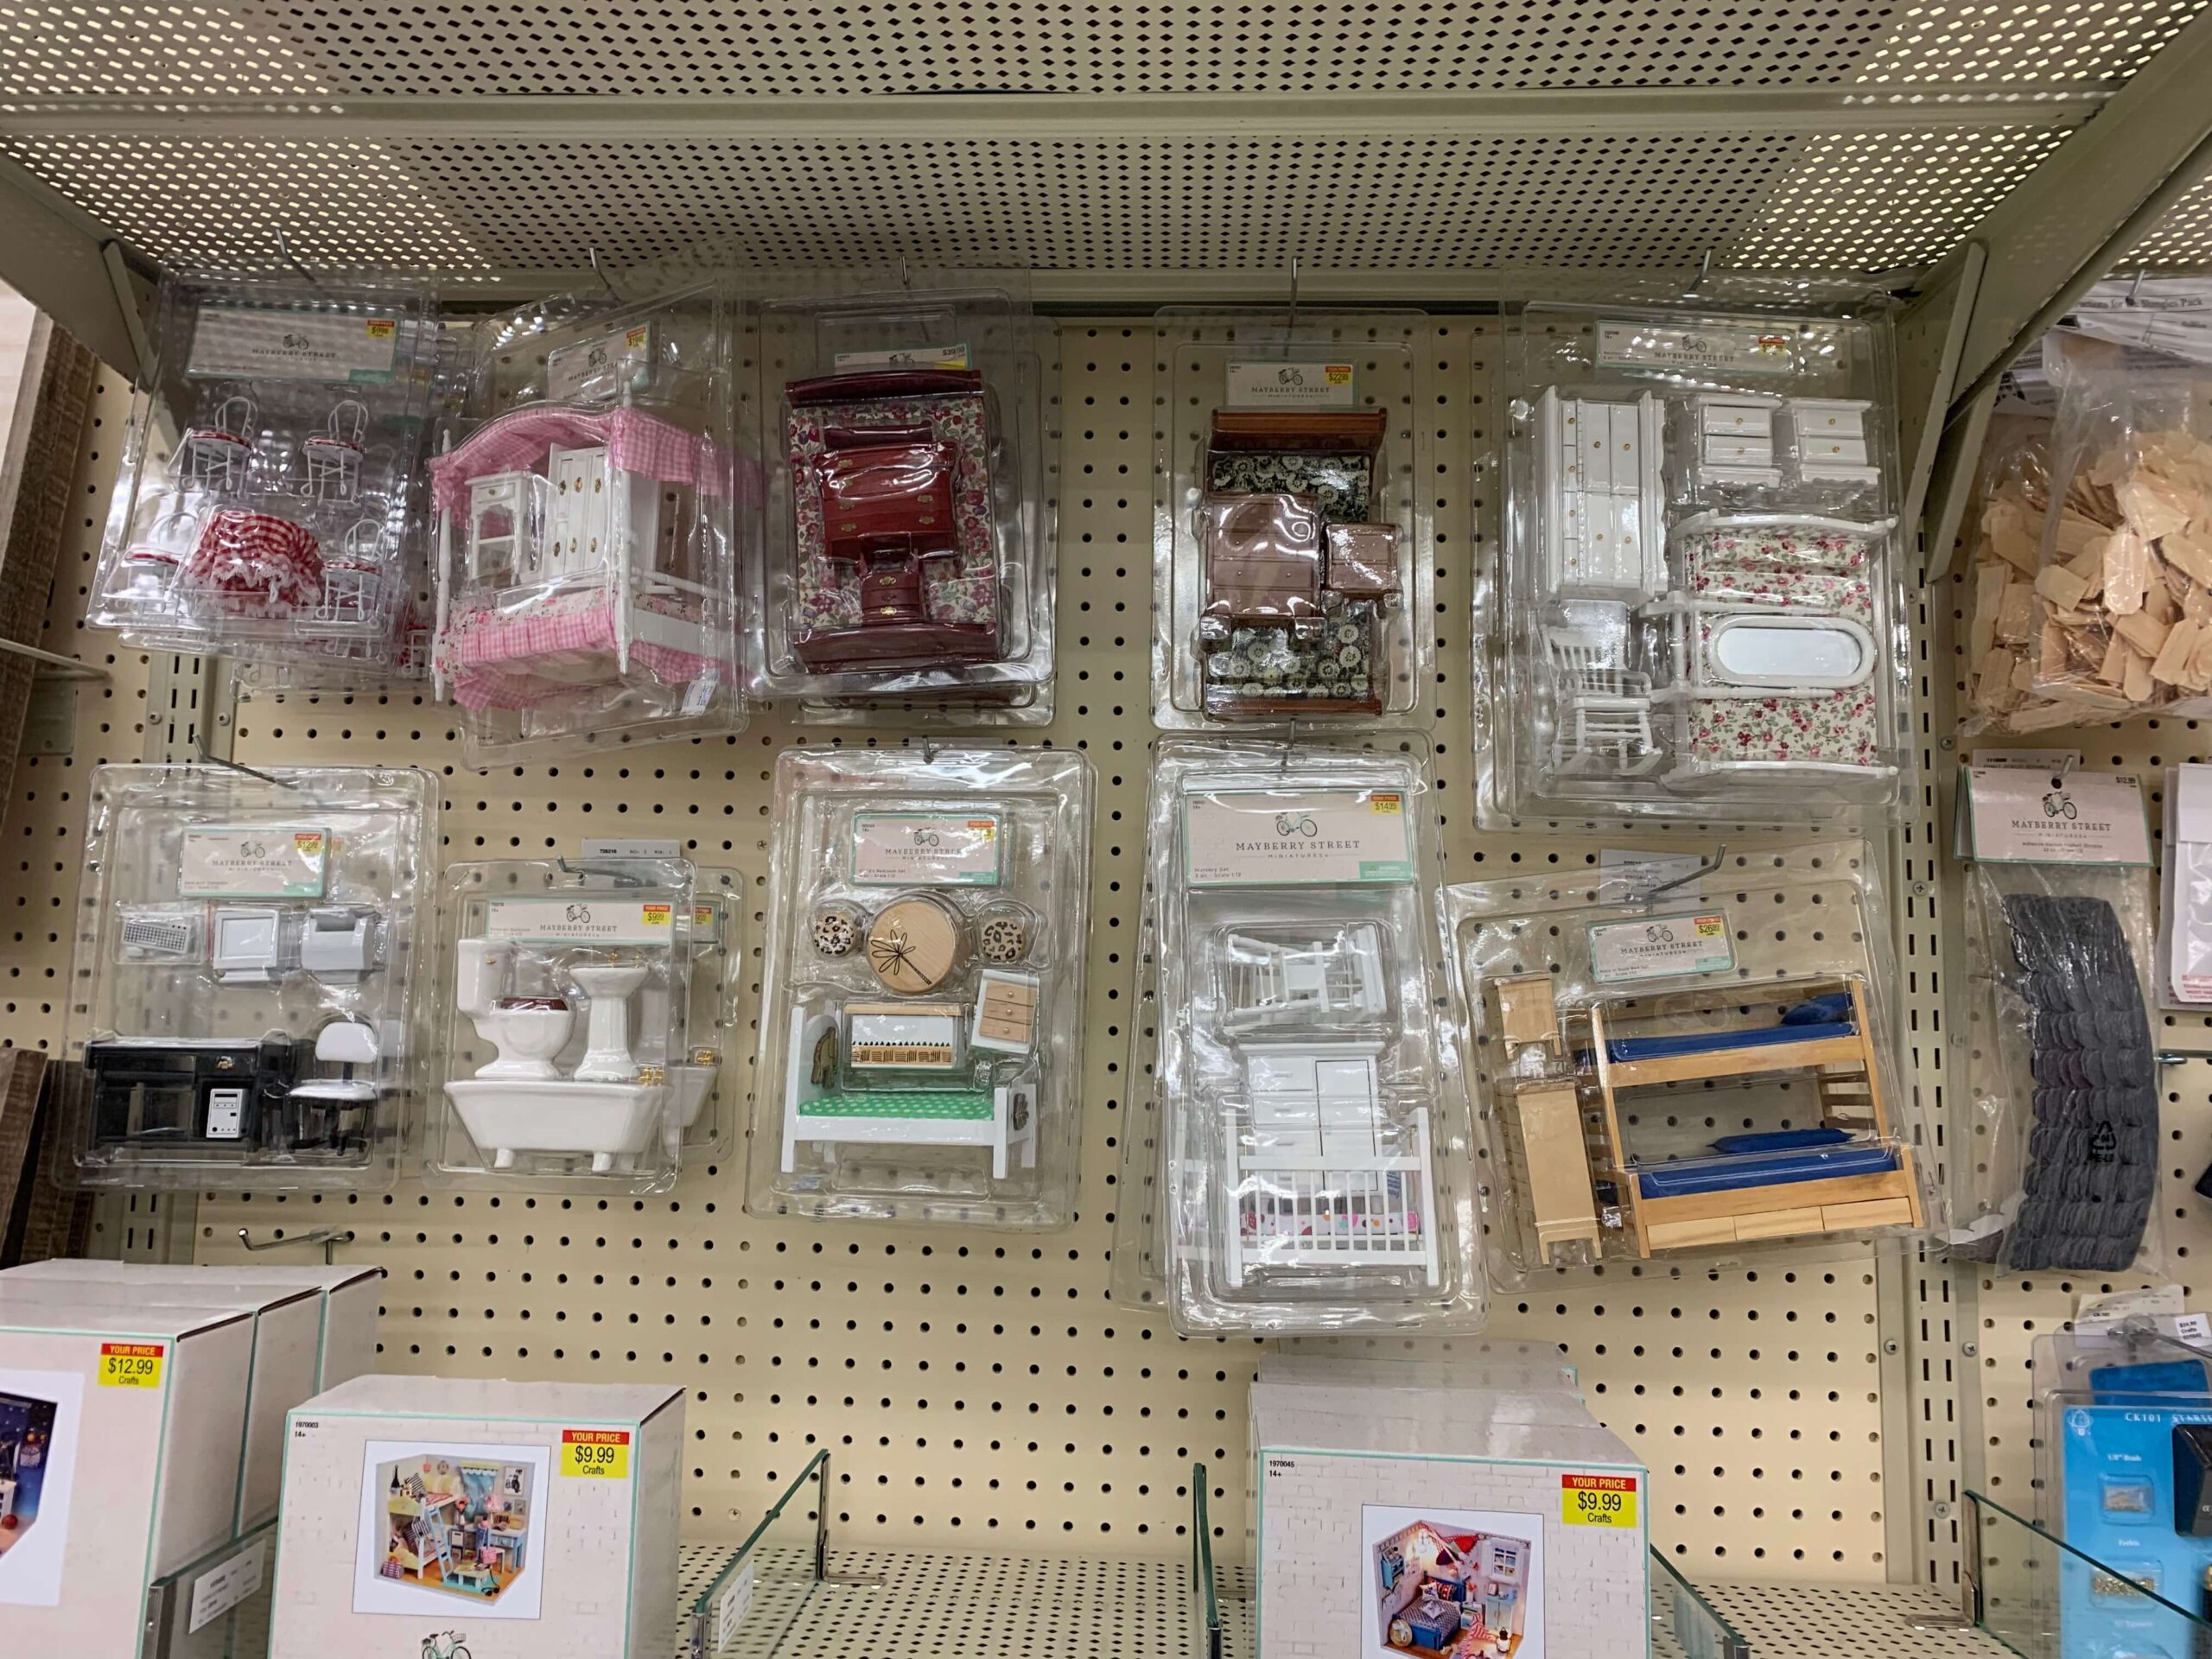
I found all my scrap book paper I used as wallpaper at Hobby Lobby as well.
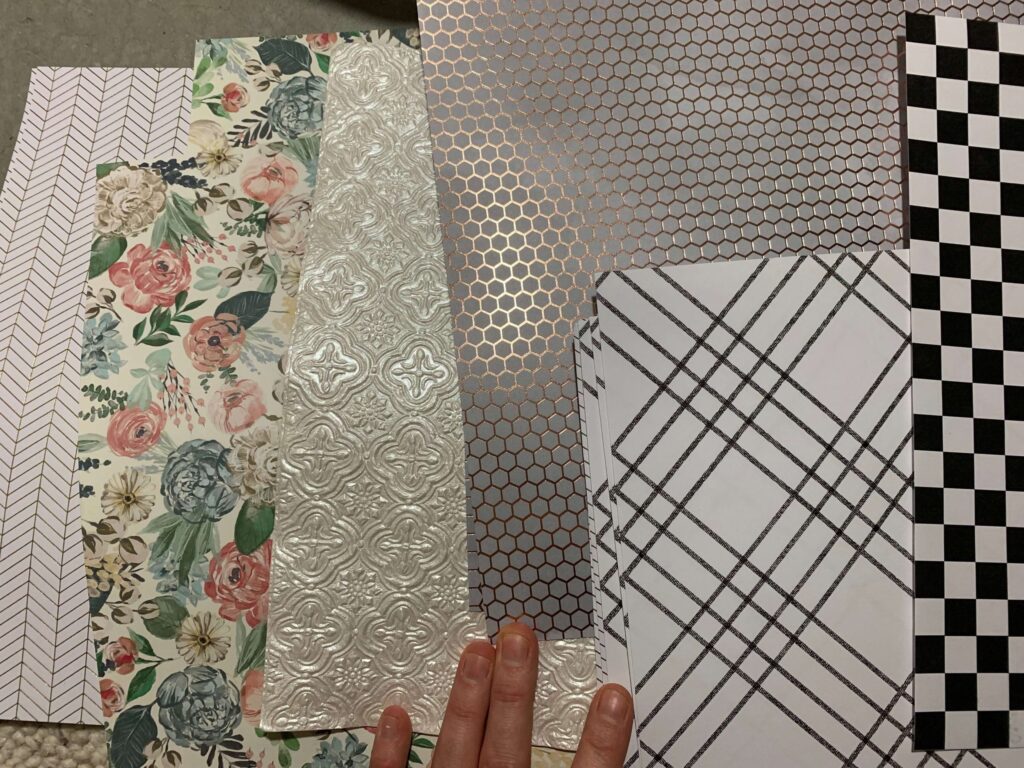
THE PROCESS:
The first thing we did was rip out the flooring, and give her a fresh coat of white paint for a clean slate.
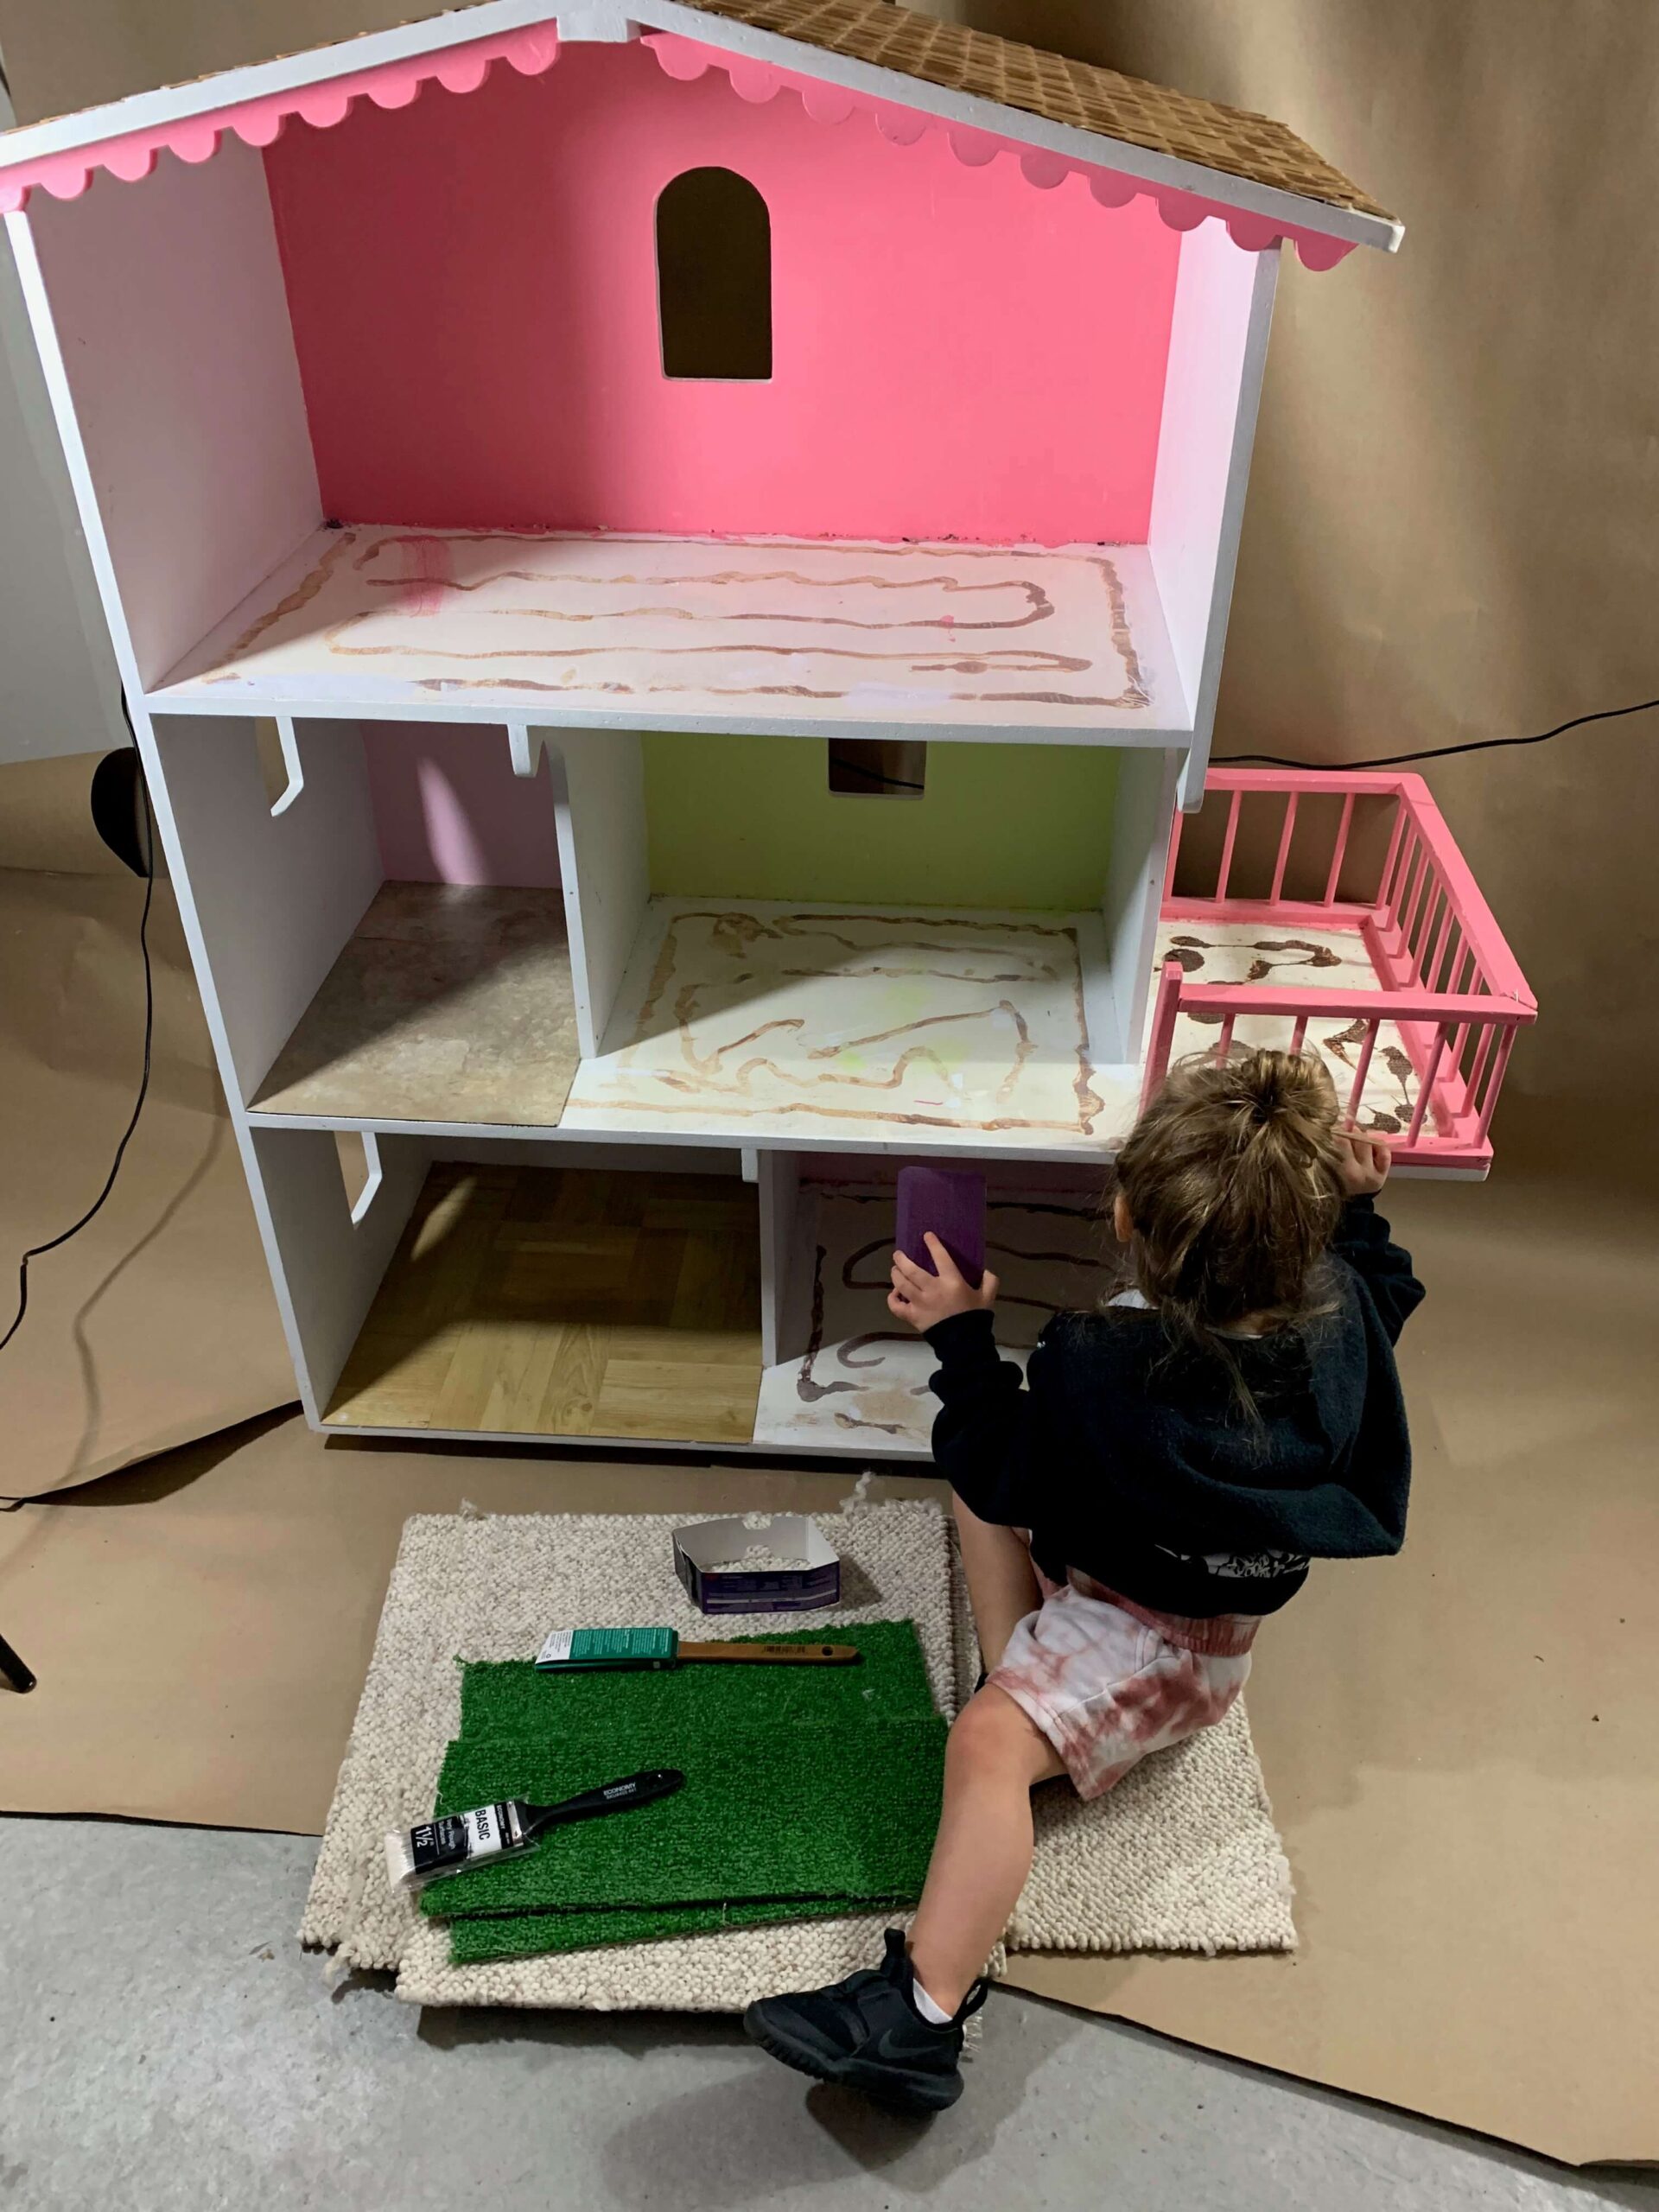
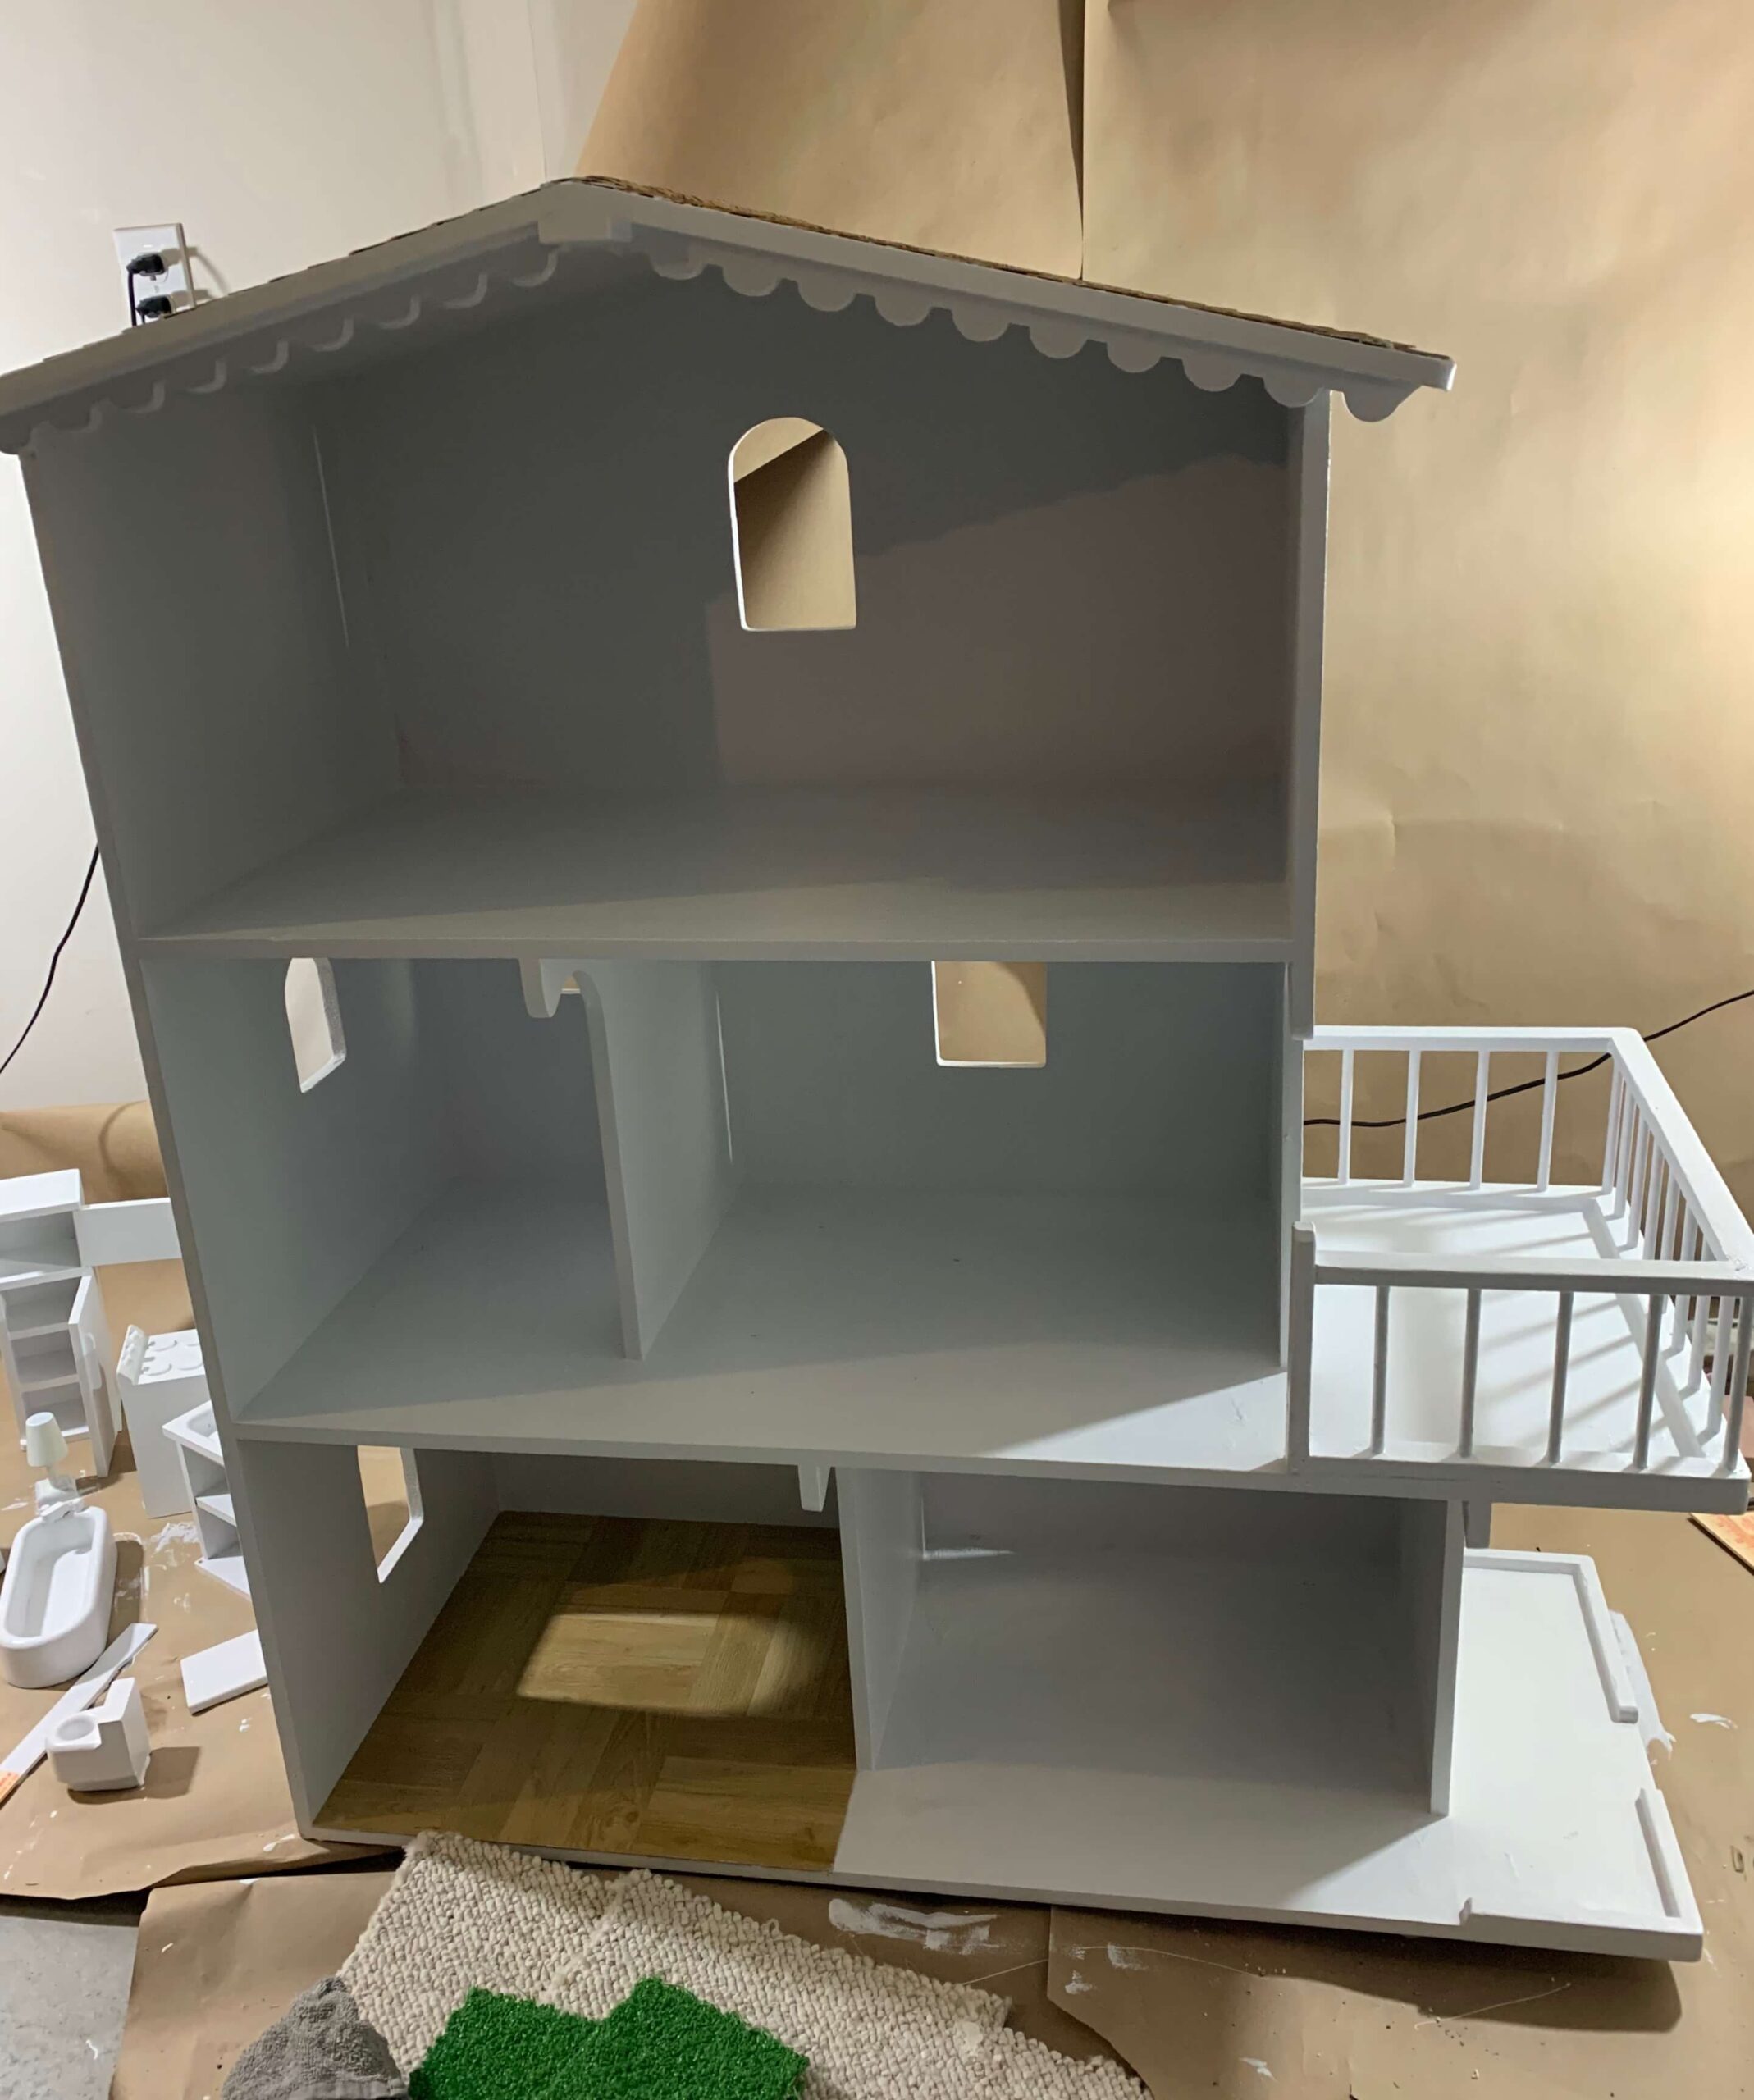
REAL HARDWOOD FLOORS?!
After much research, I decided to try out the HIGHLY recommended Band-It real wood veneer edging for some REAL WOOD floors! I used the white birch color found at my local Lowe’s. I had the intention of staining it originally, but I fell in love with the natural look. I also went crazy and did all the trim with this stuff.
It is SO easy to use. It cuts great, and irons on very well– shoot it is even pretty easy to remove if you mess up or want to change something.
For the bathroom floor, I added scrapbook paper to make it look like tiles. Then I topped it with some clear contact paper to add a little more durability.
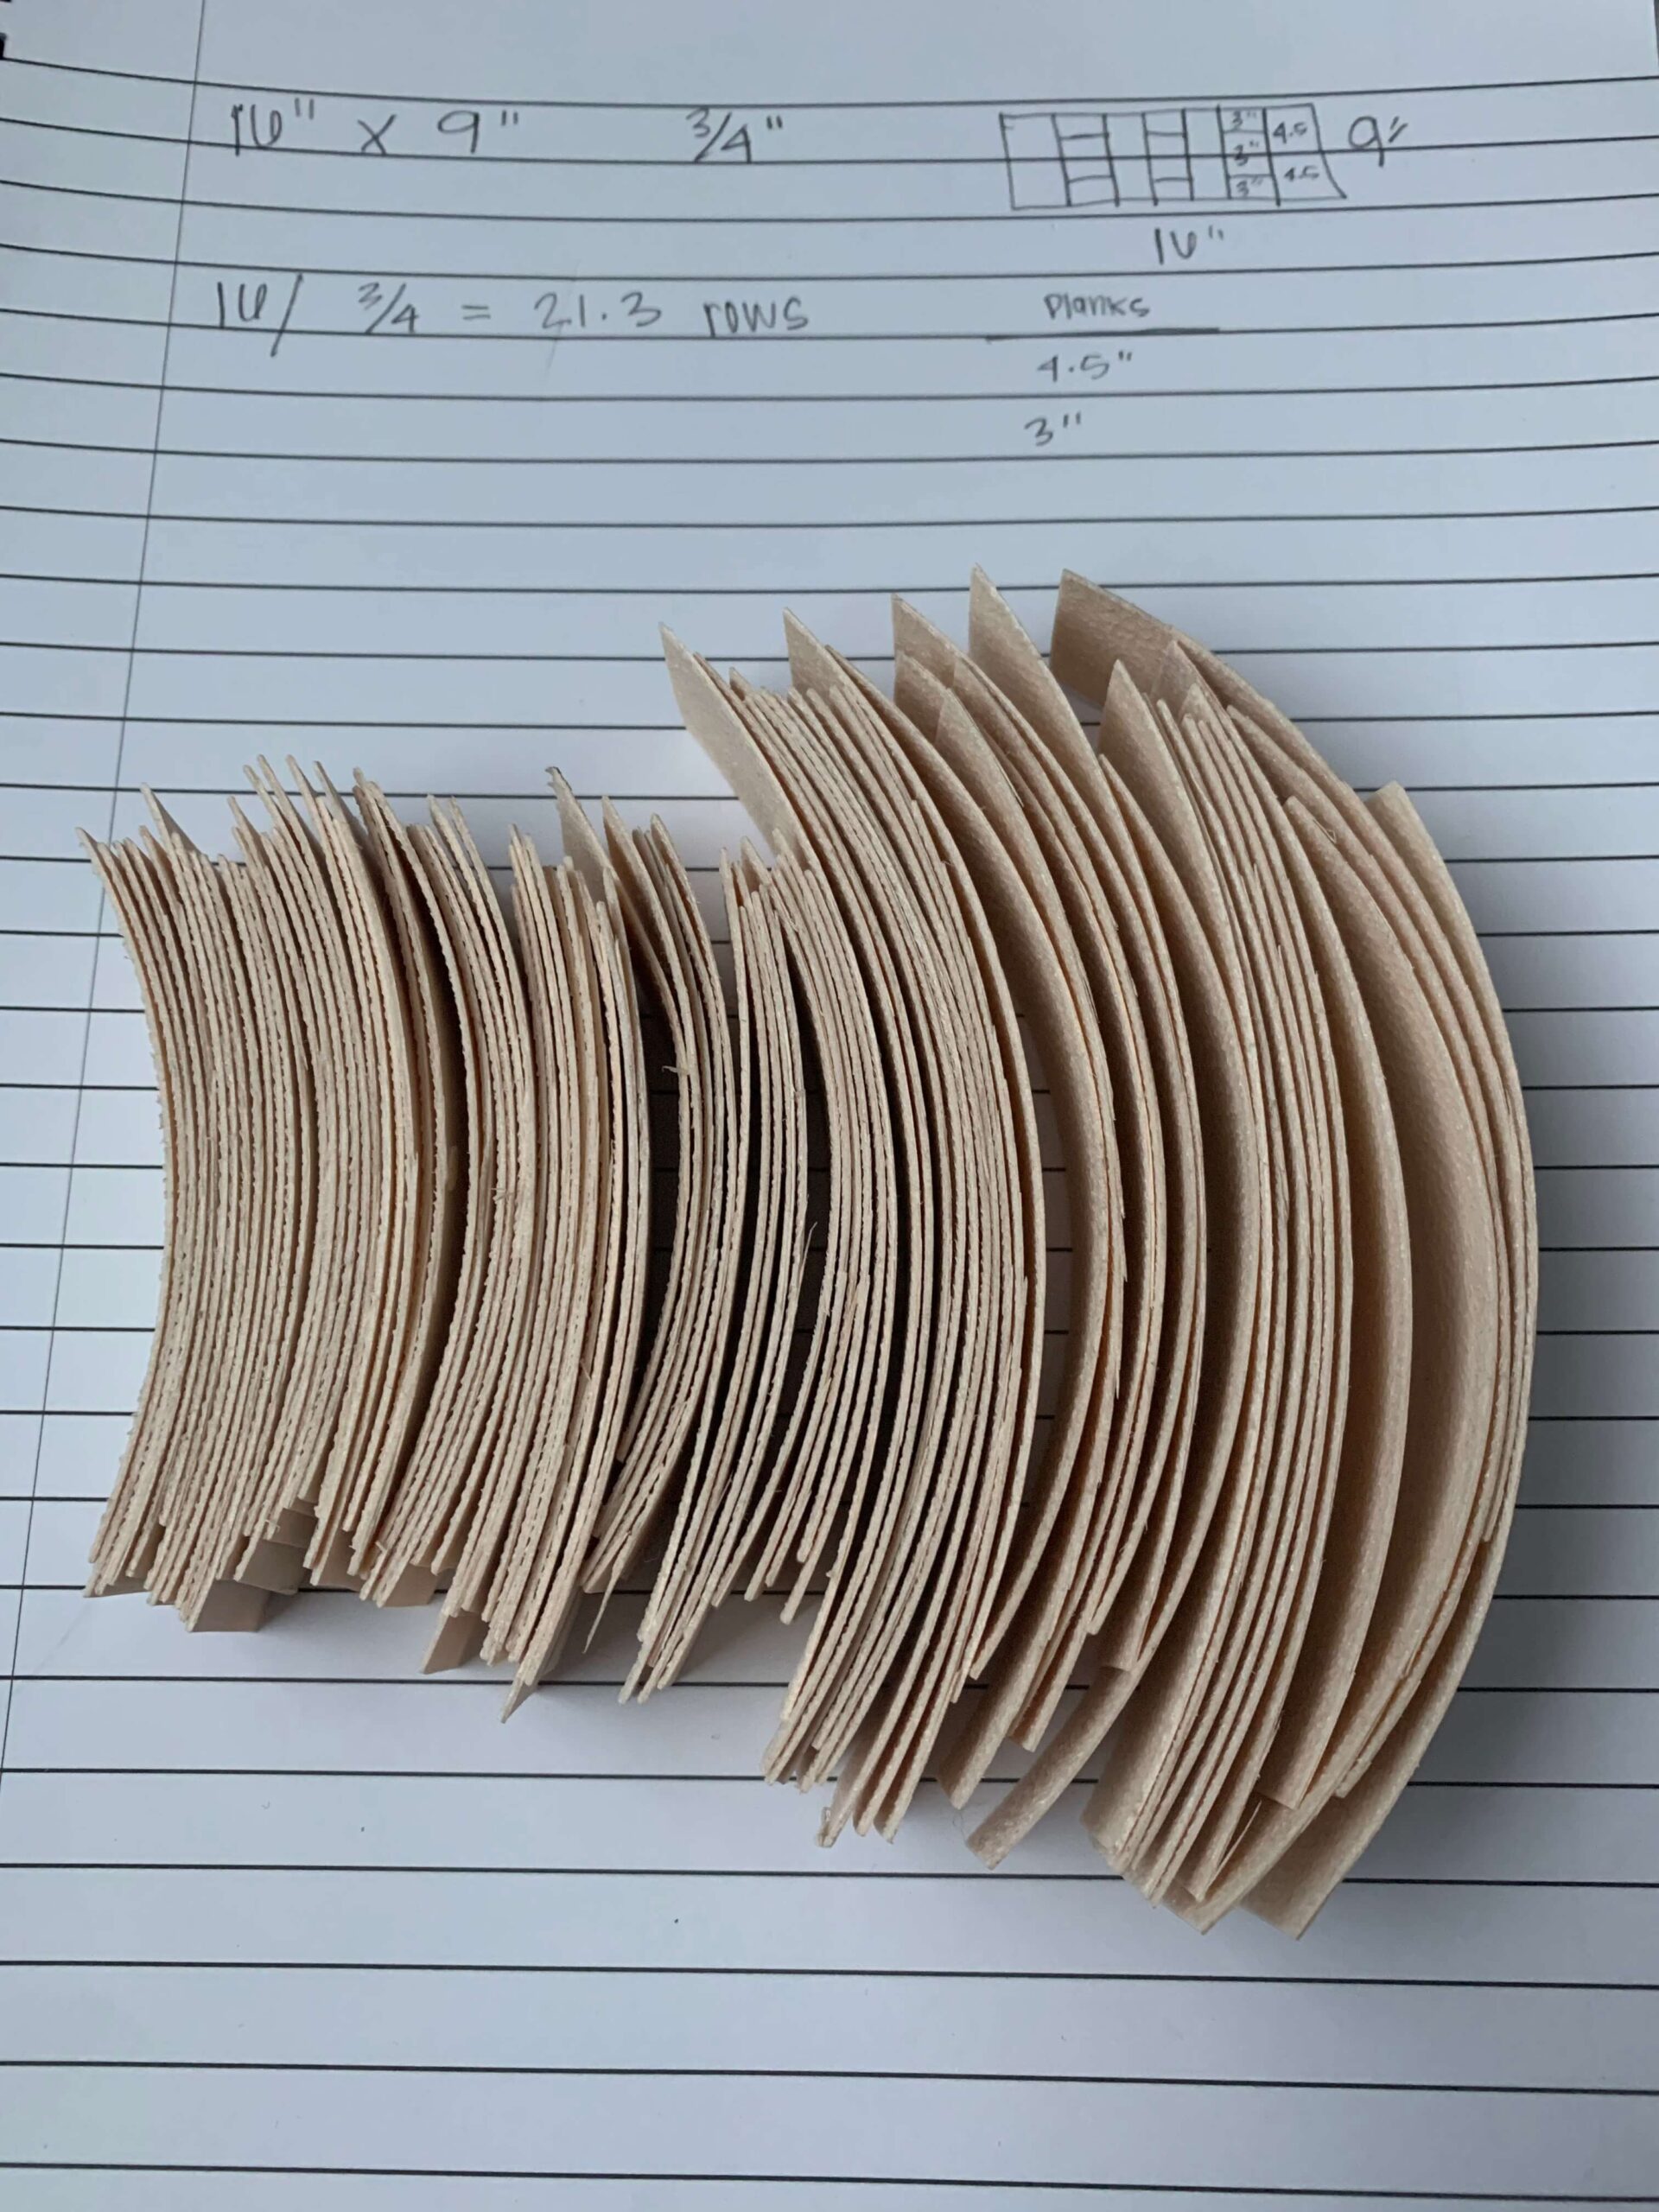
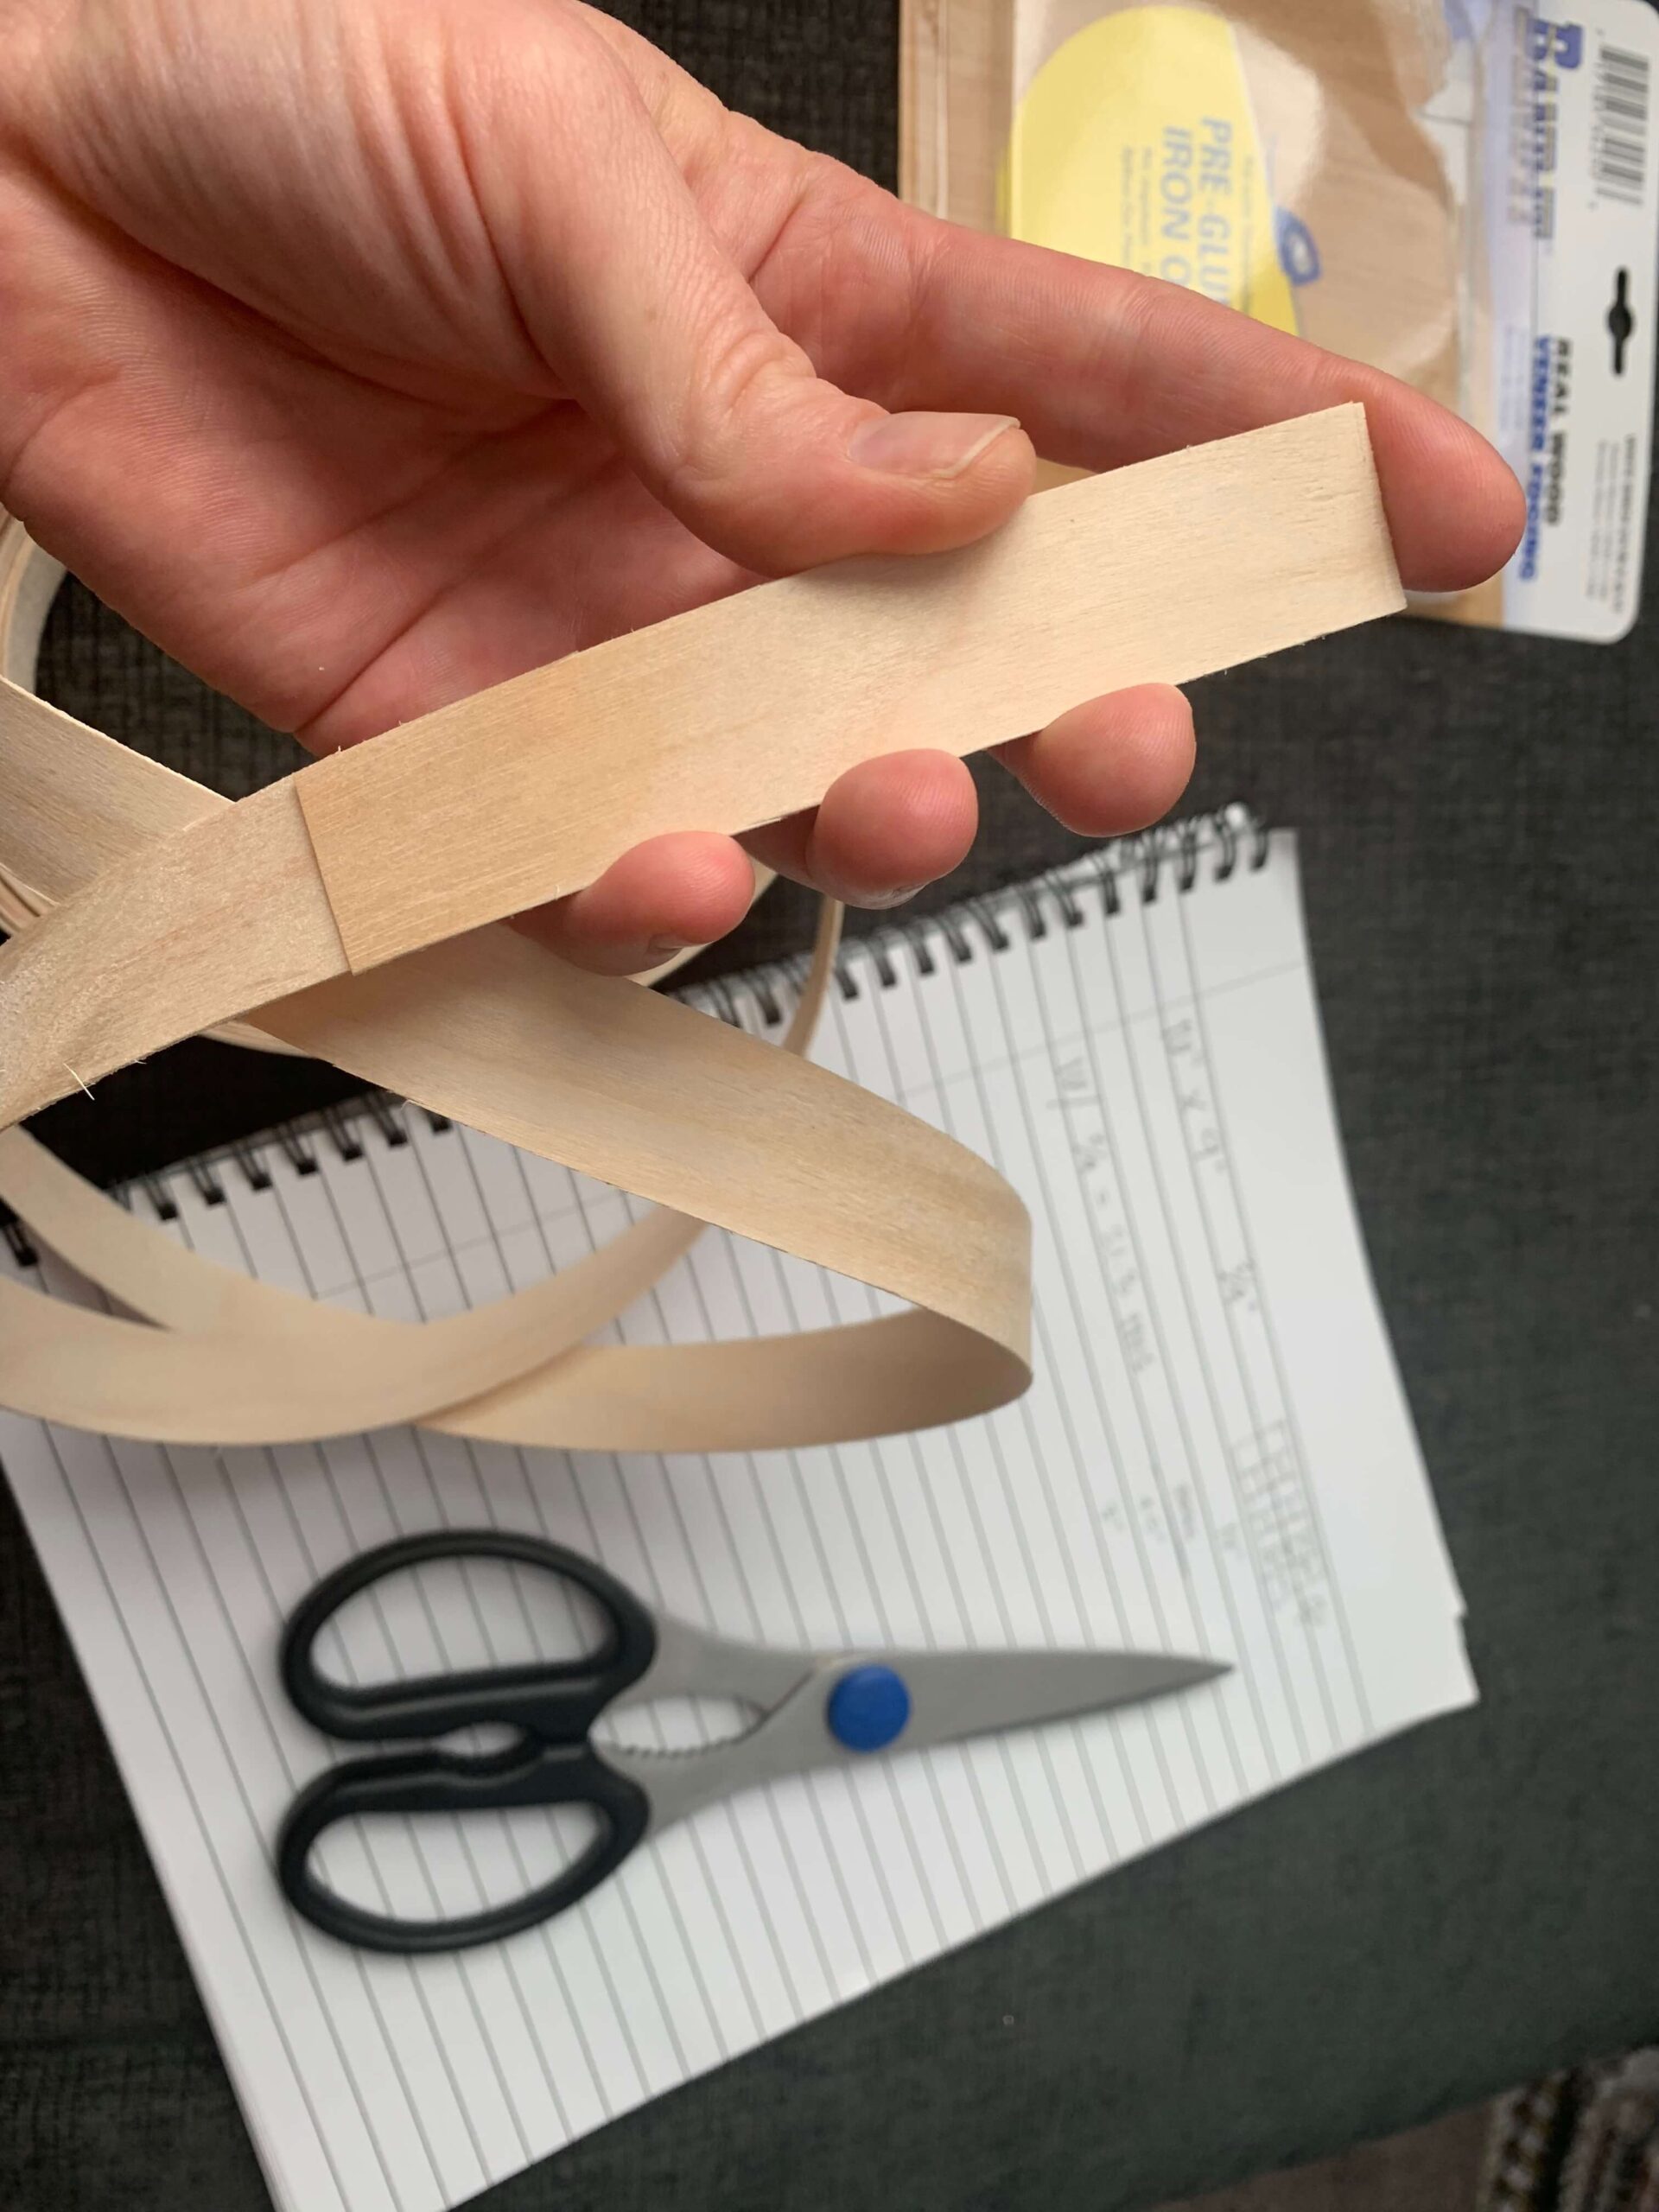
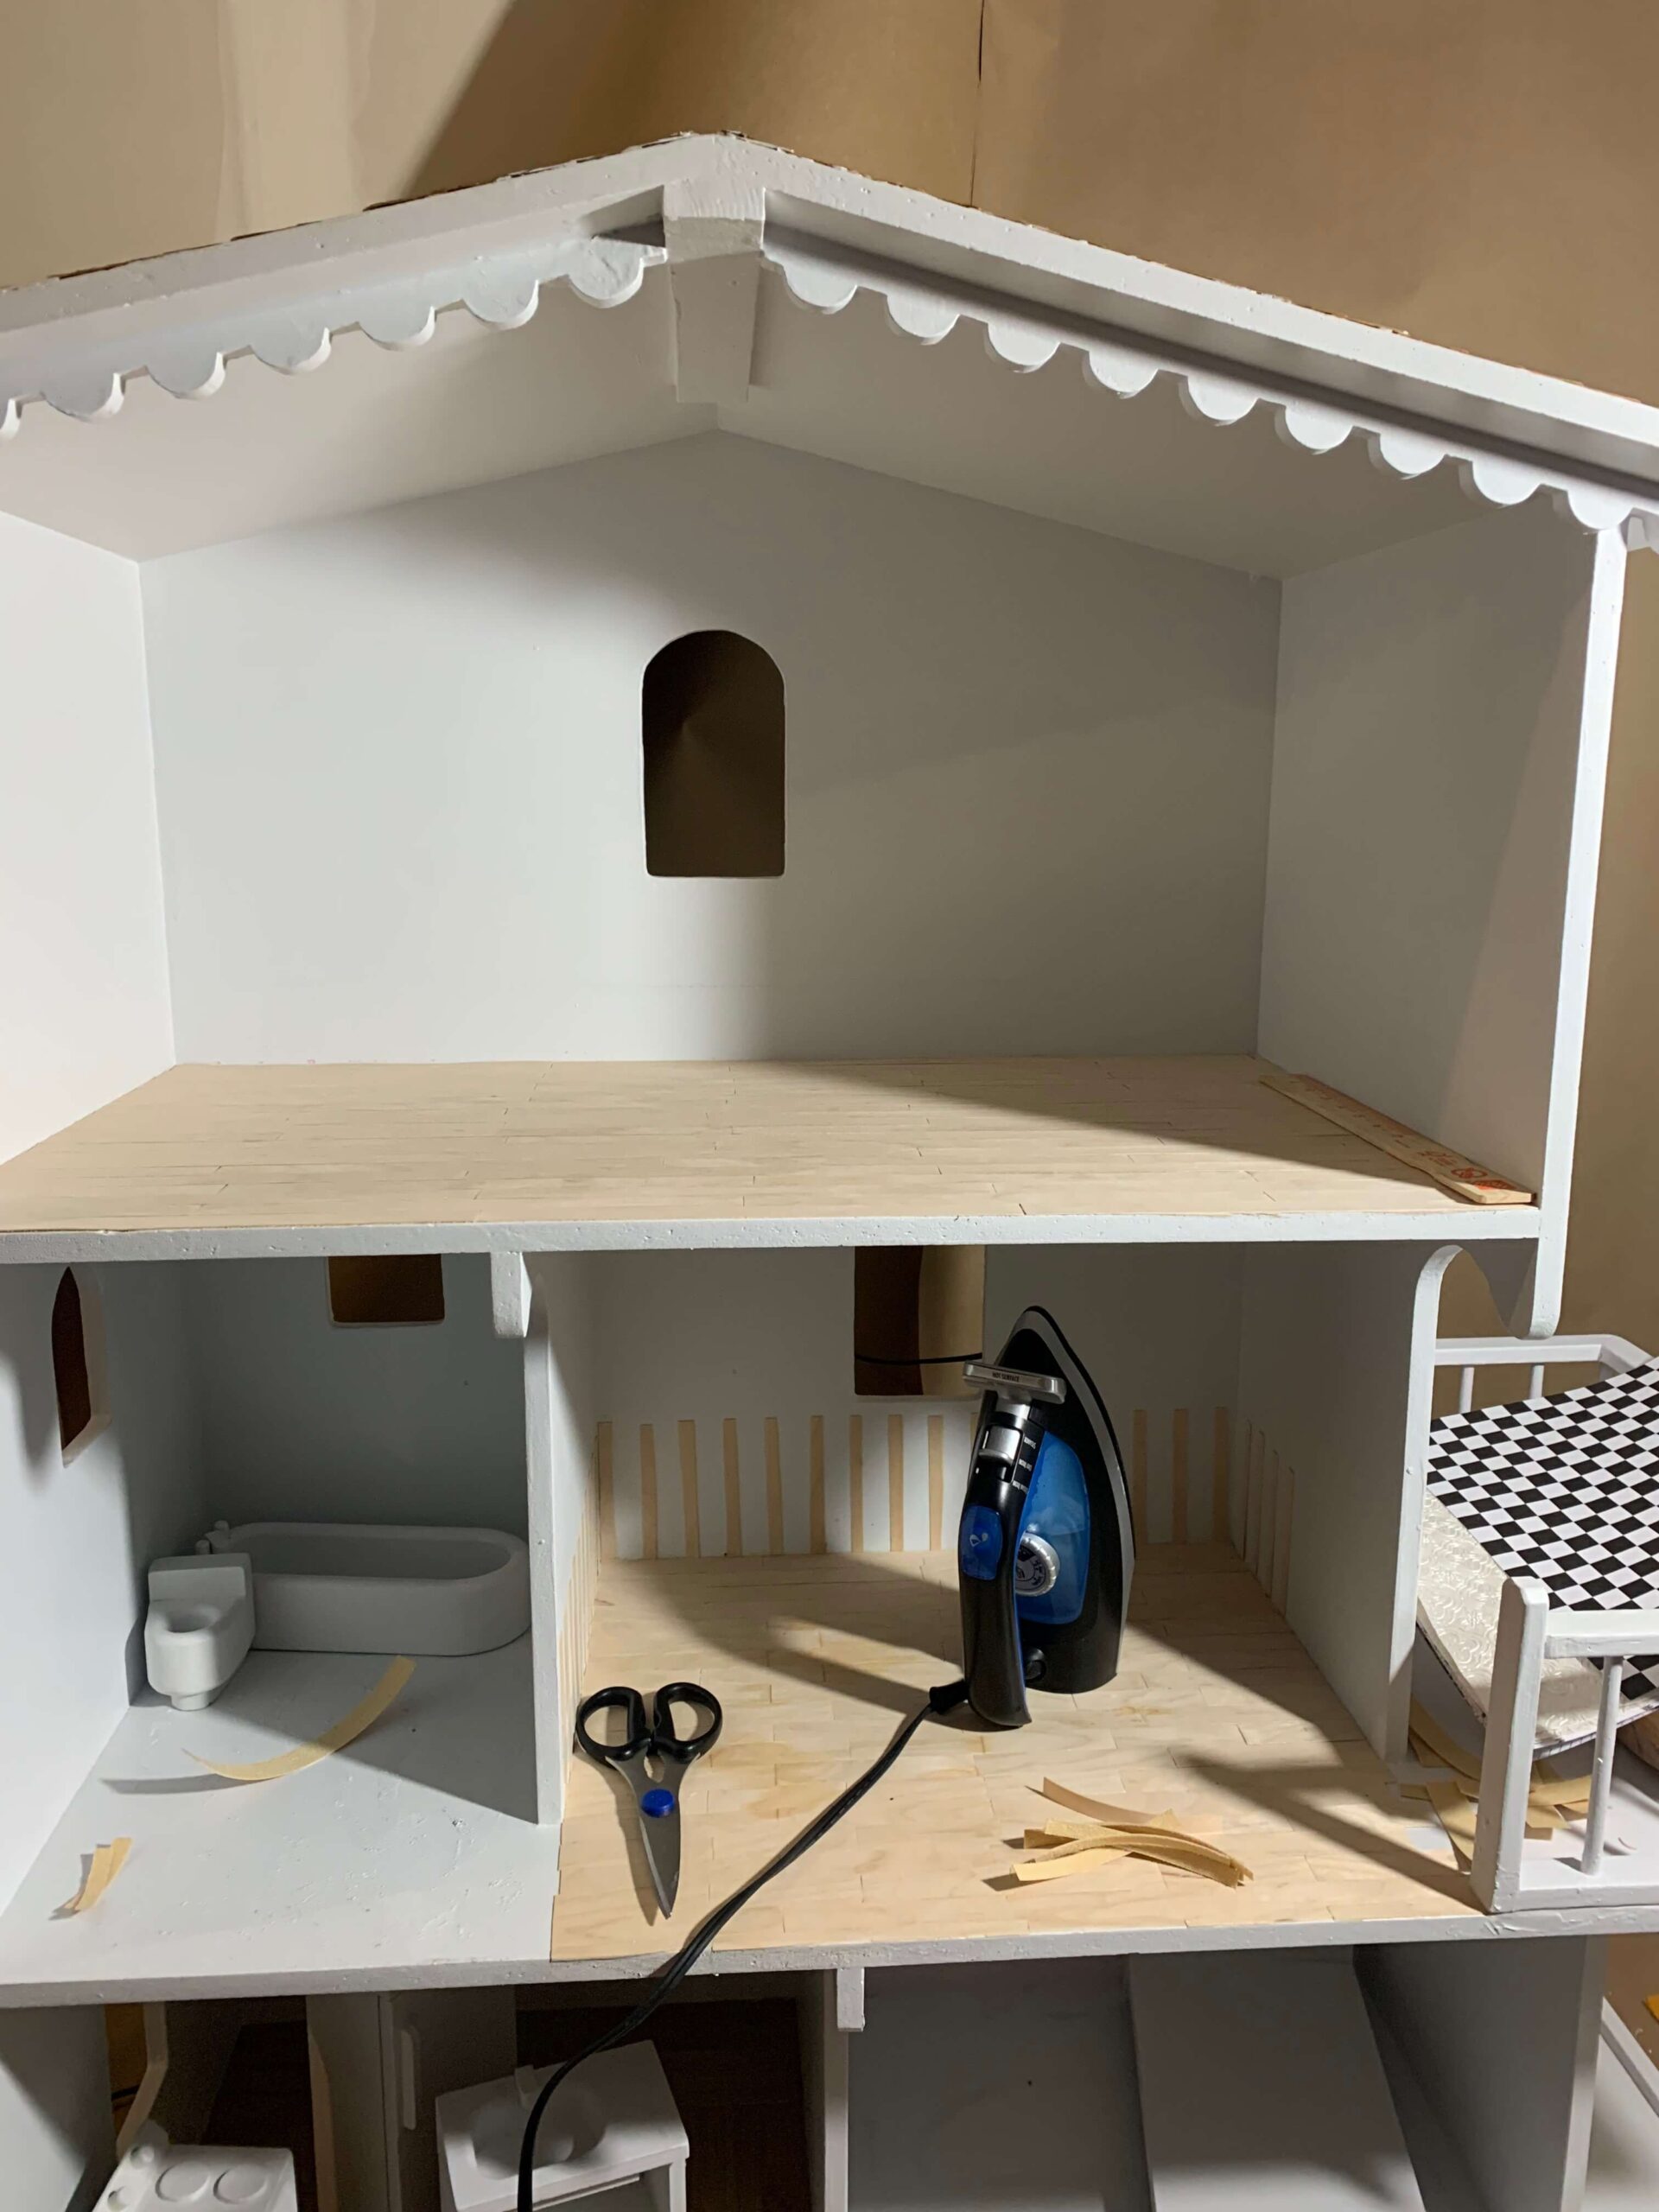
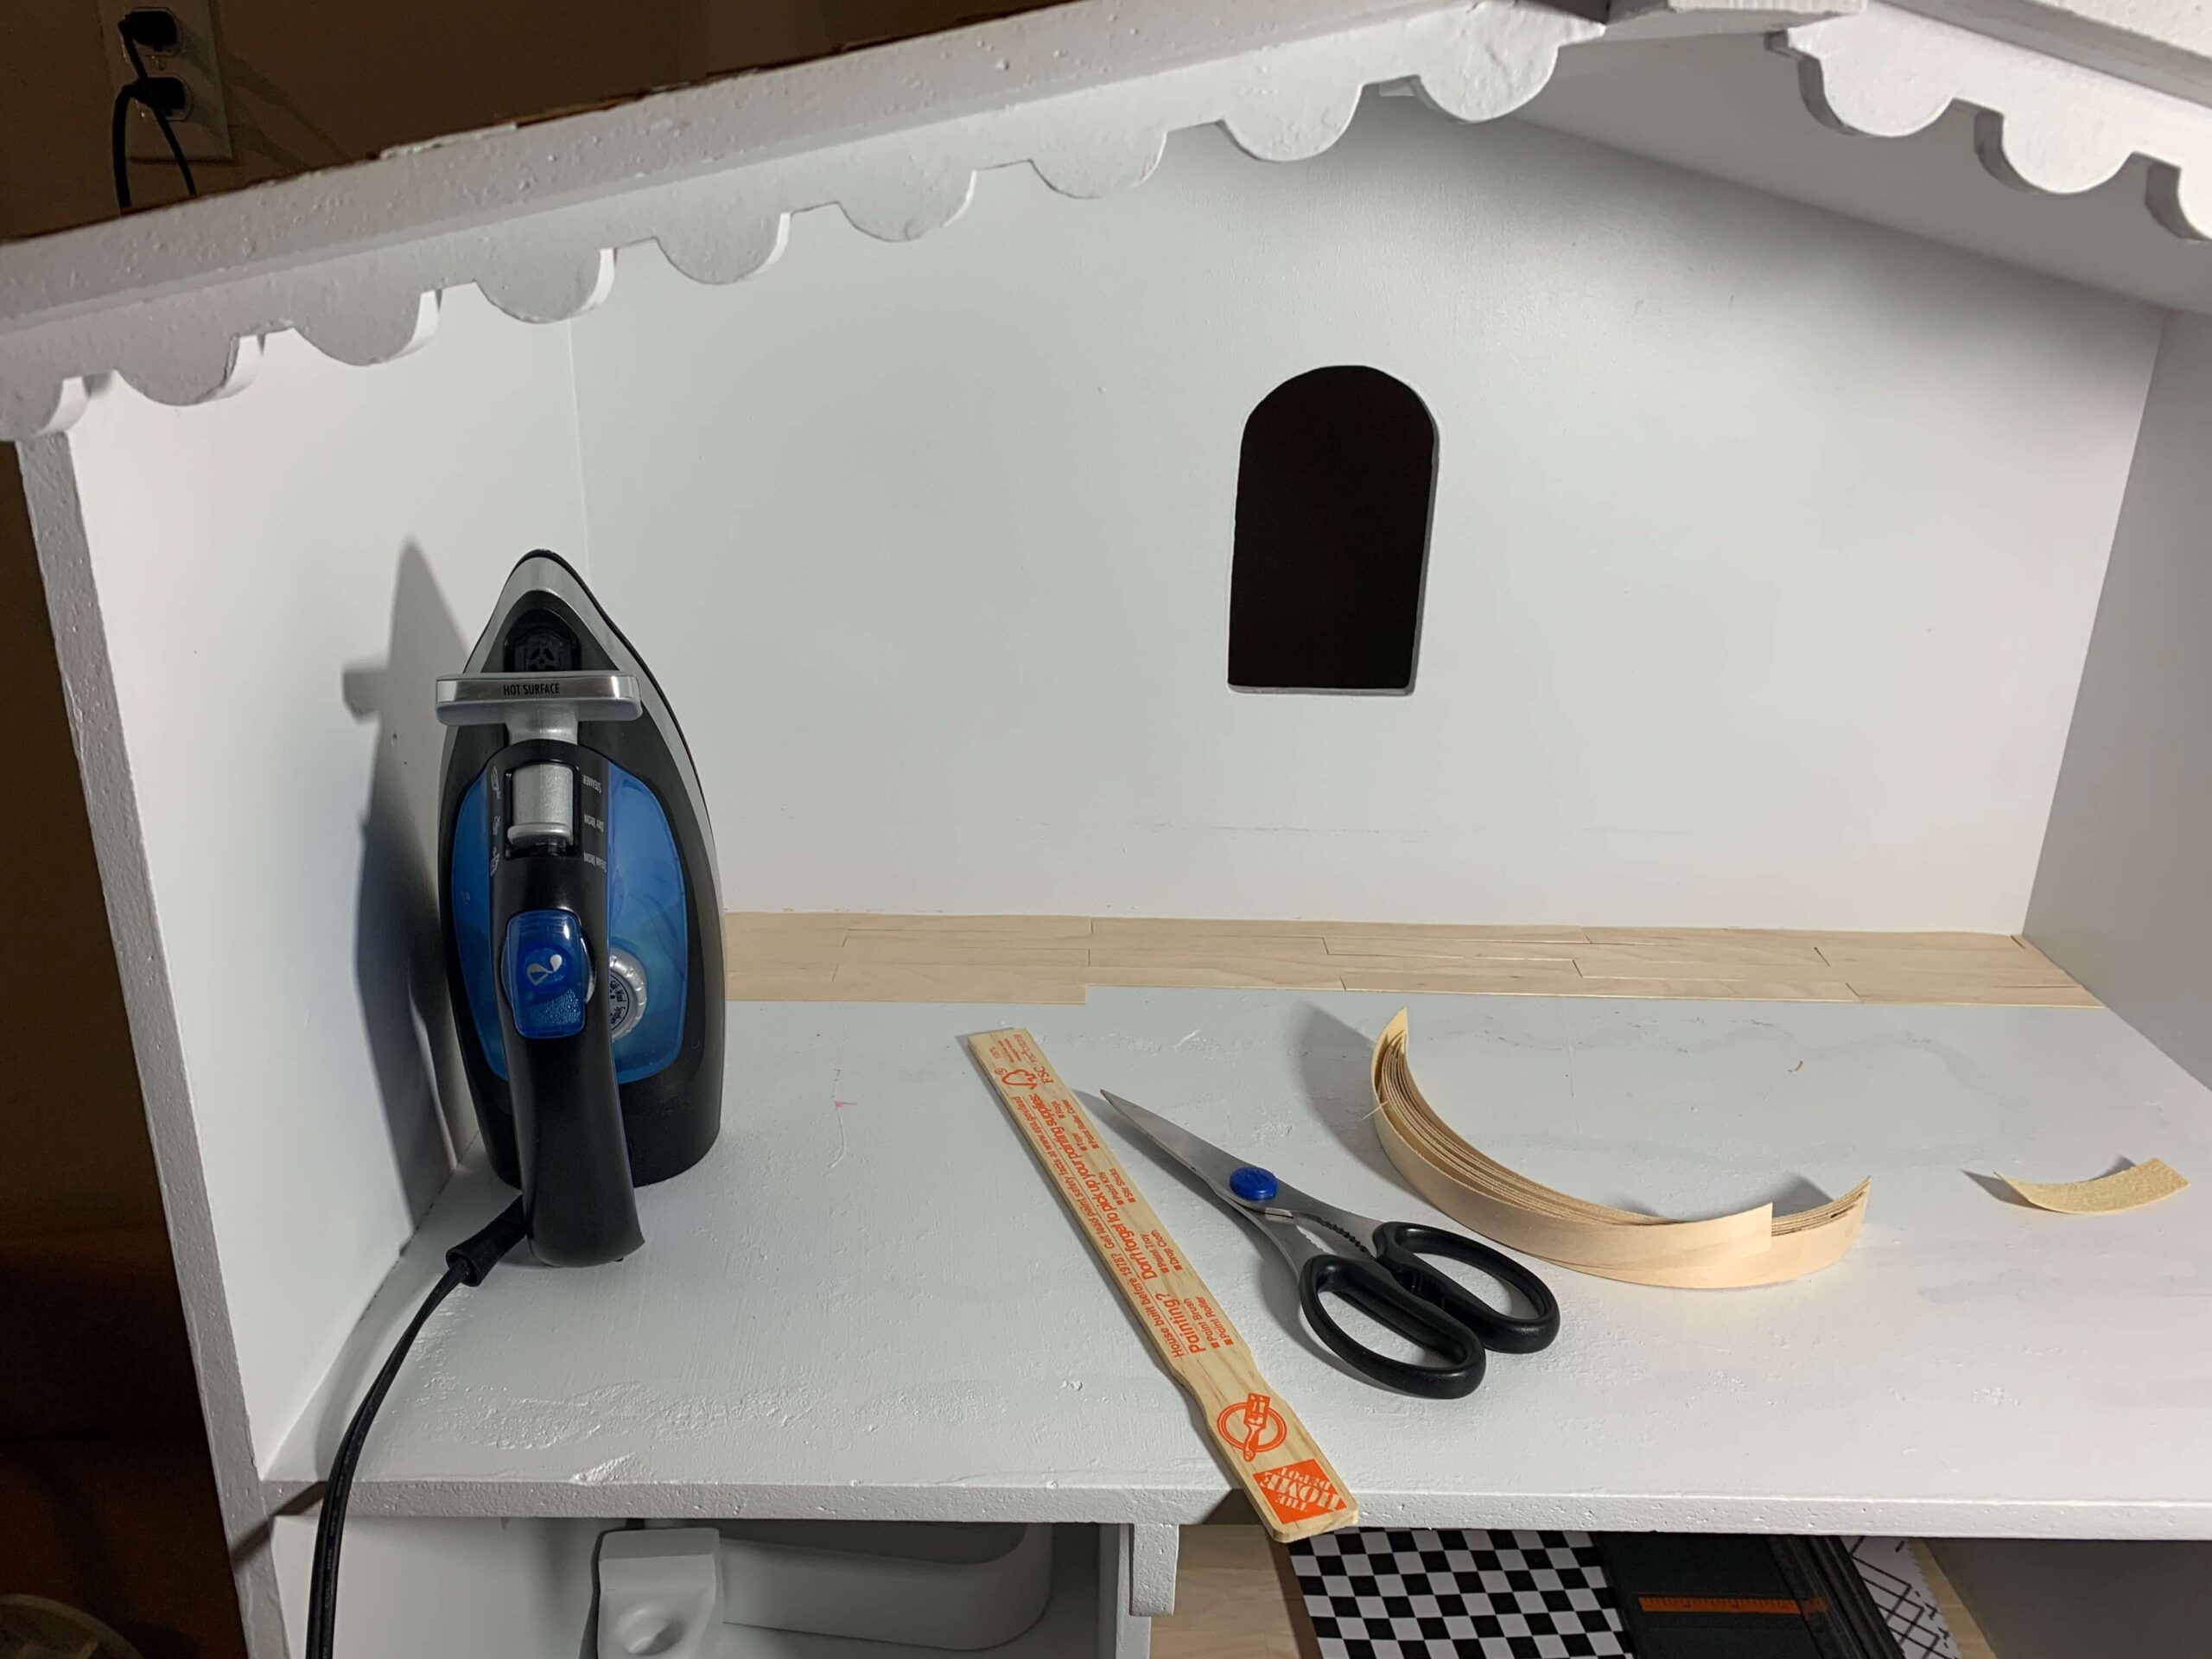
THAT TRIM THO.
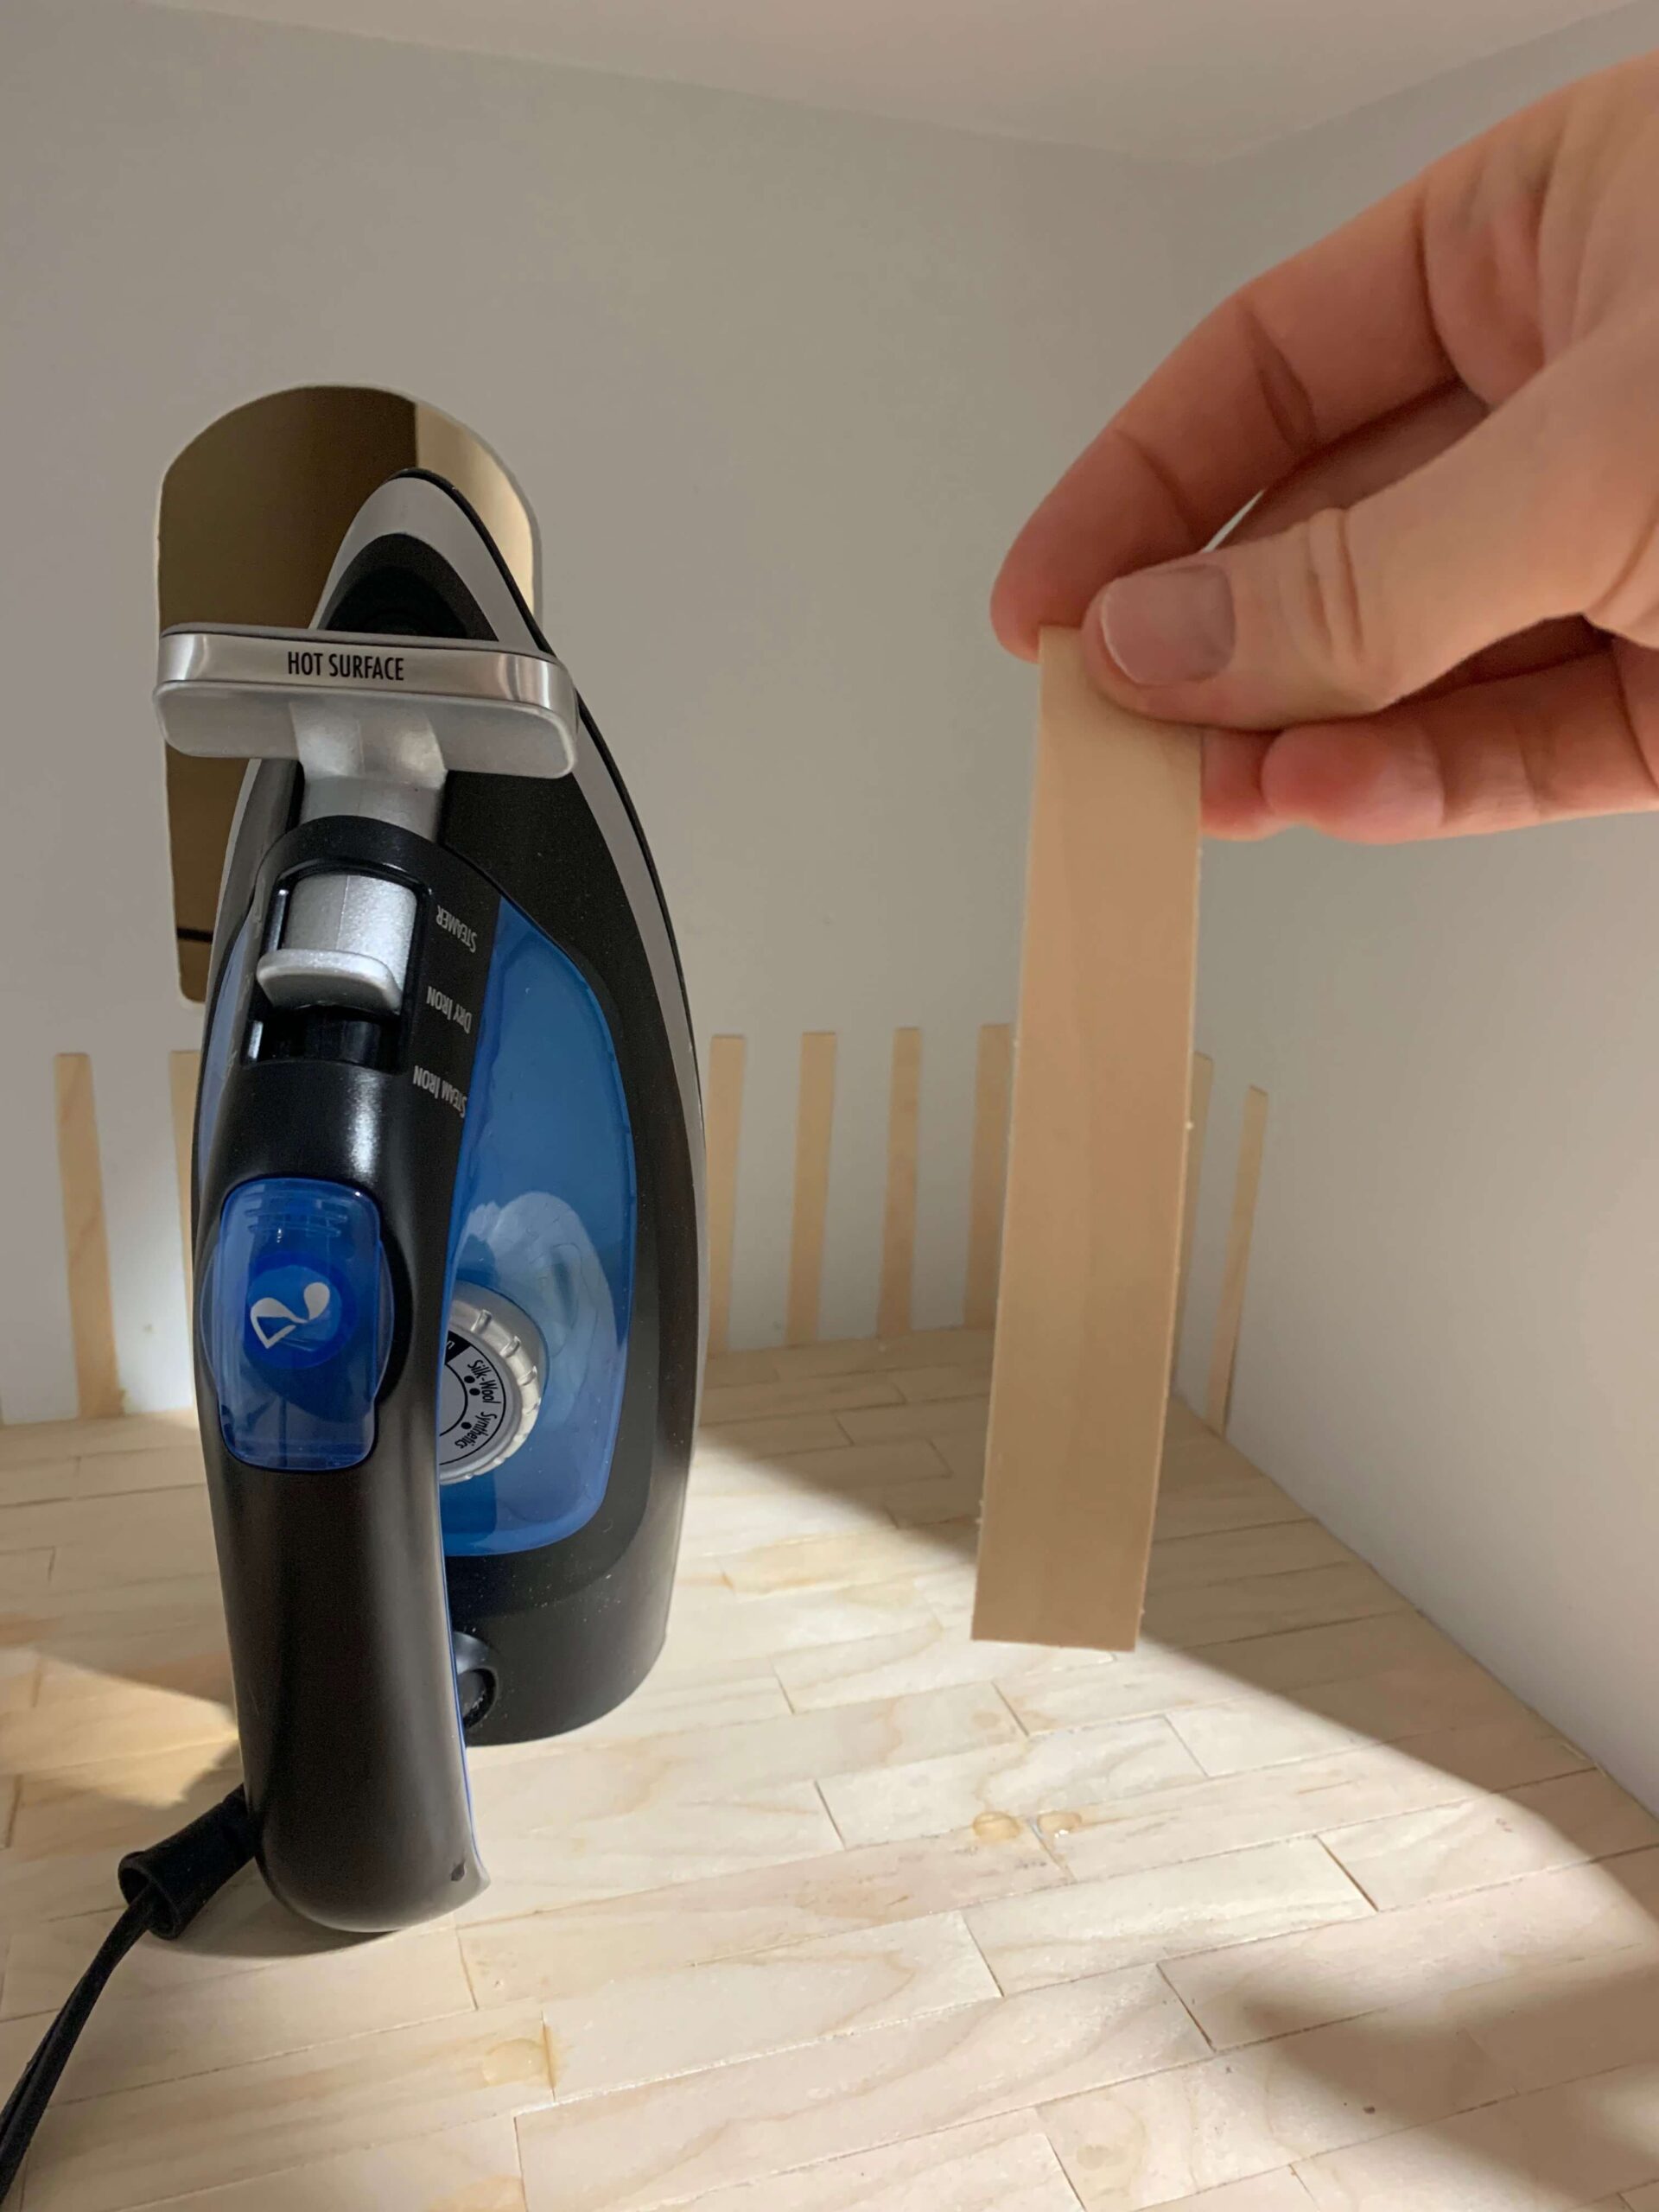
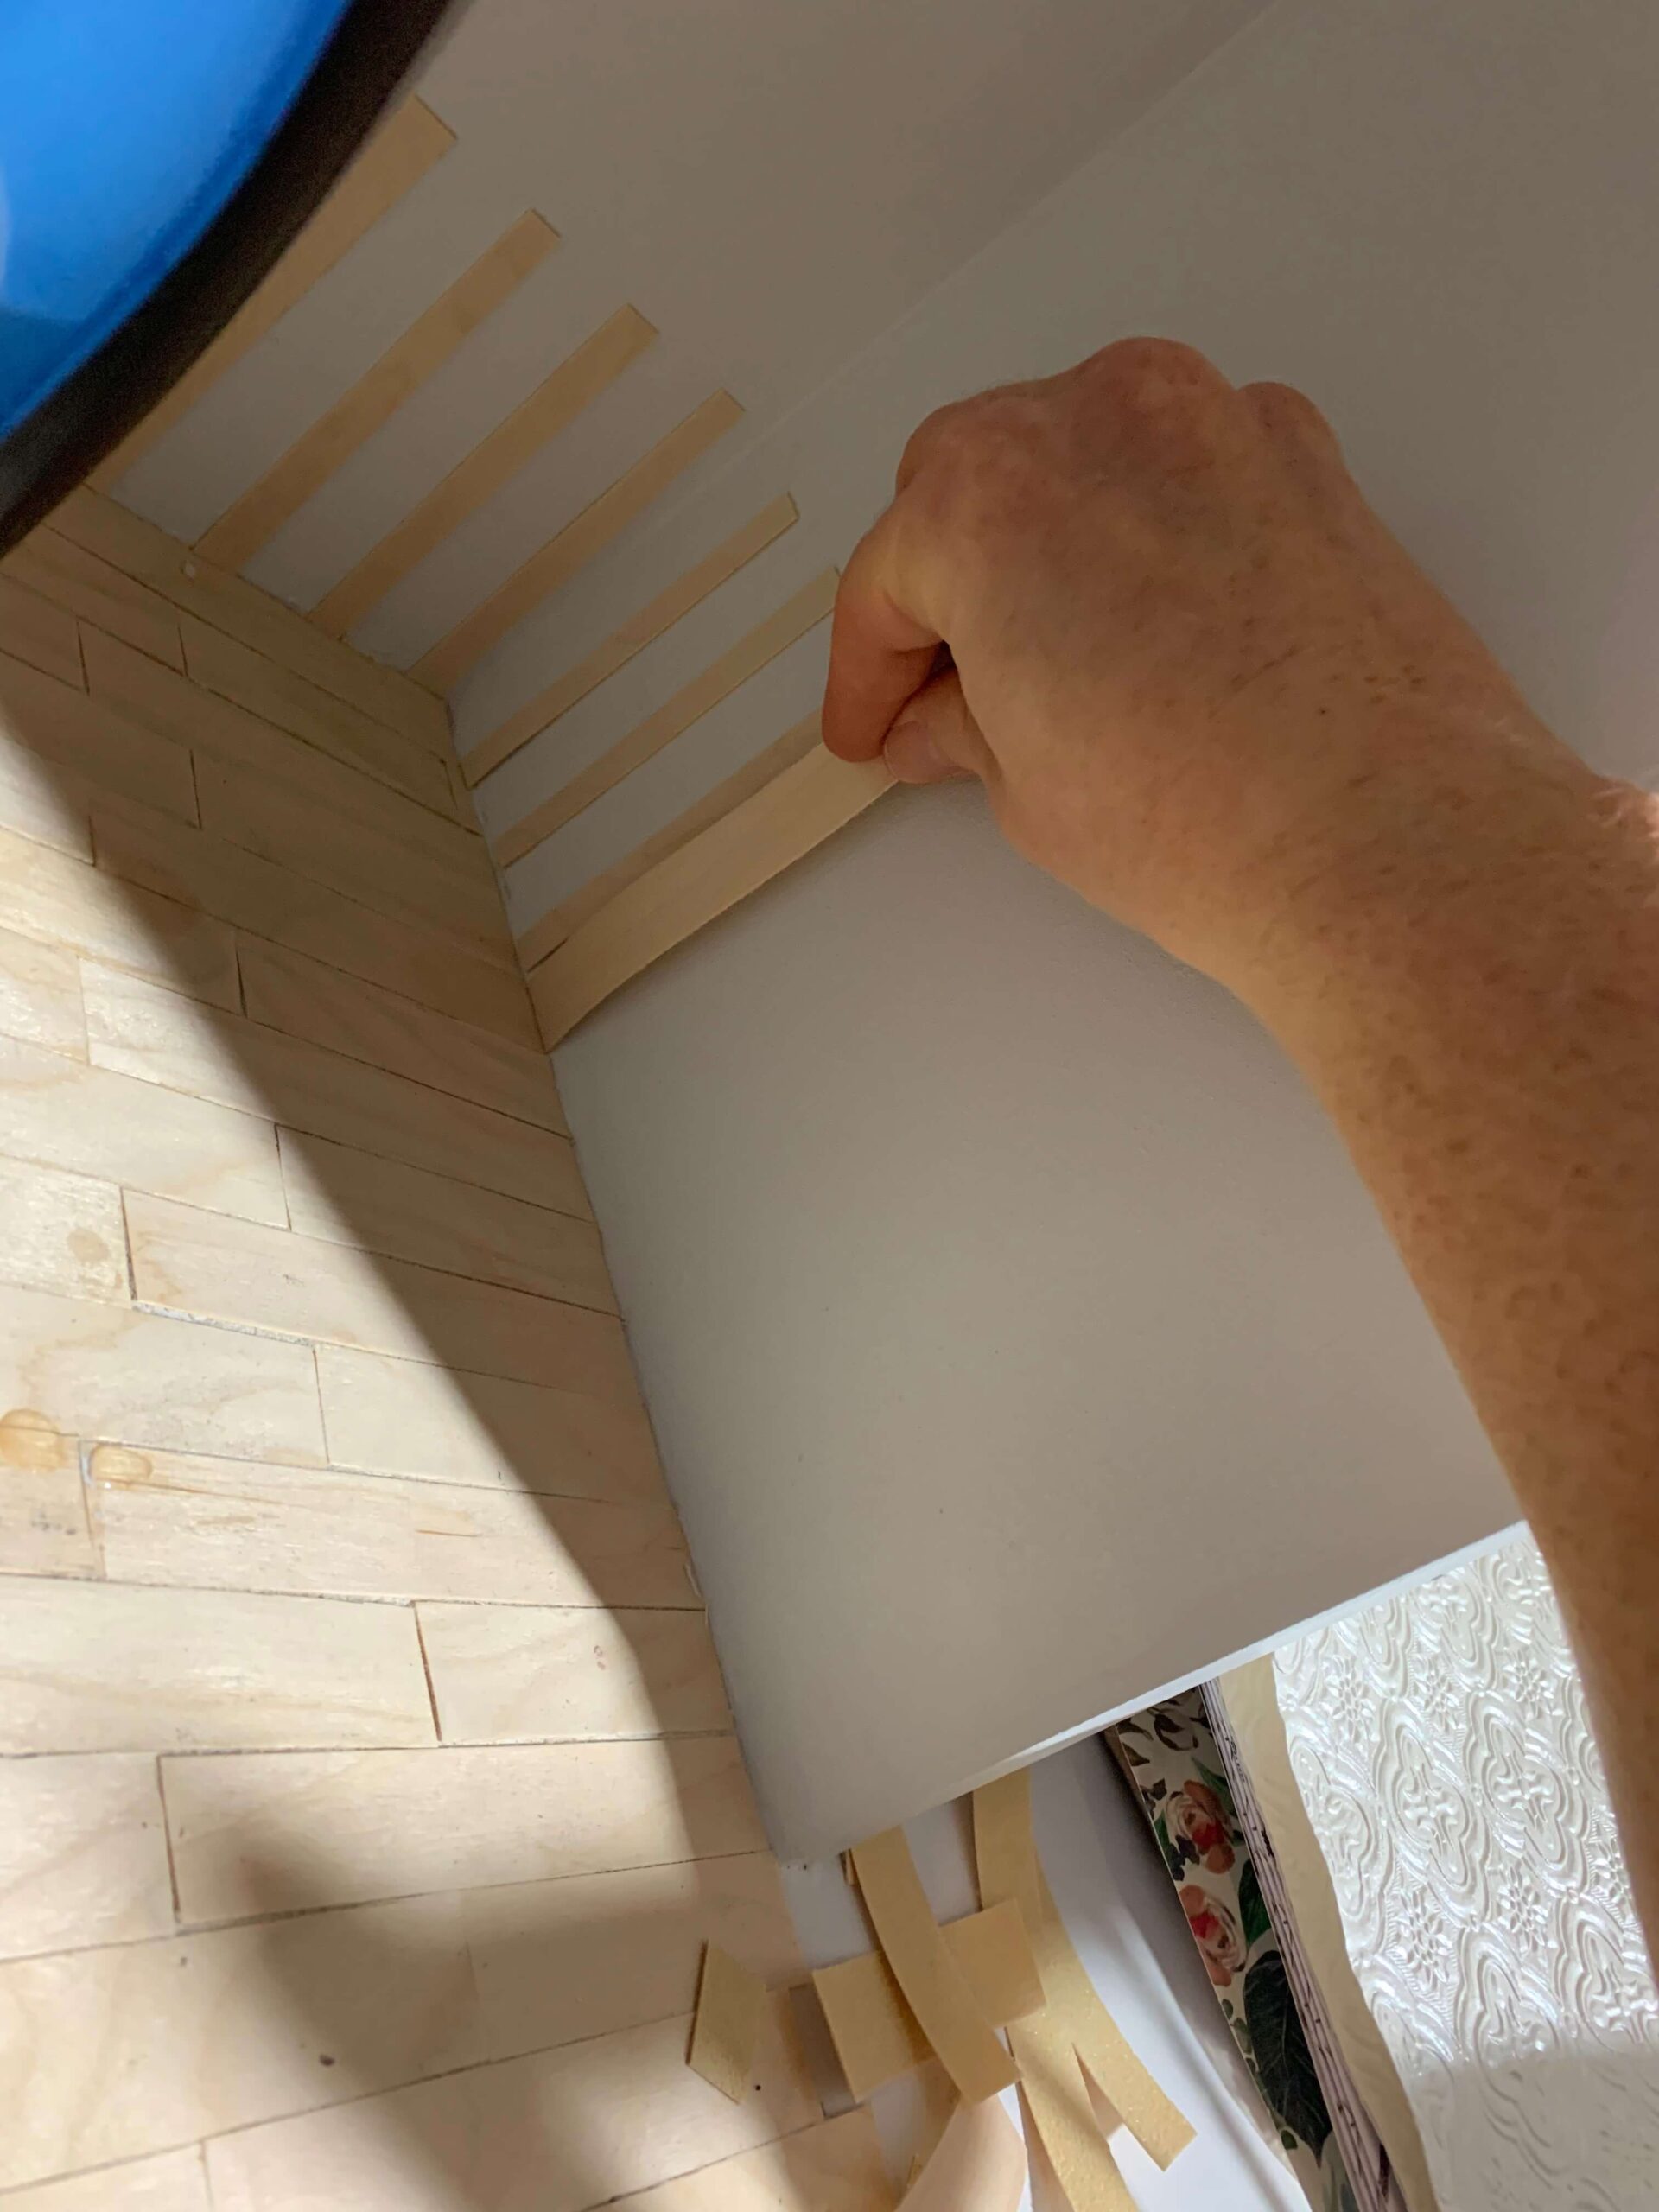
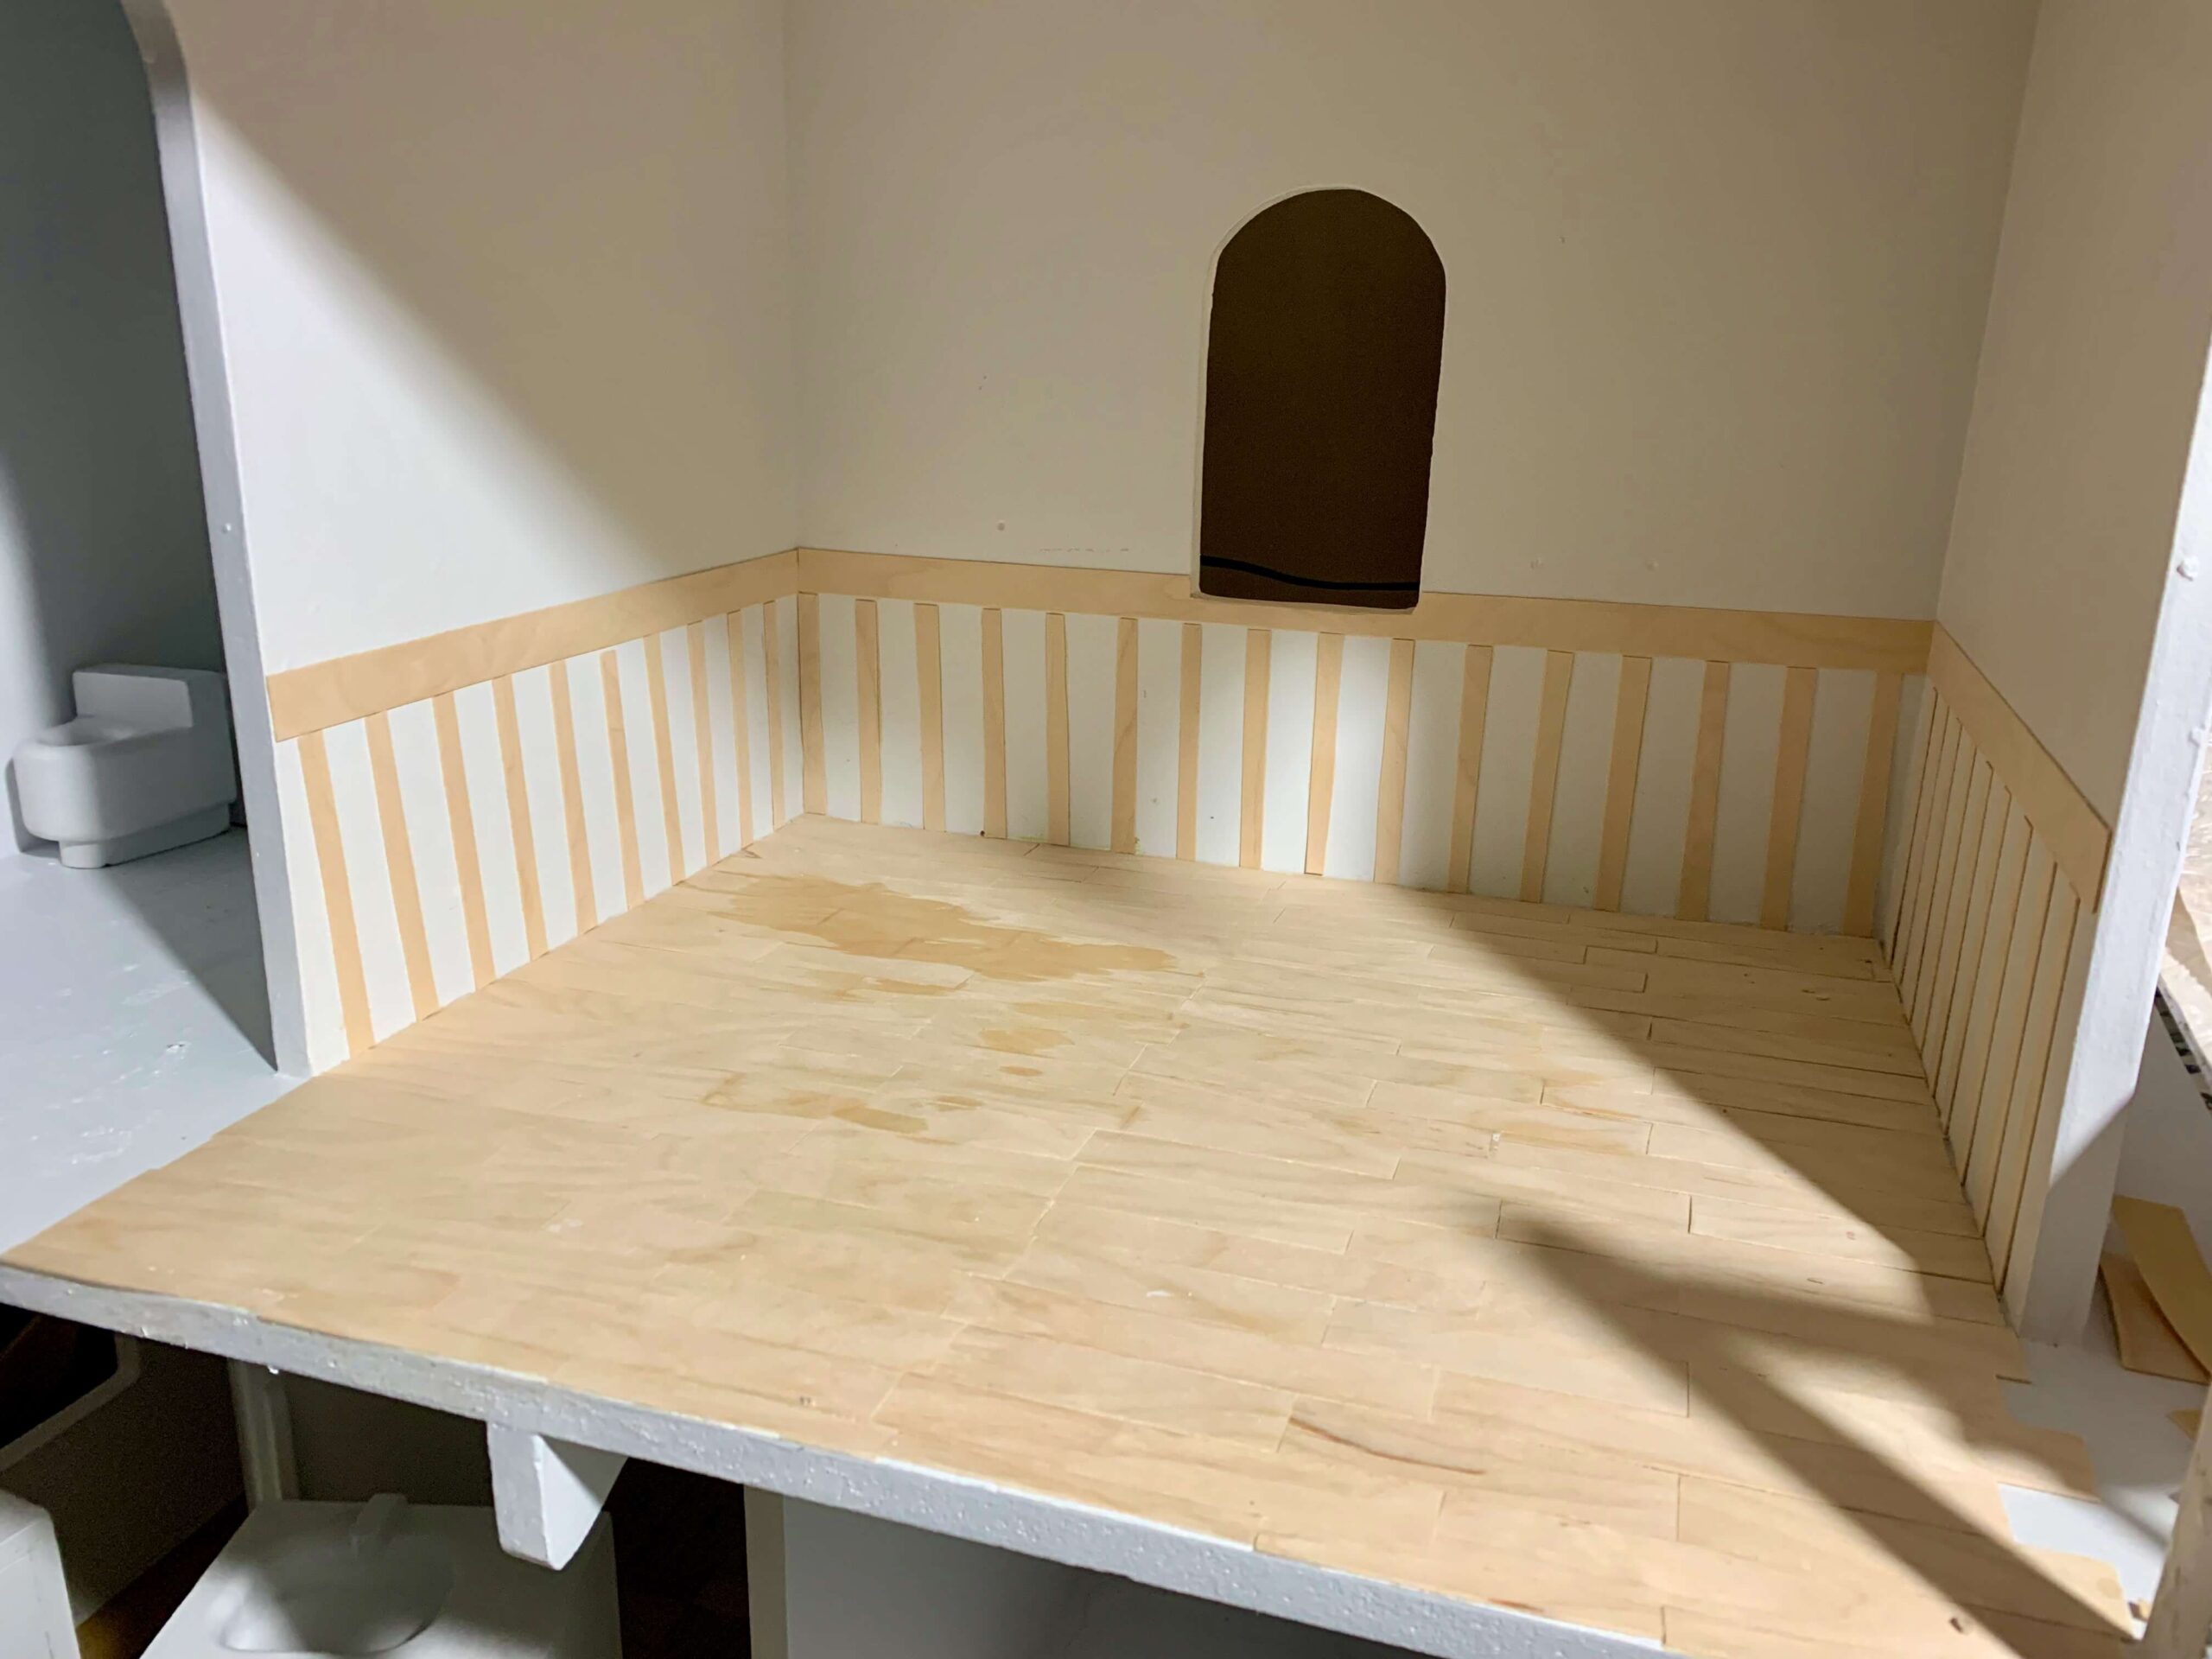
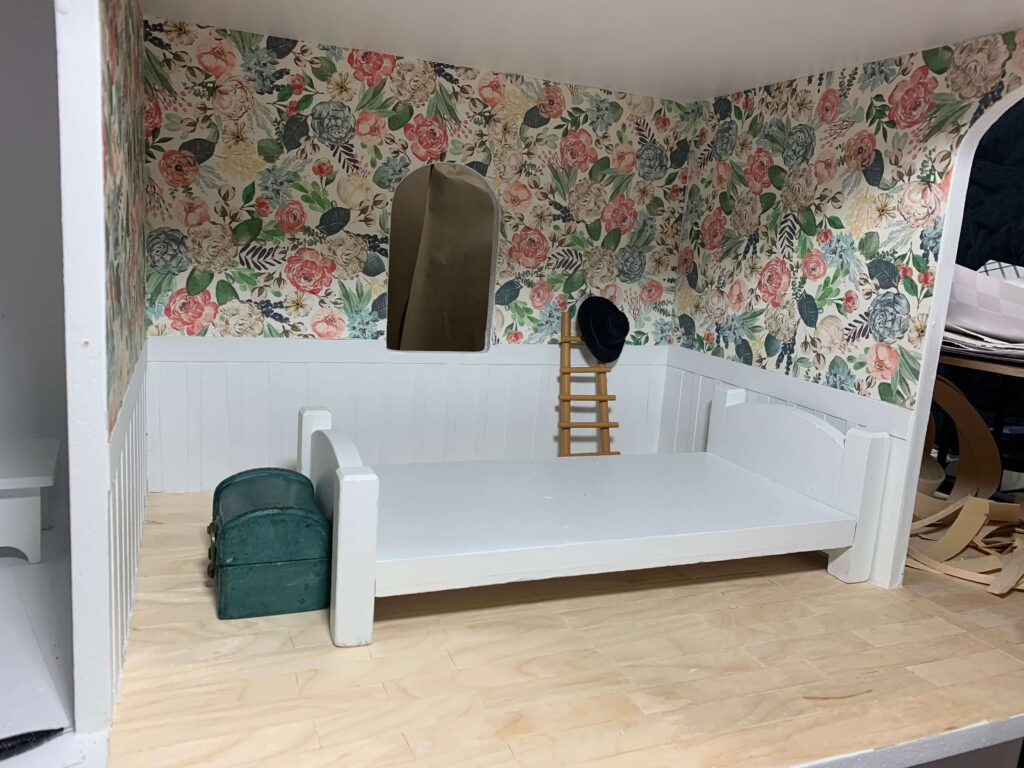
I also found white edge banding and tried it out for trim in the bathroom, as well as the bottom room pictured before paint. It went on smooth-ish but I would recommend the white birch over the plain white.
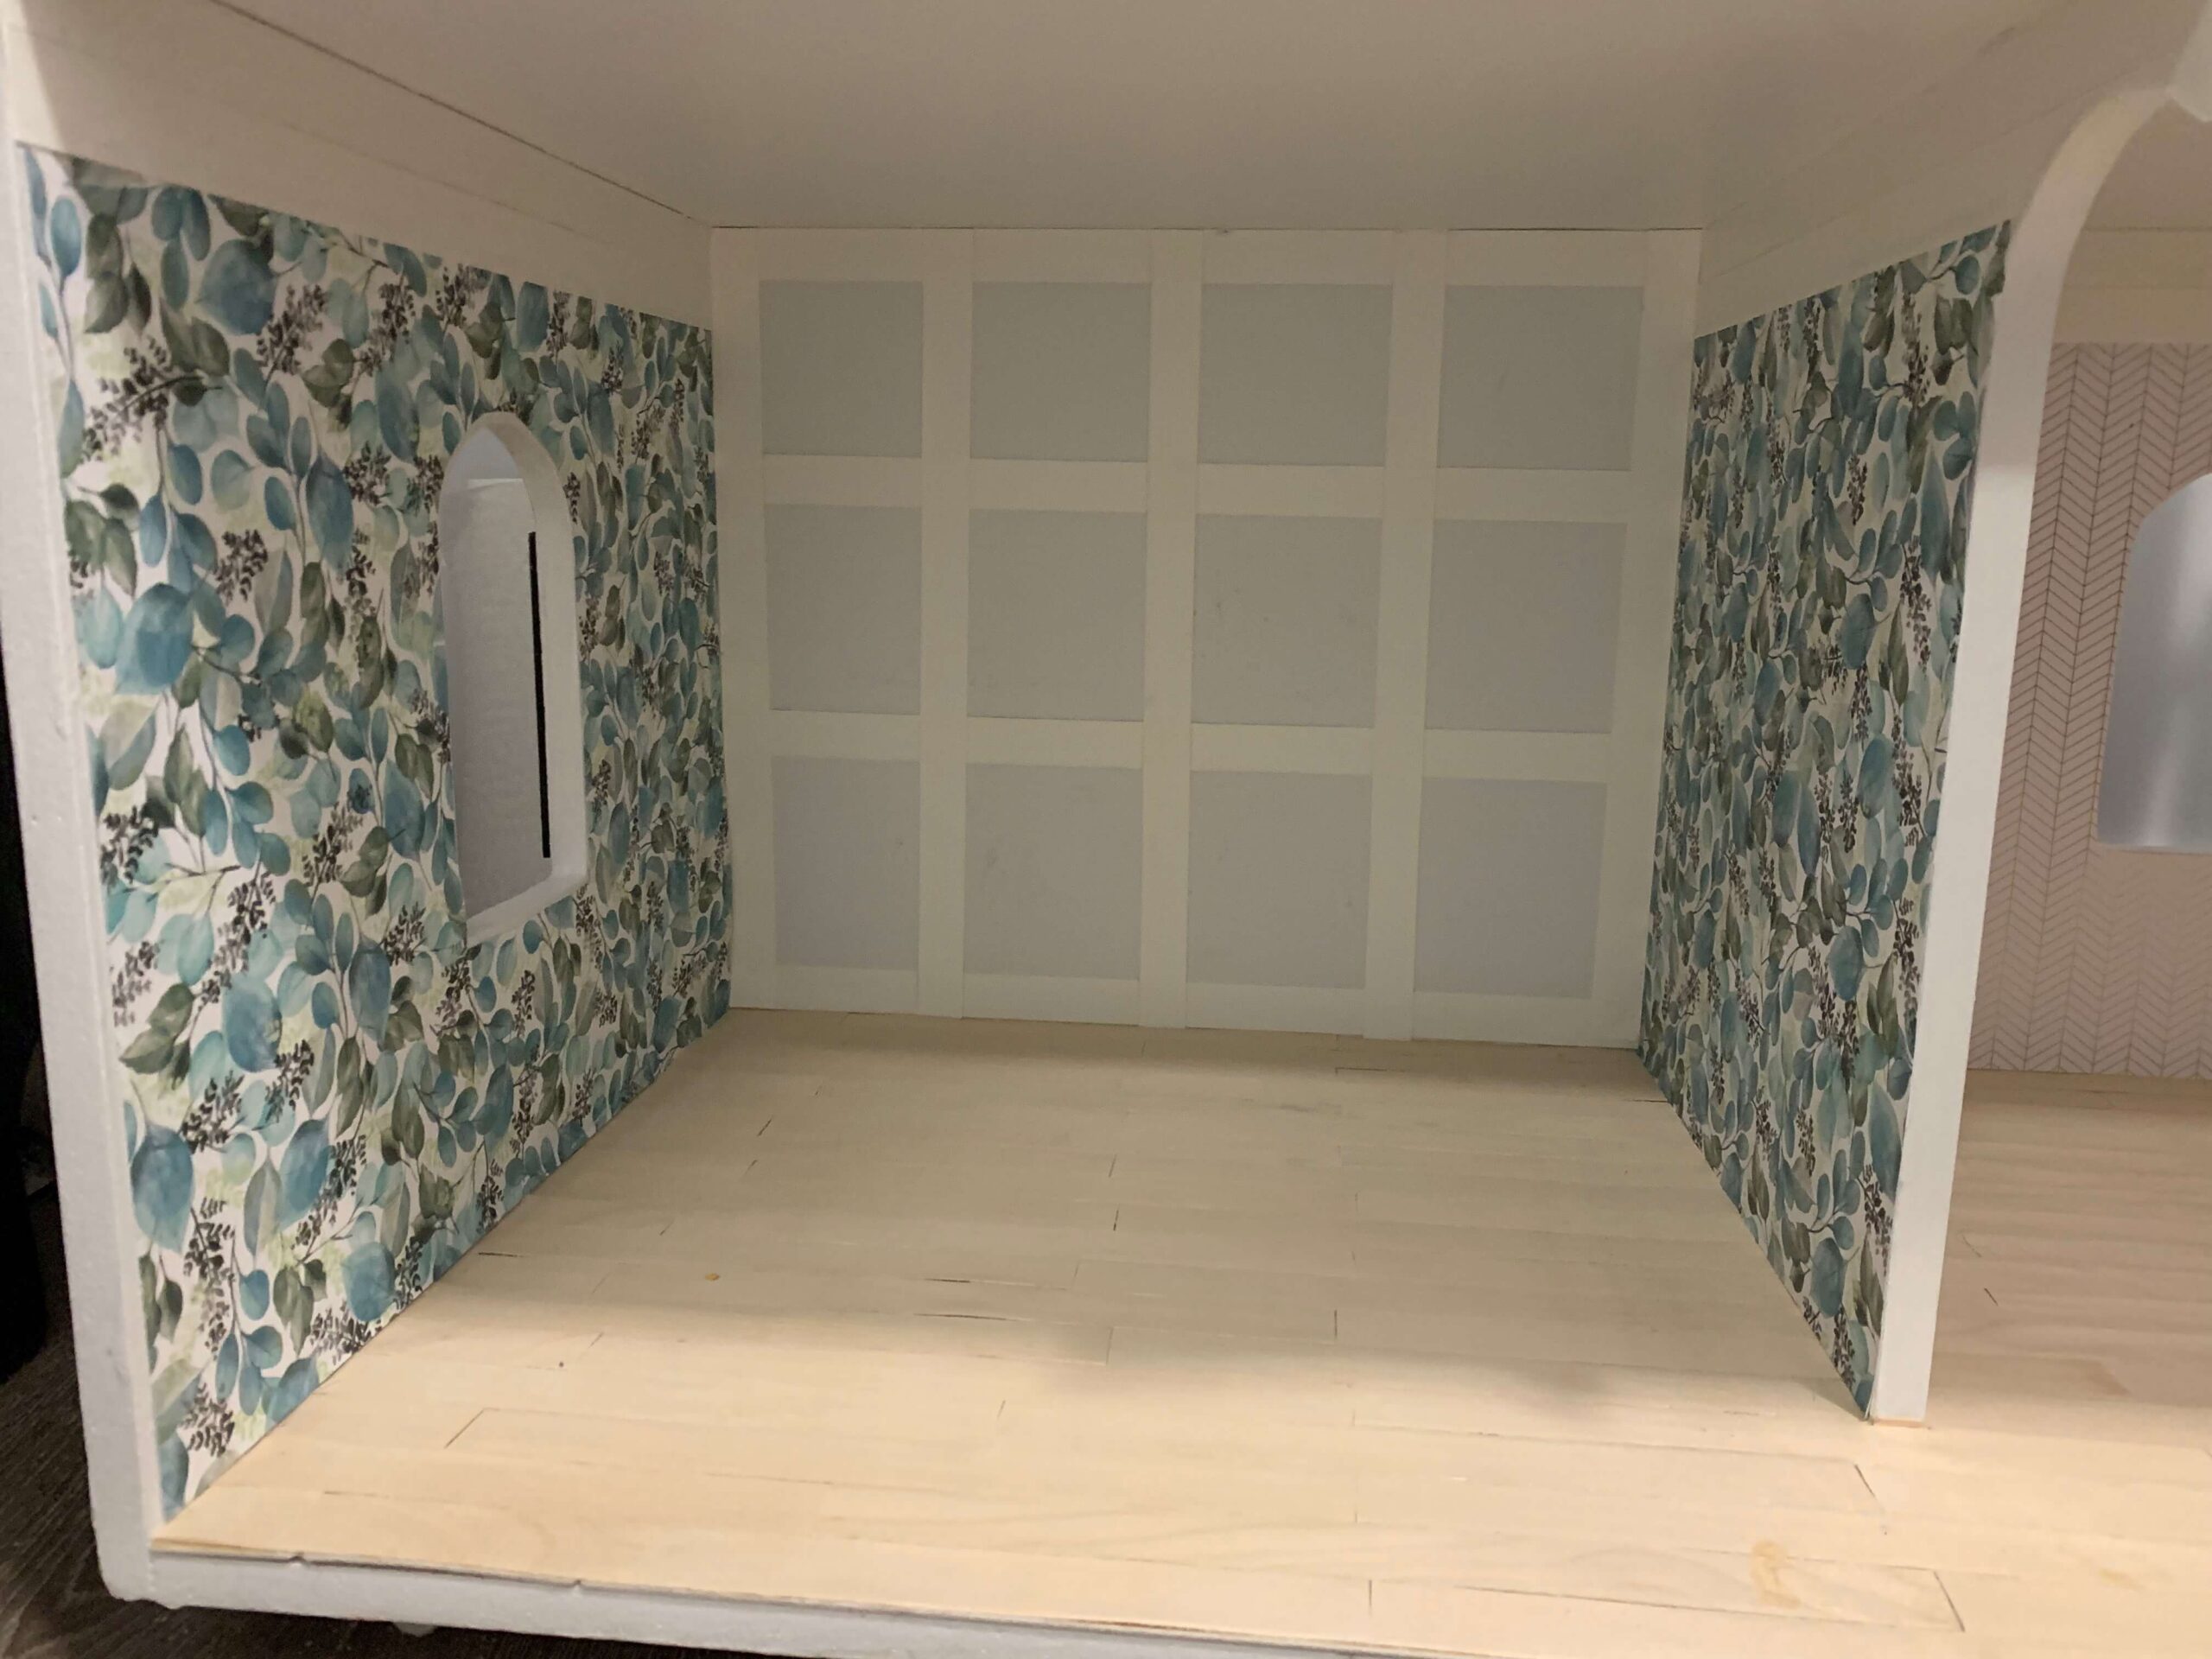
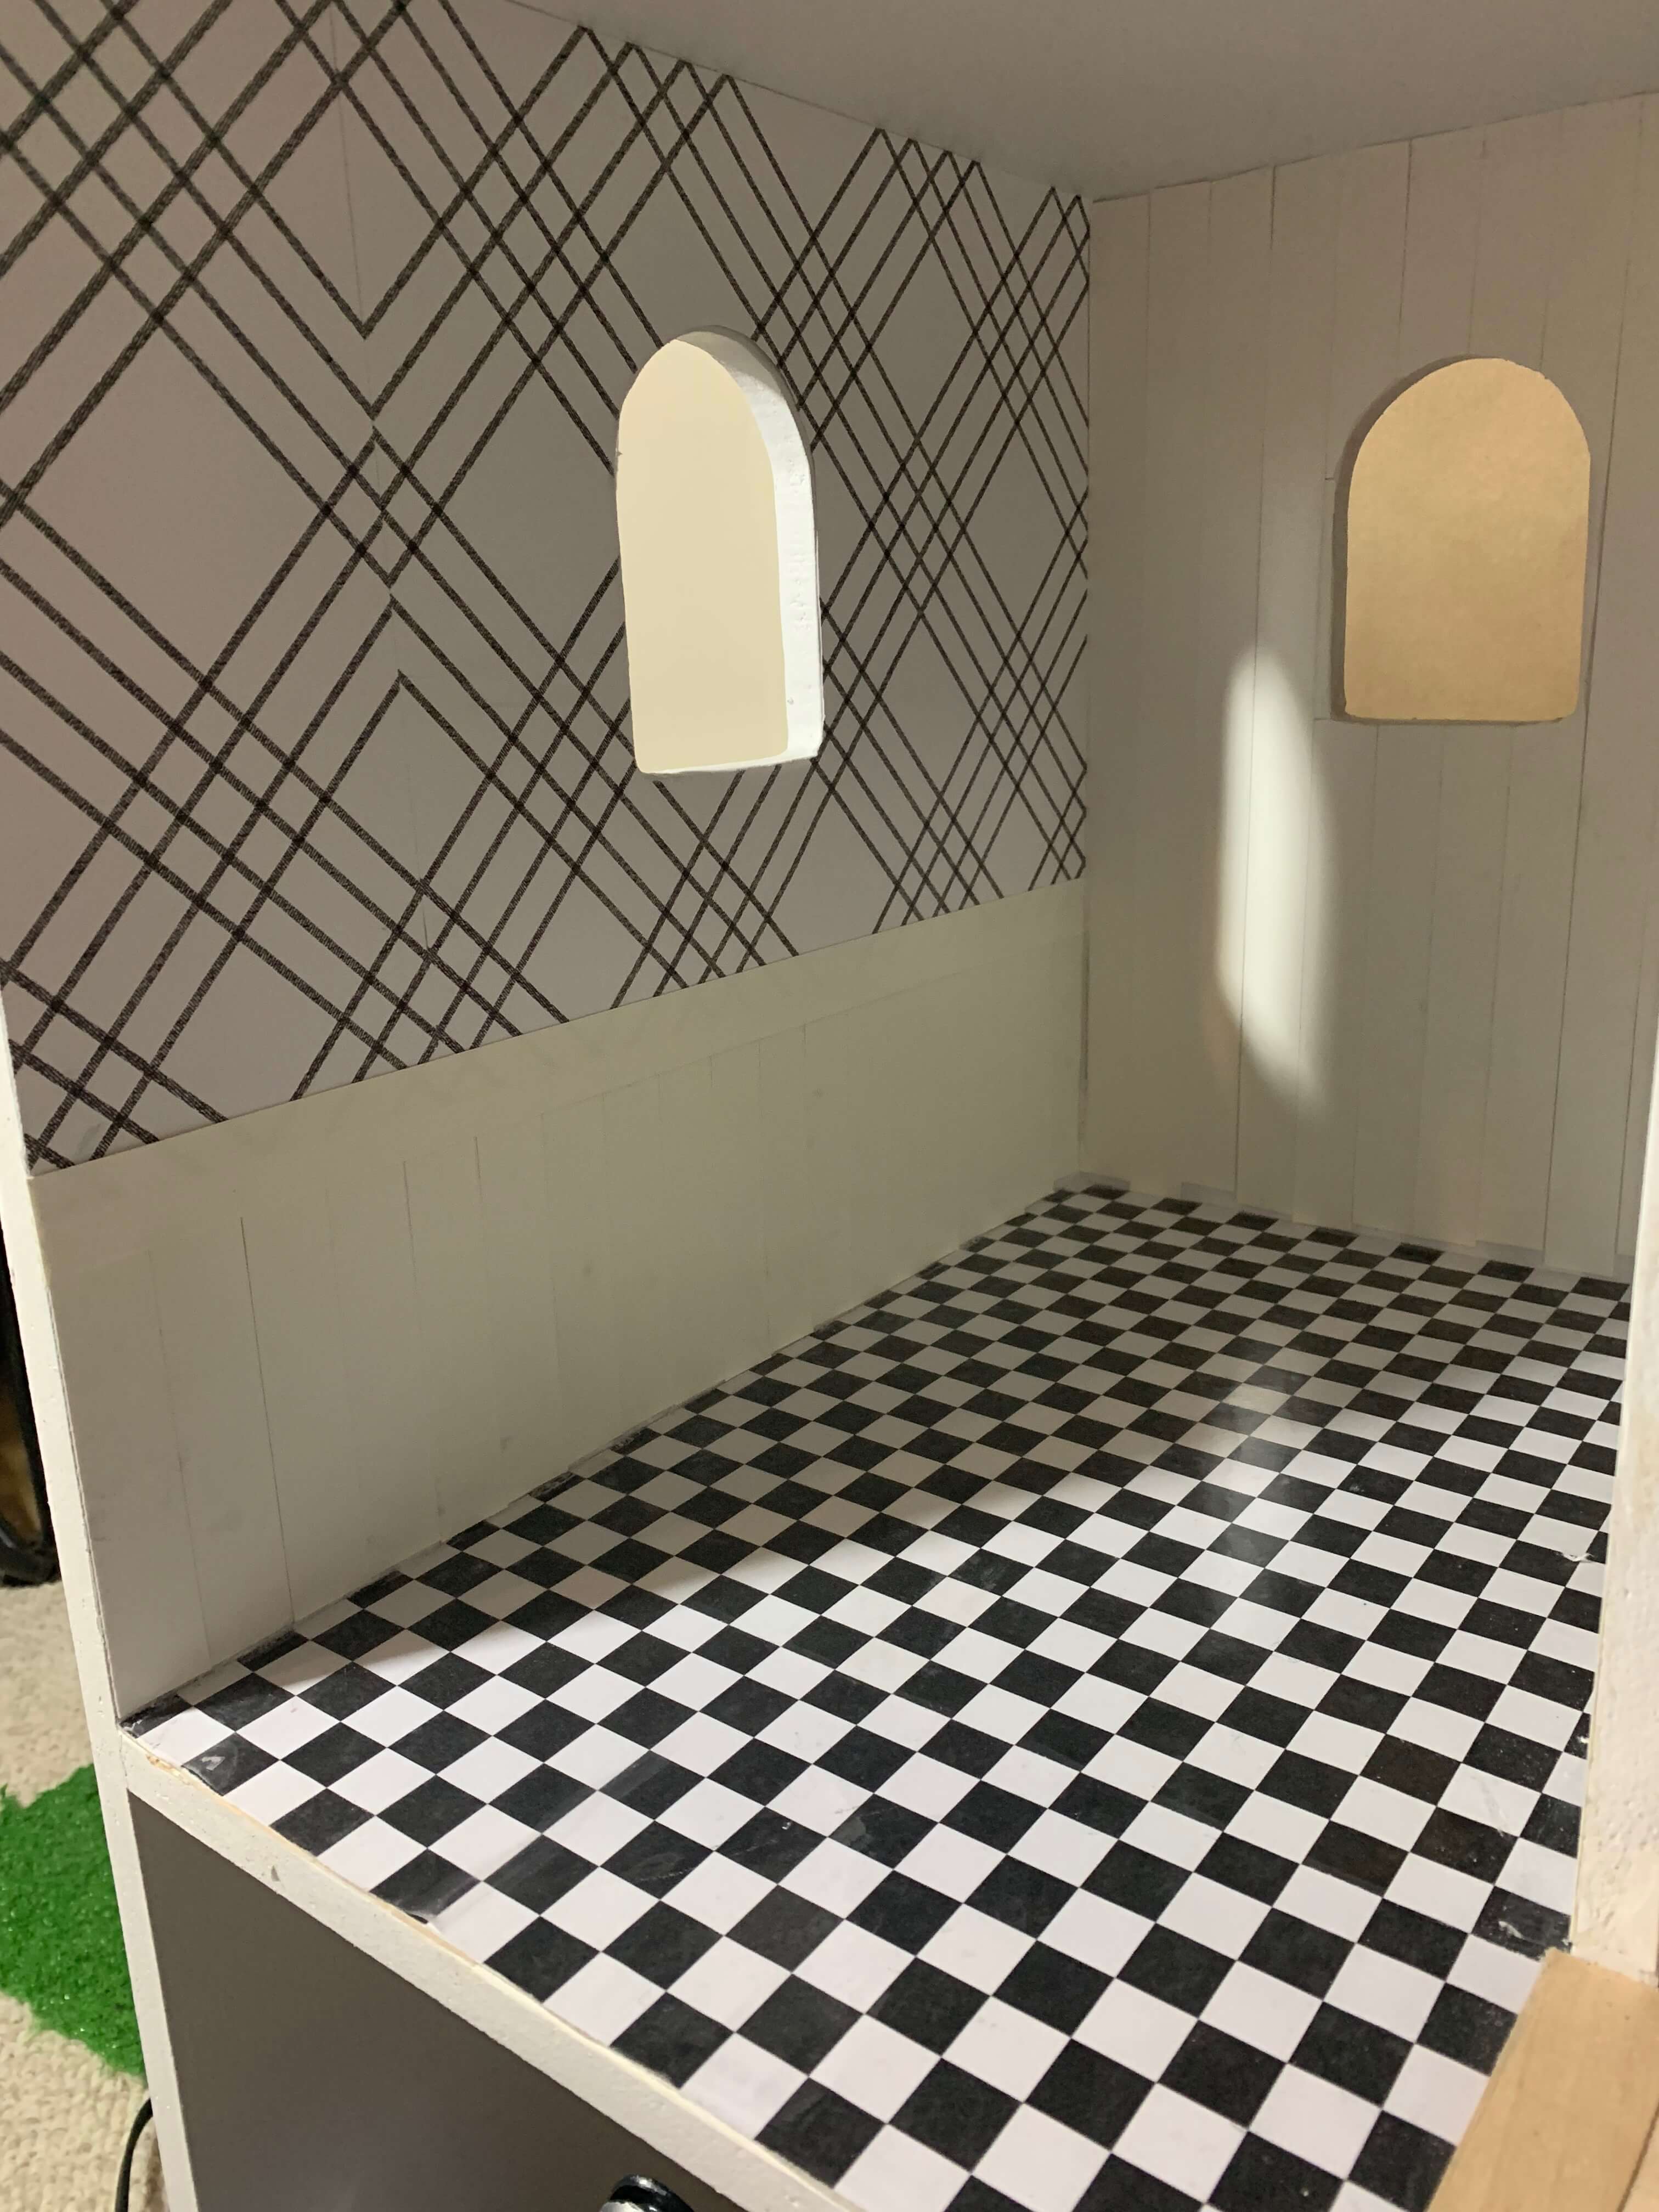
WALLPAPER
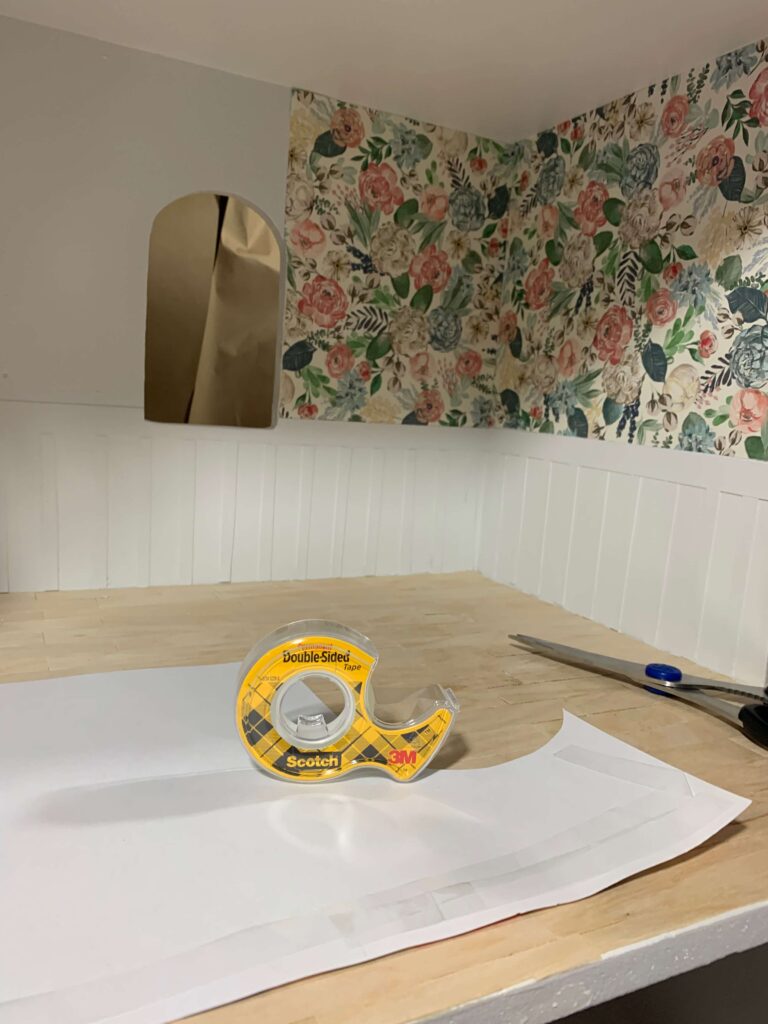
After reading a few different ways of doing wallpaper, I went with Jackie’s advice and use double sided tape. It has held up surprisingly really well, yet it is also very easy to replace or update if needed– with minimal damage.
THE ROOF
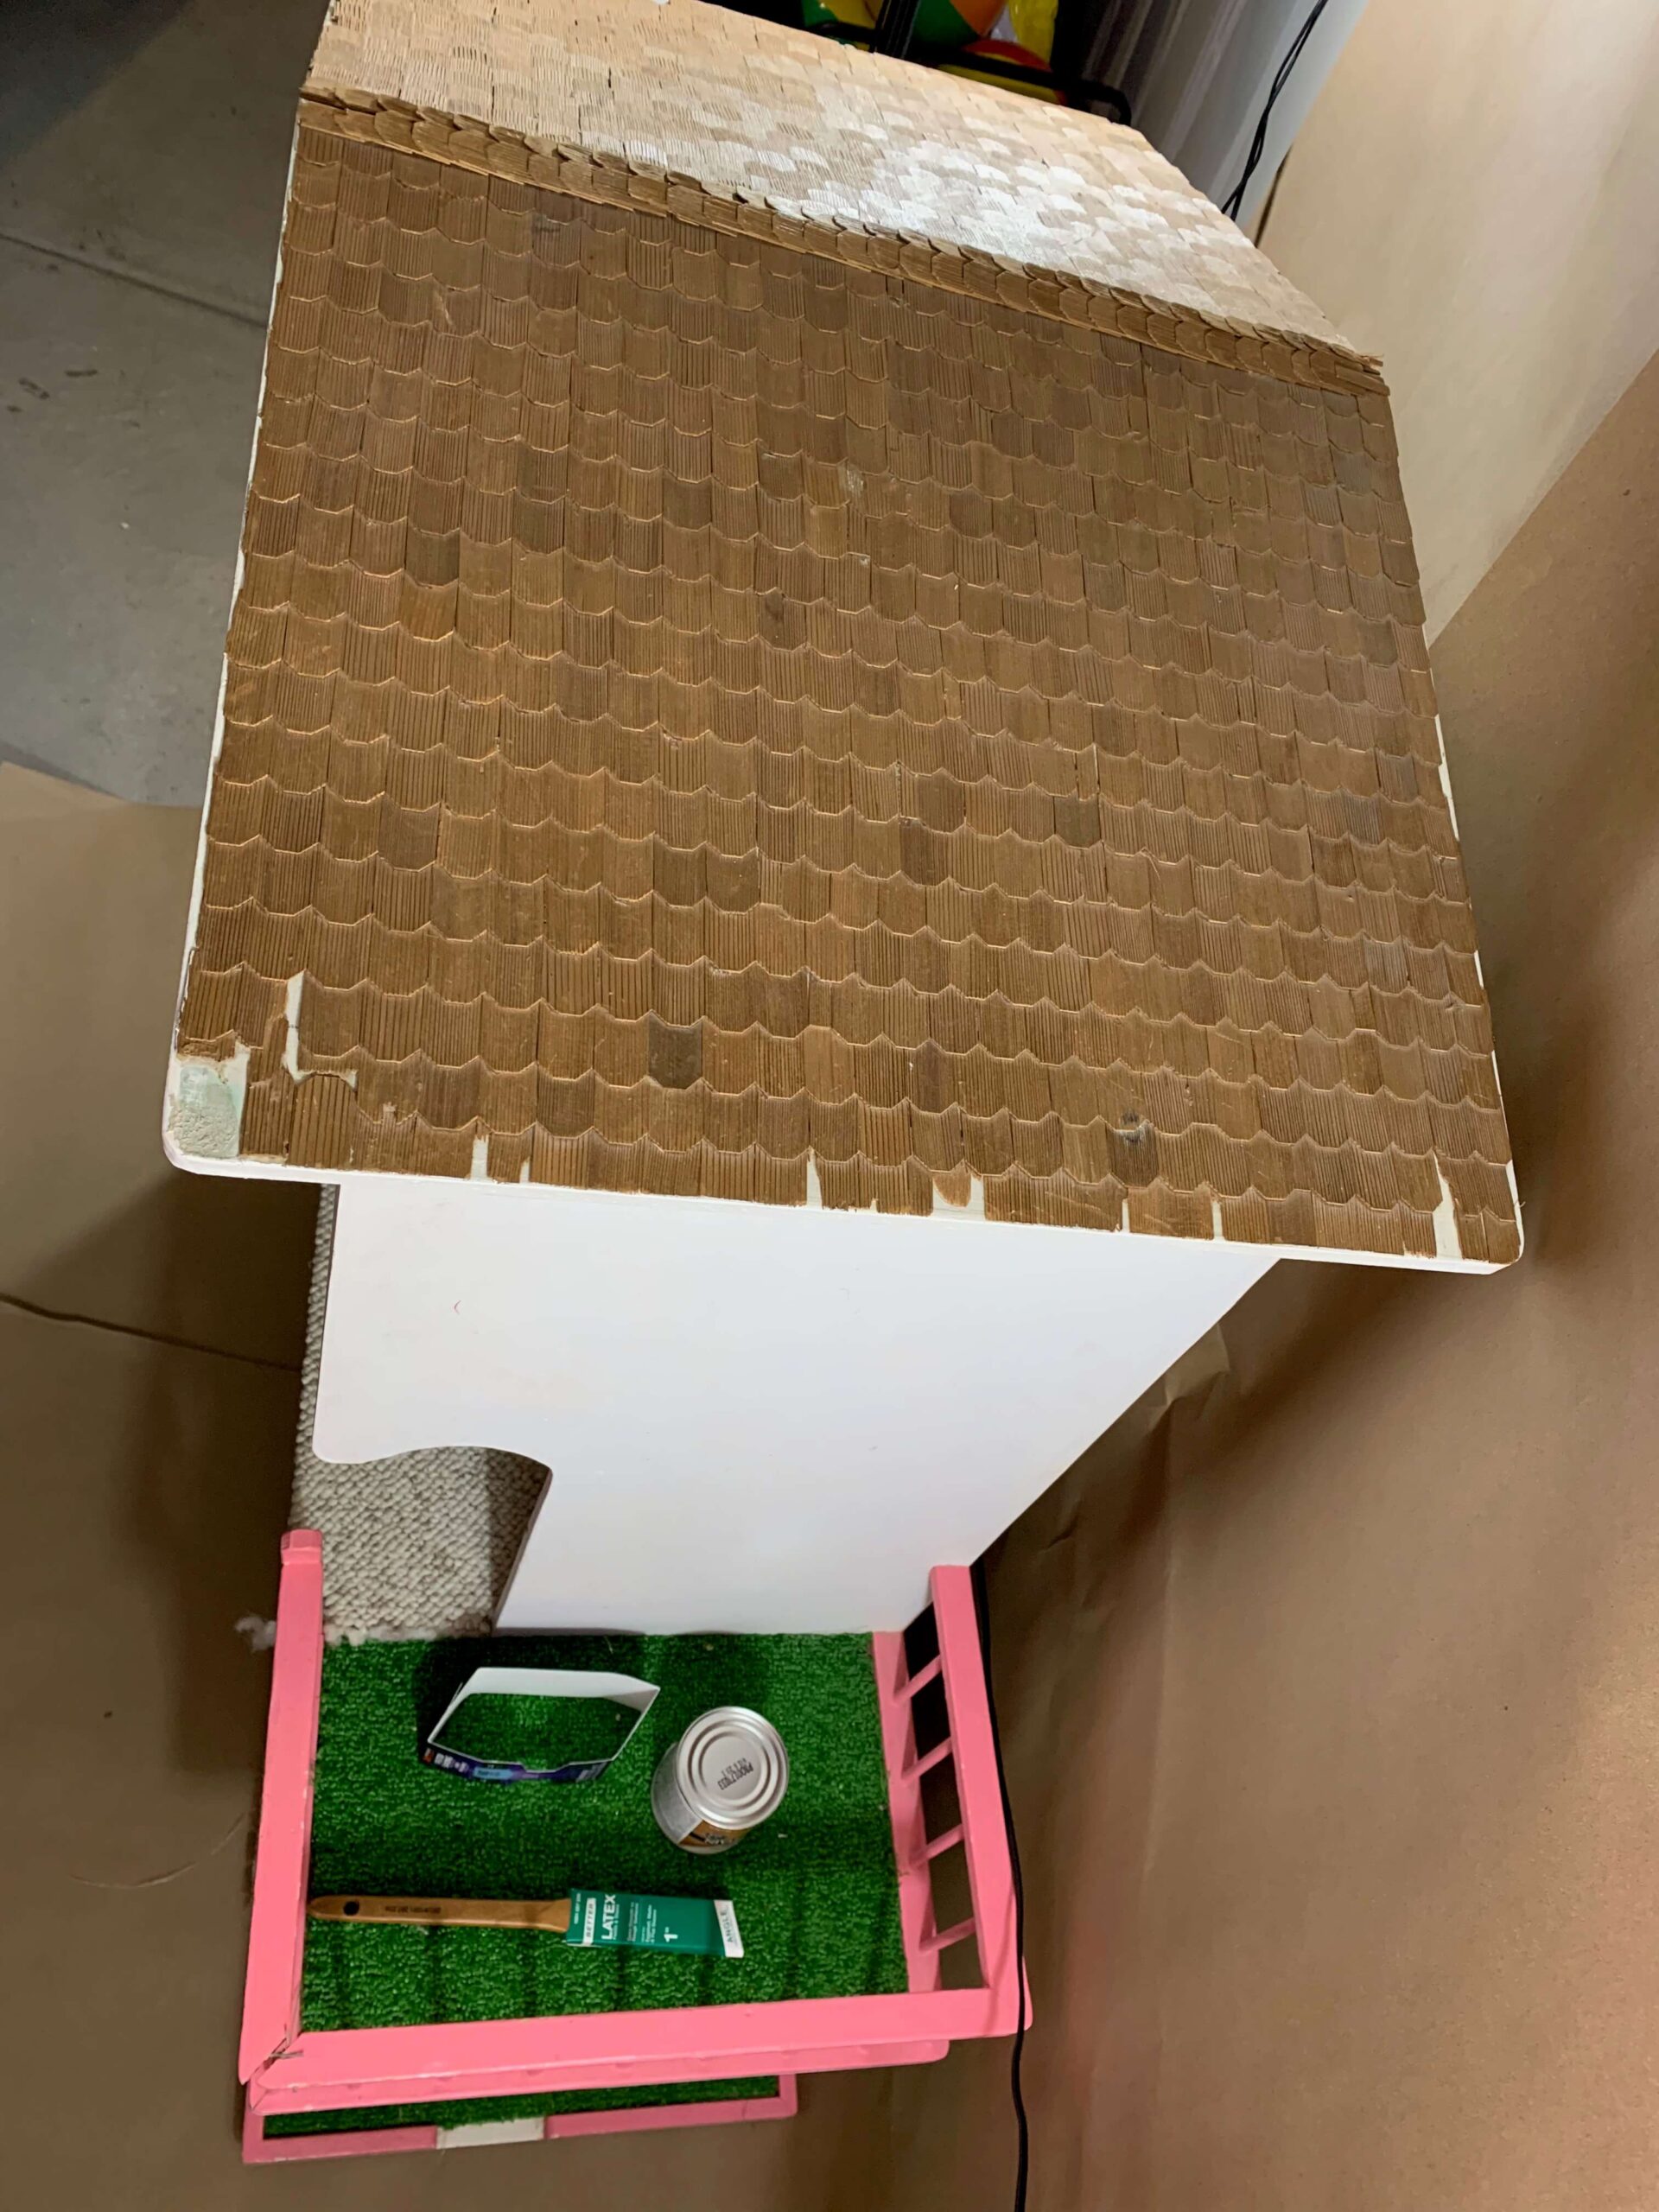
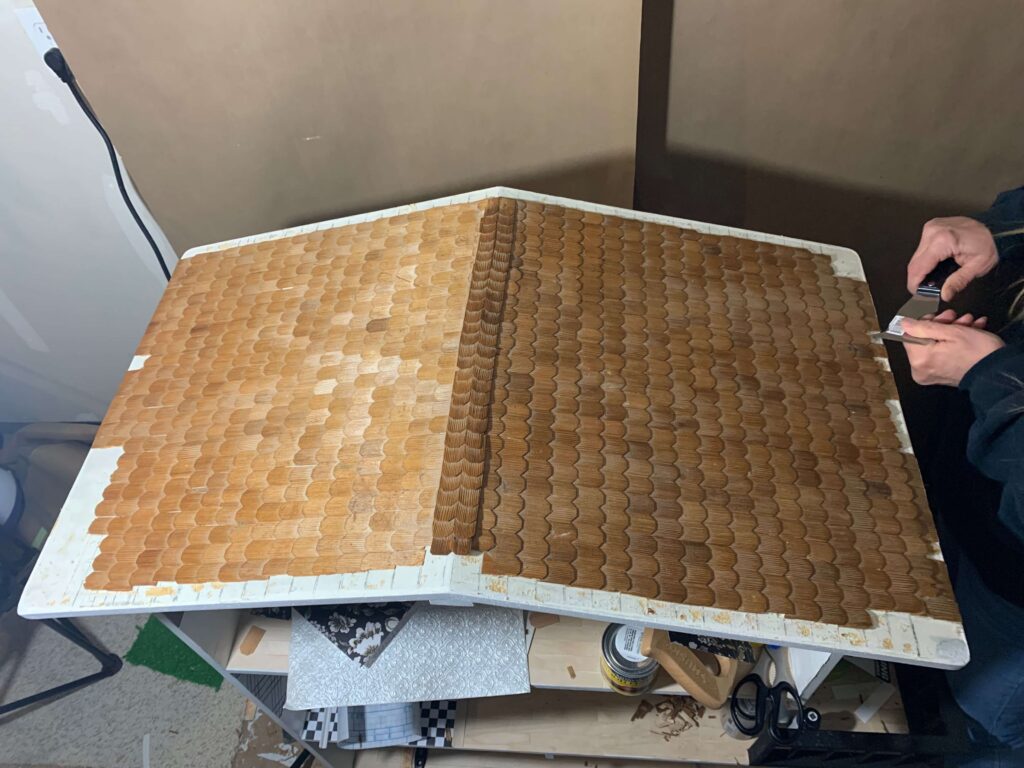
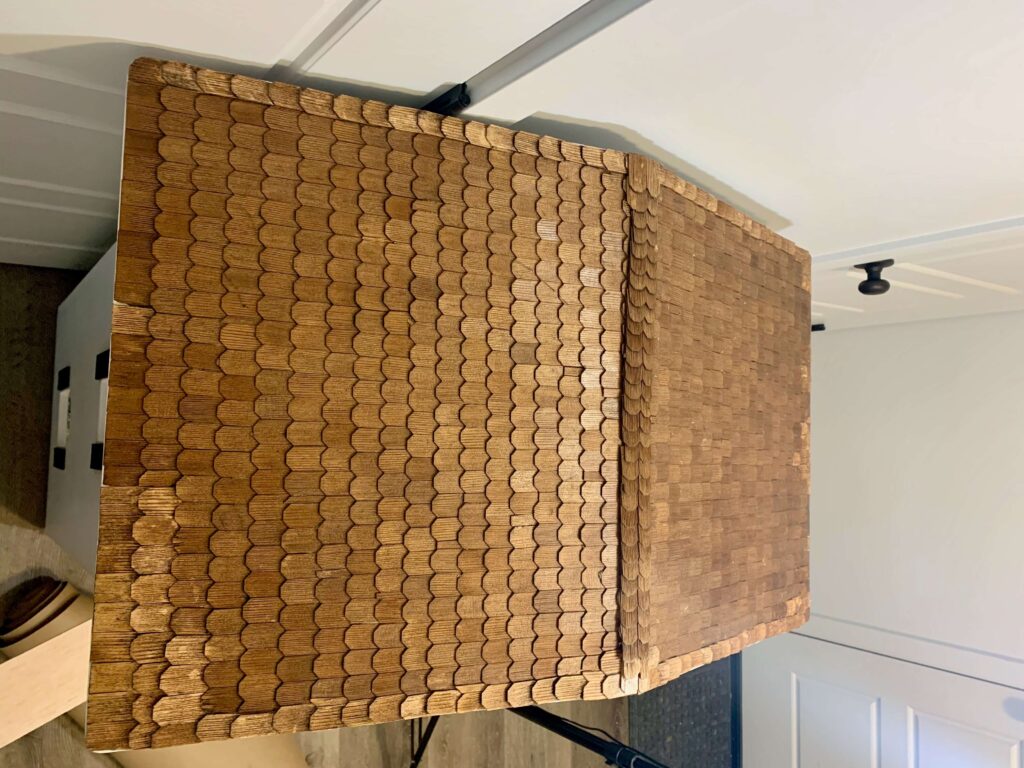
I wanted to try and leave the roof as original as possible. I lucked out and found very similar shingles at Hobby Lobby, and then played with a couple staining options:
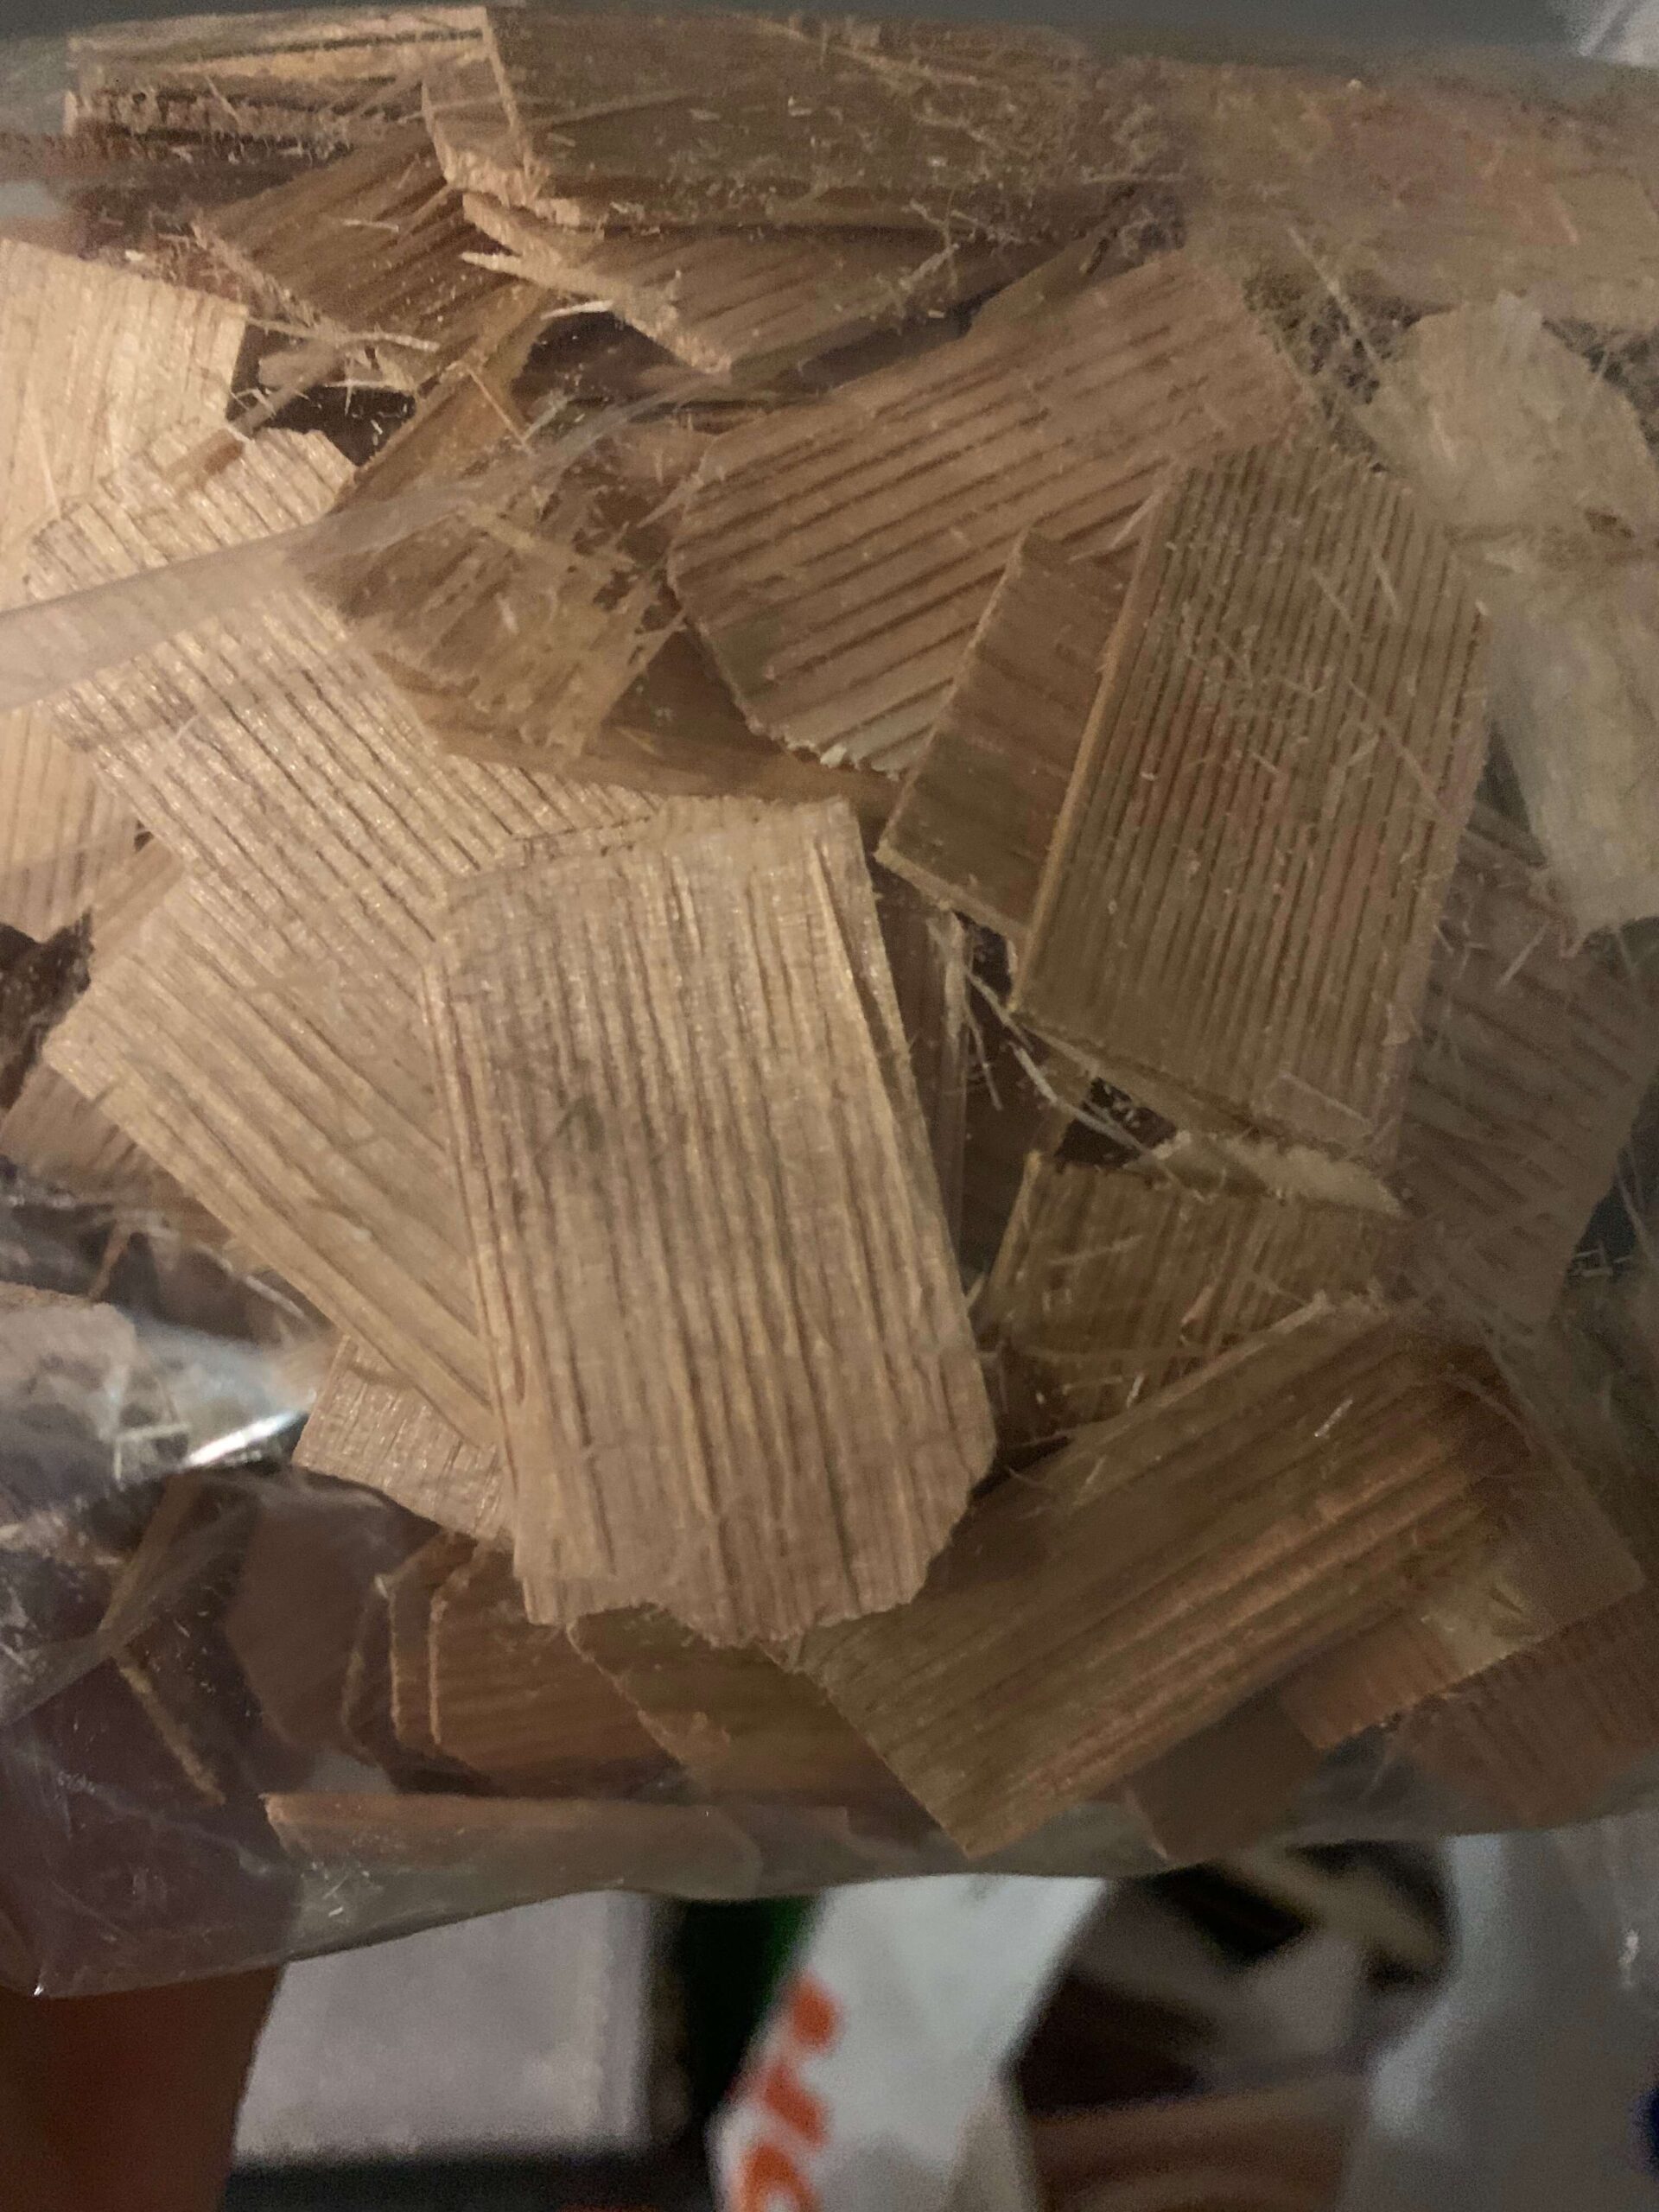
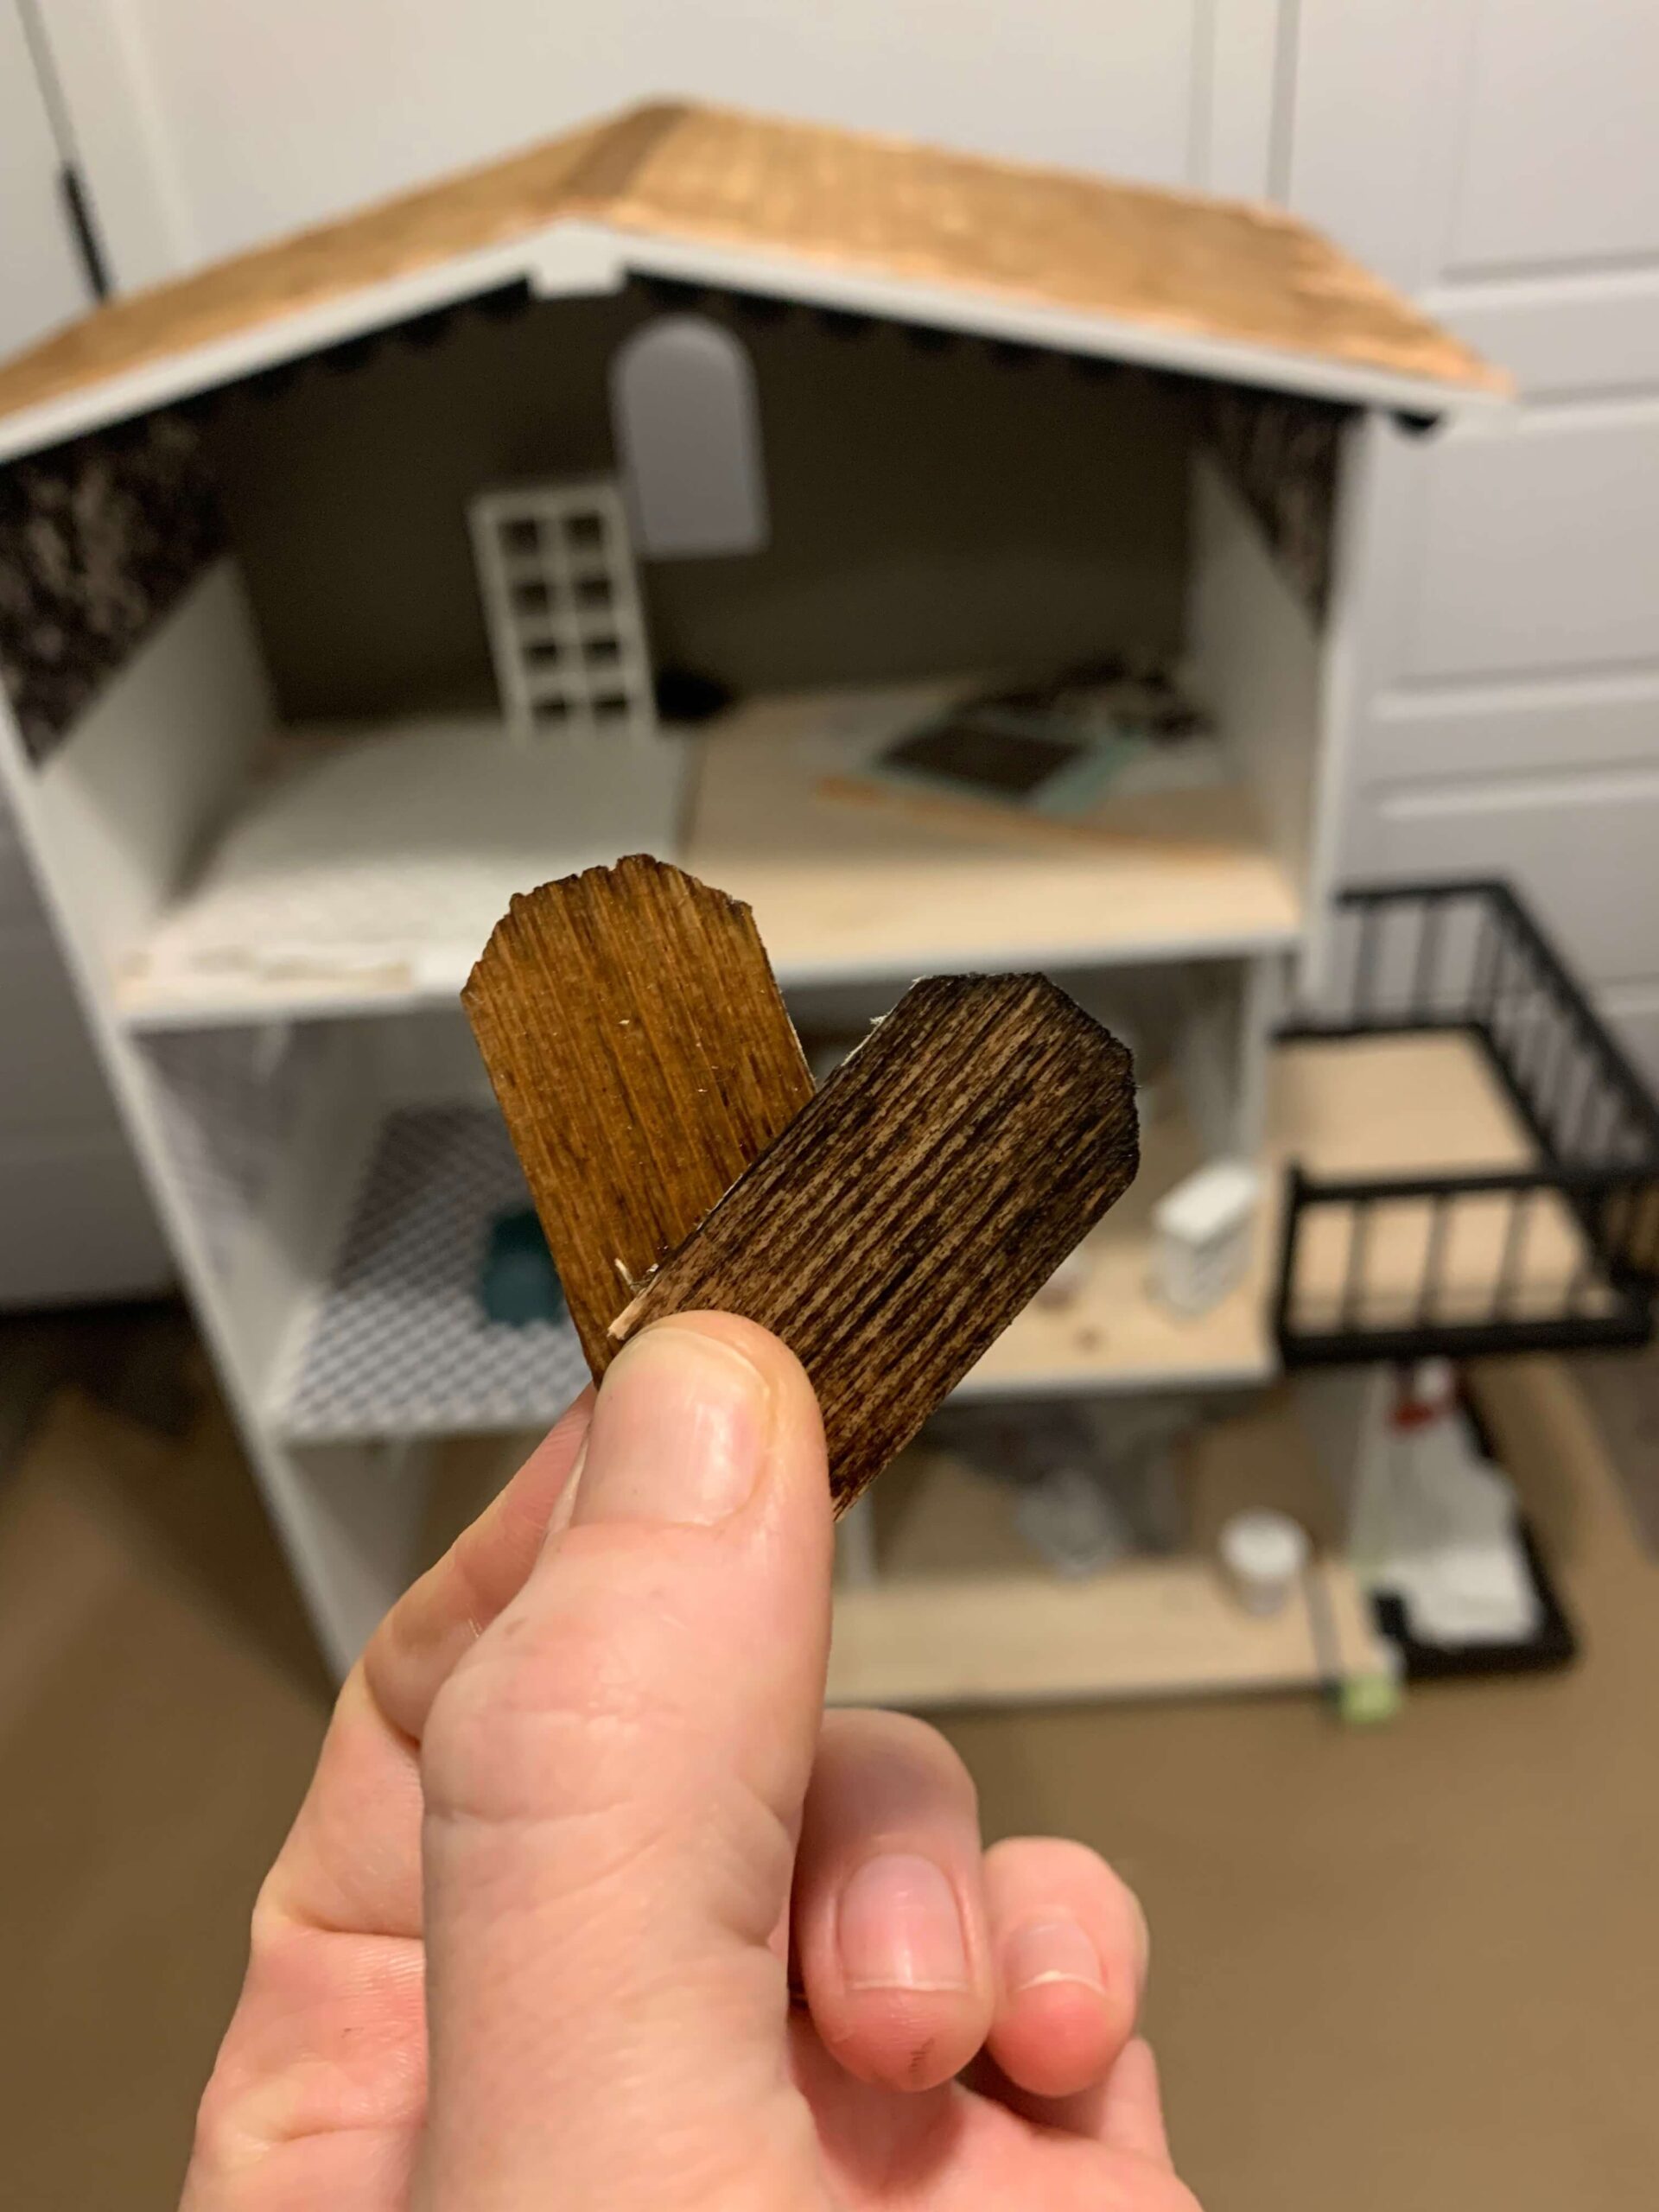
I put a poll out on social media to help decide which color to go with, but ended up going against the popular dark color vote for the more original looking brown.
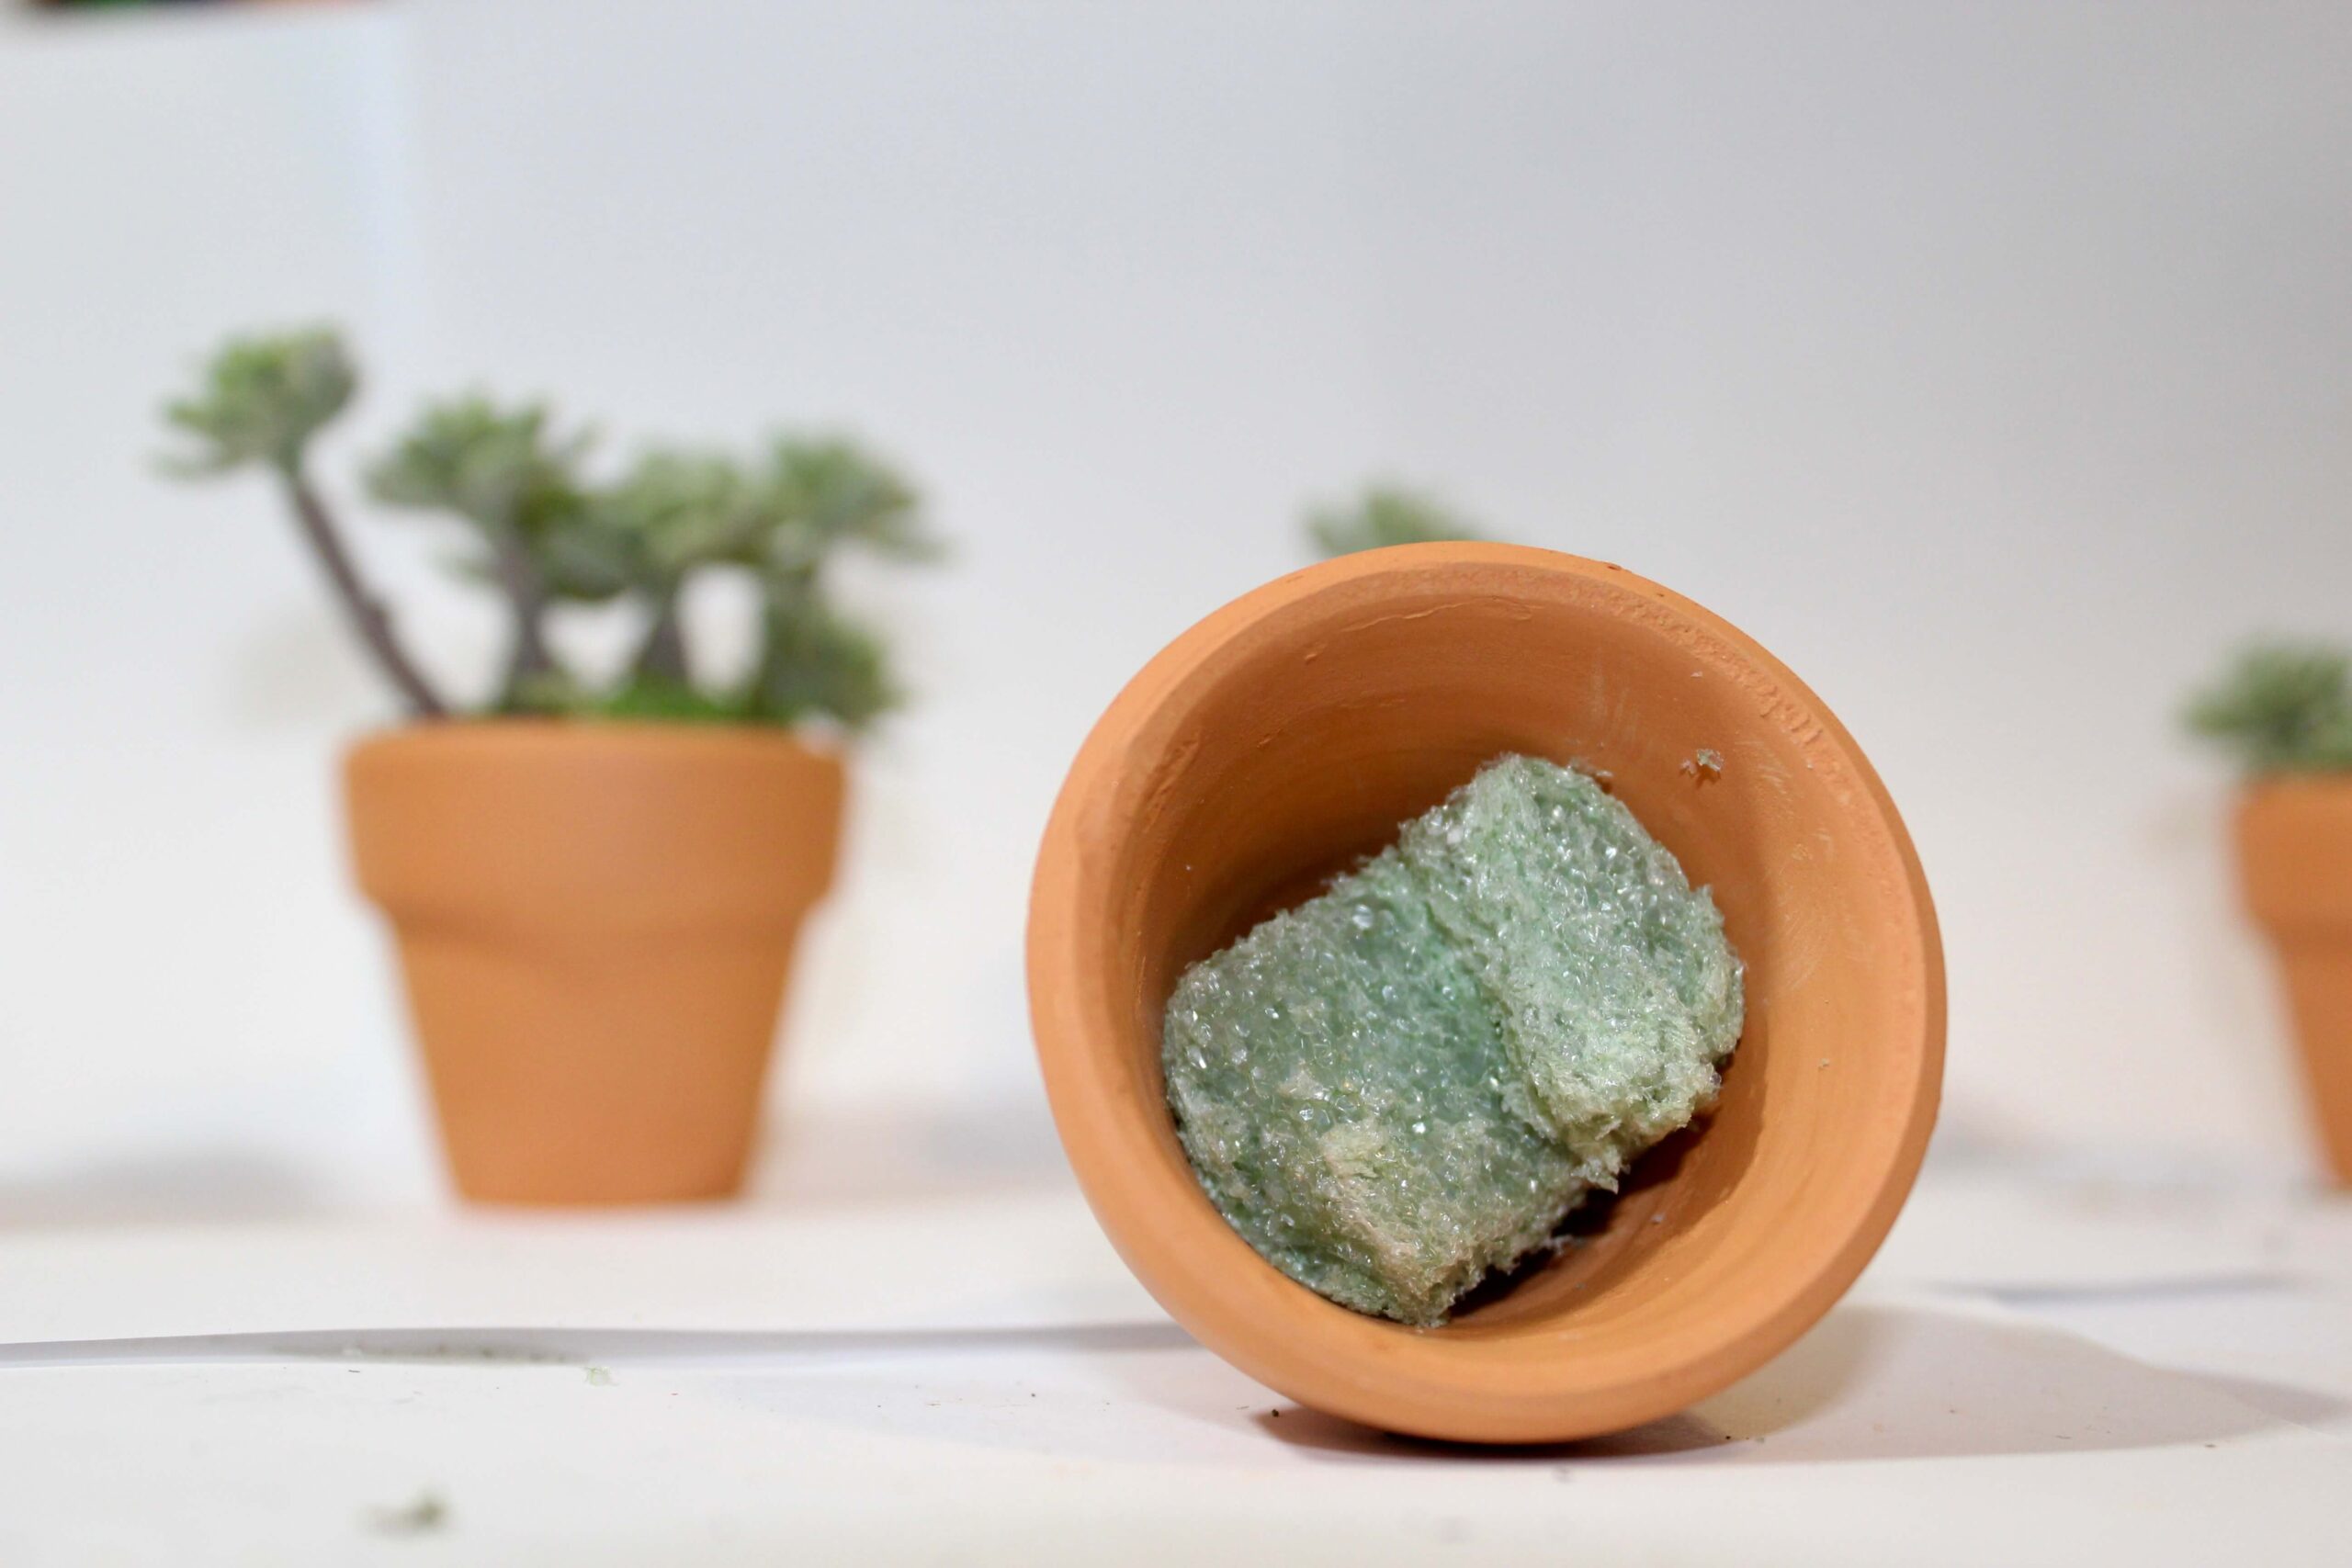
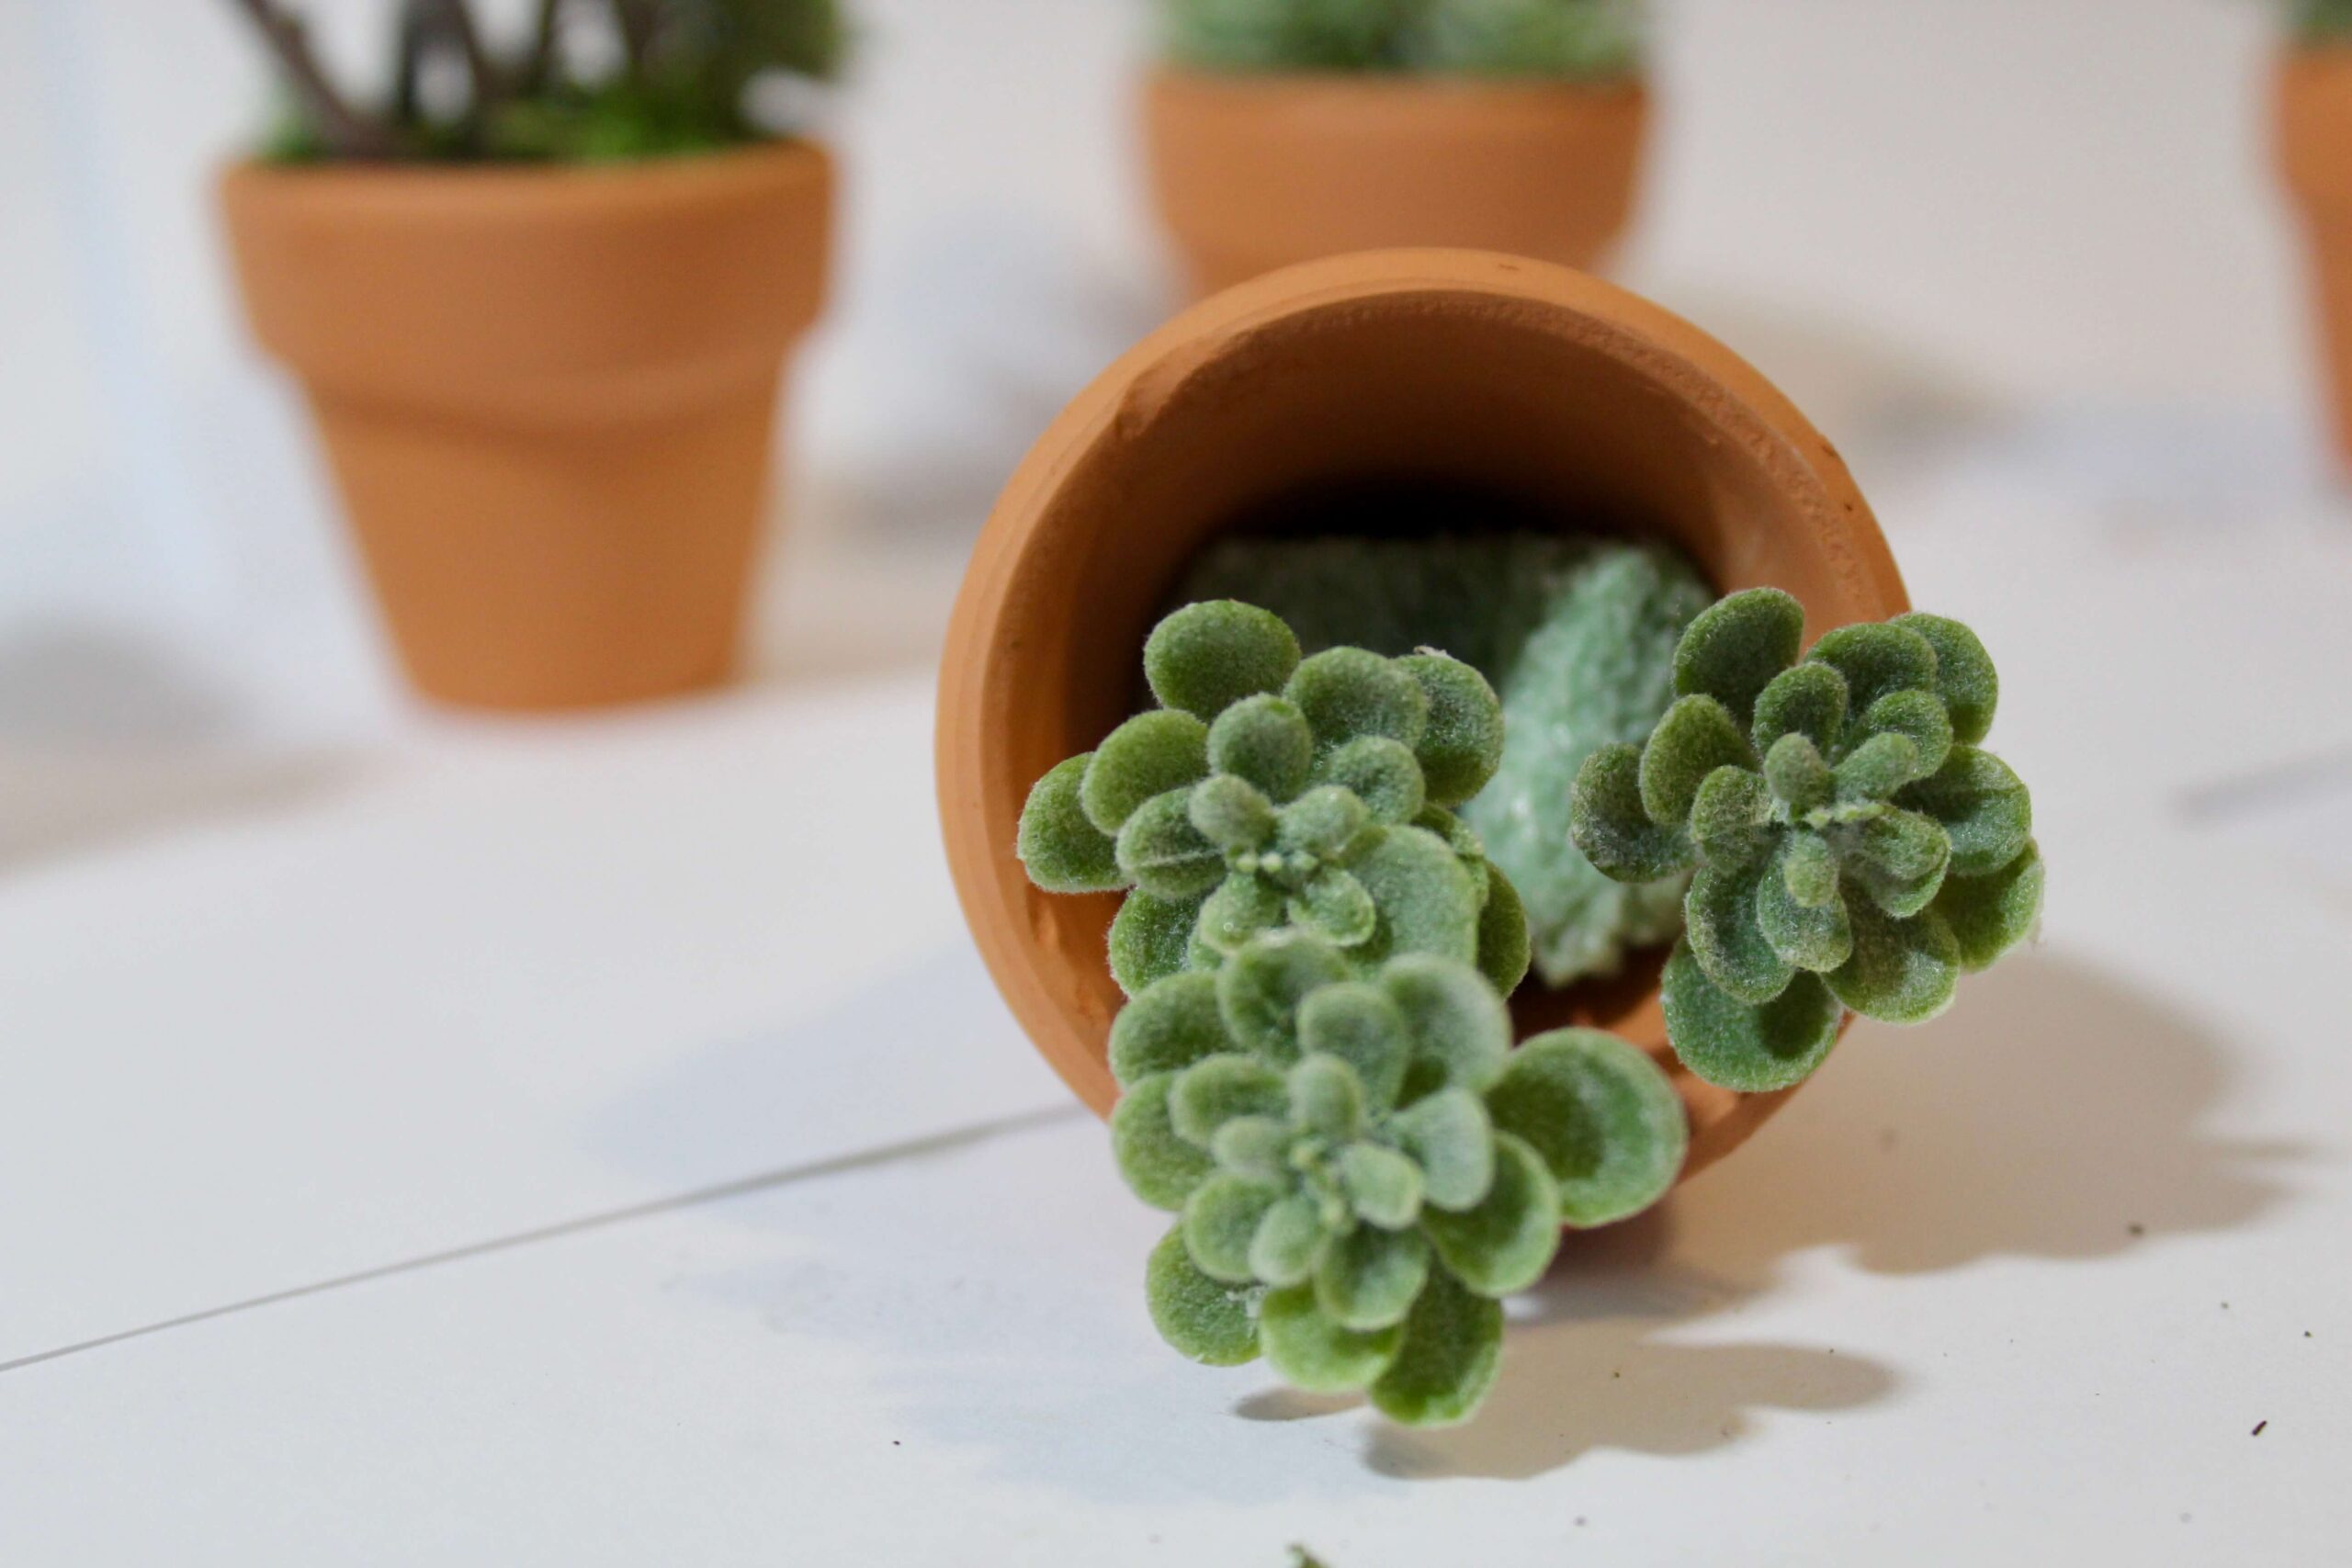
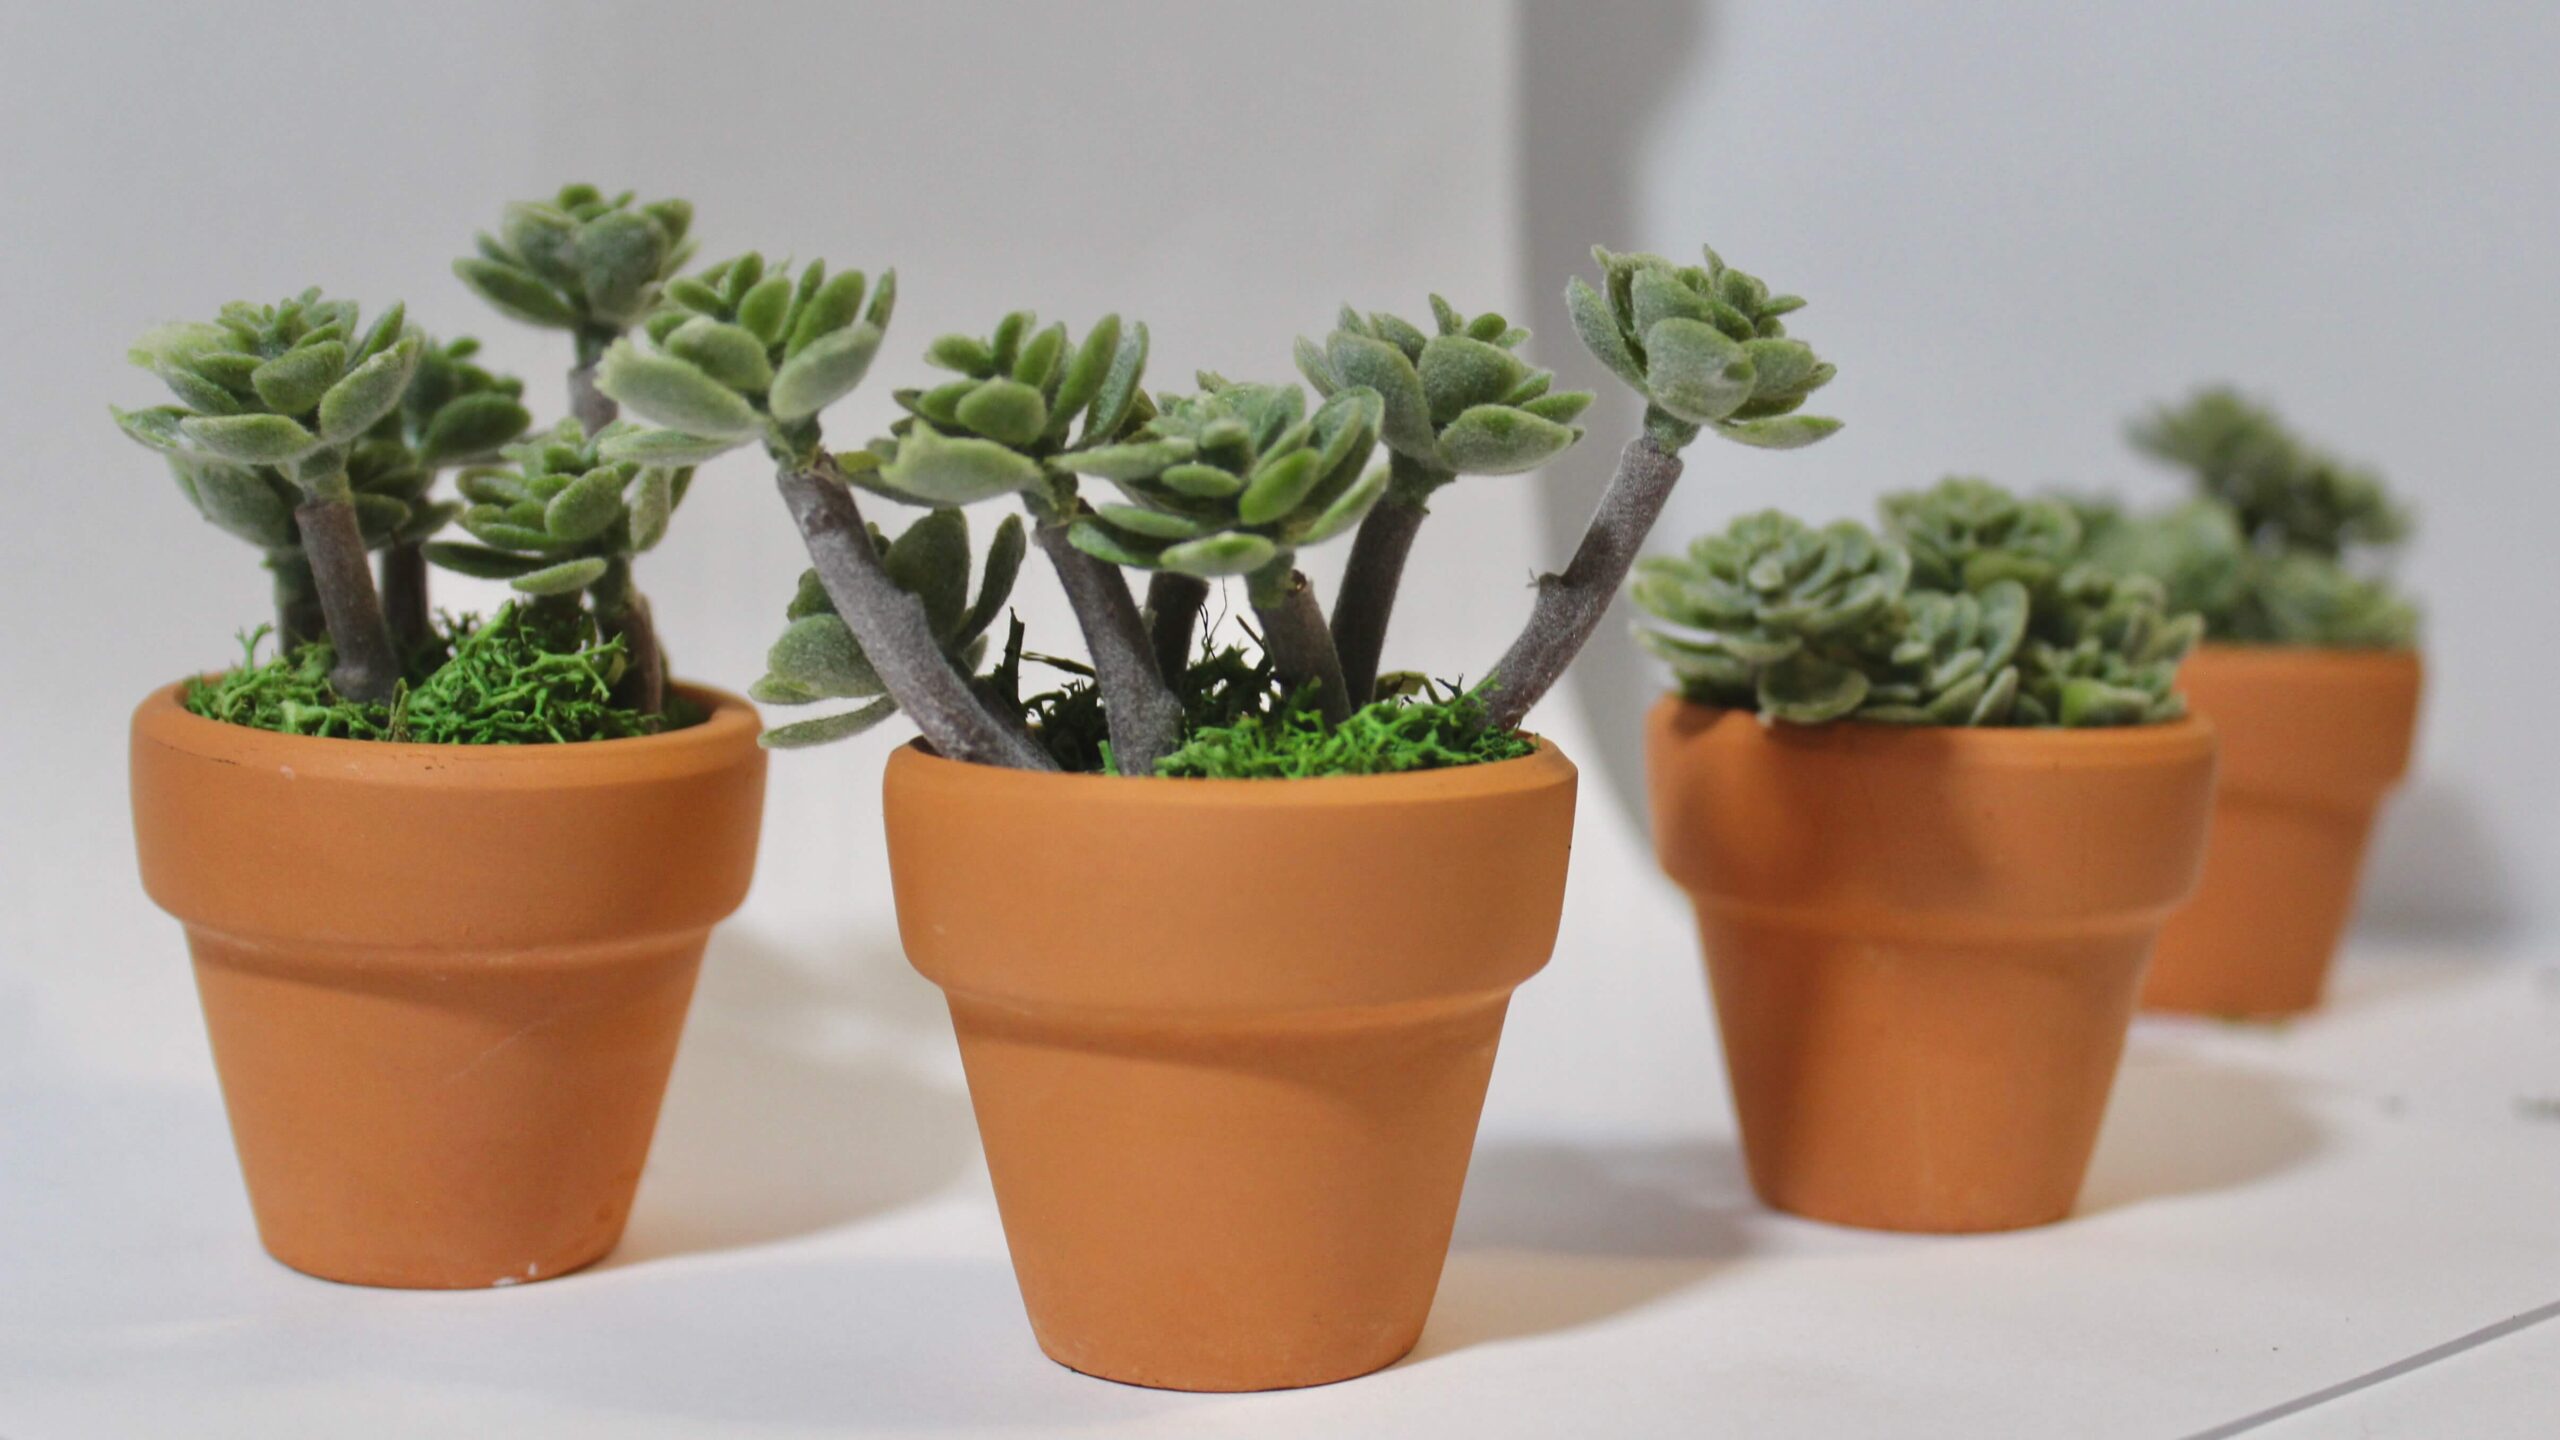
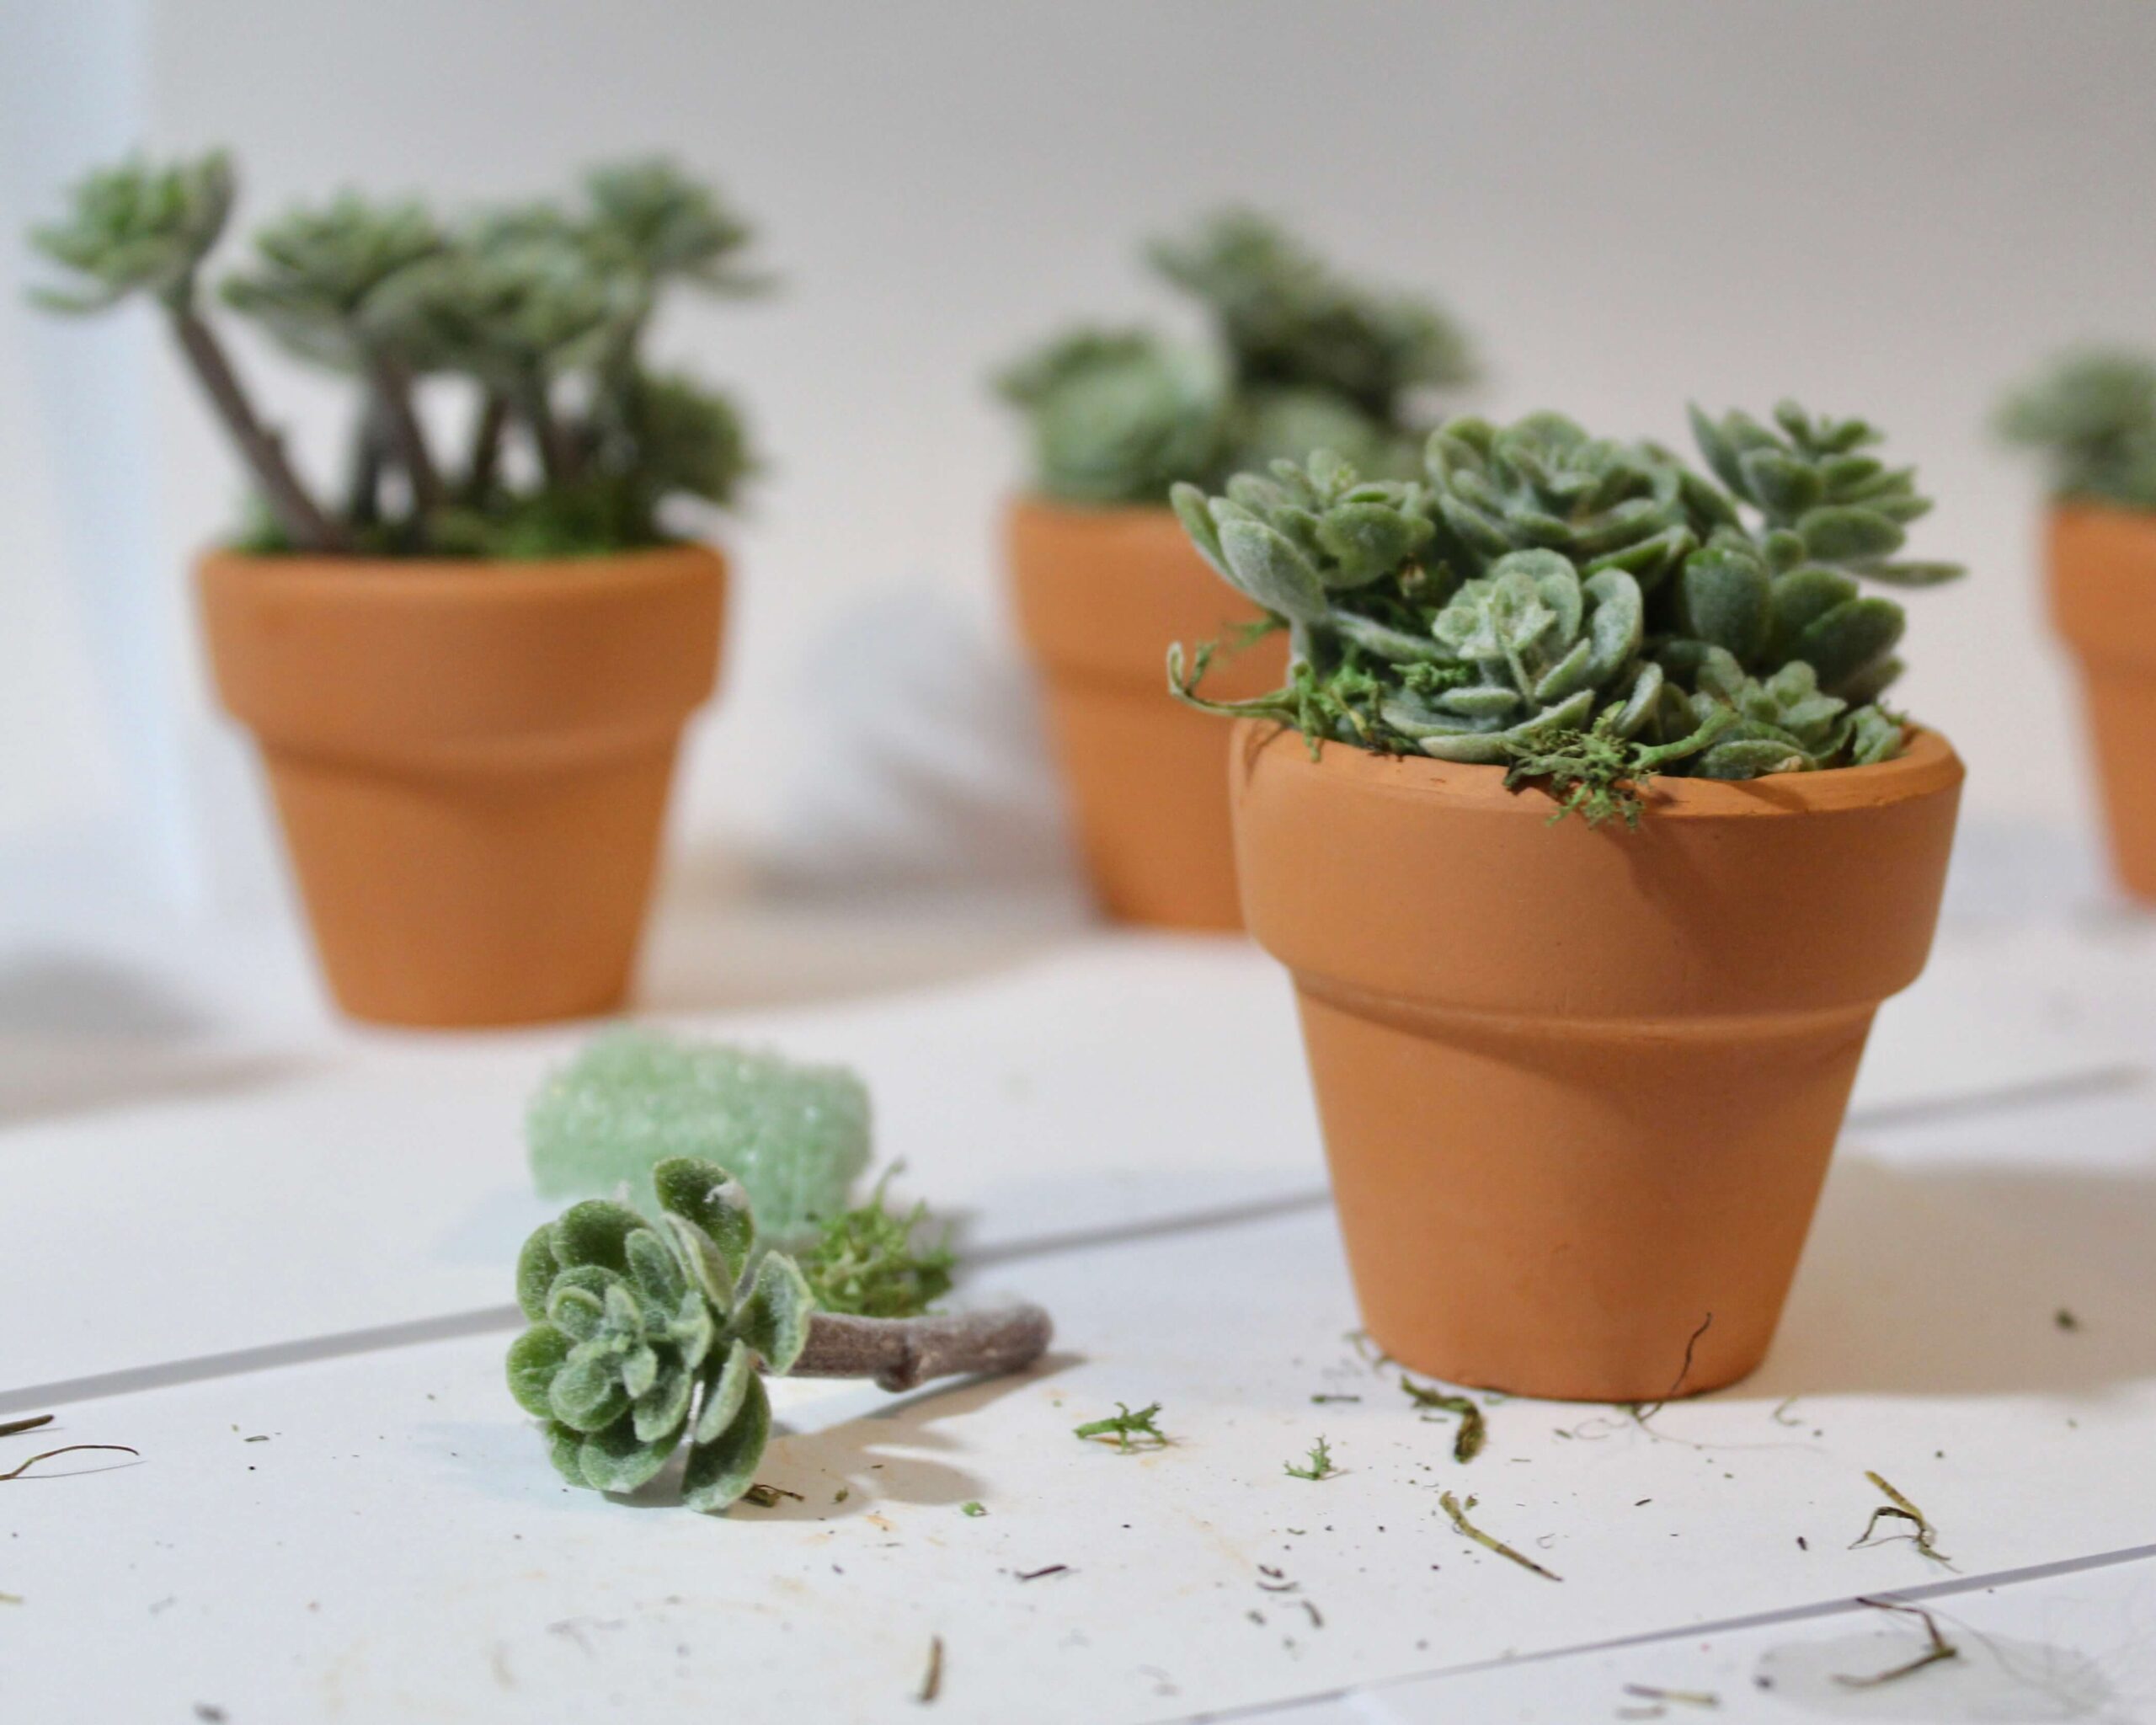
PLANTS!
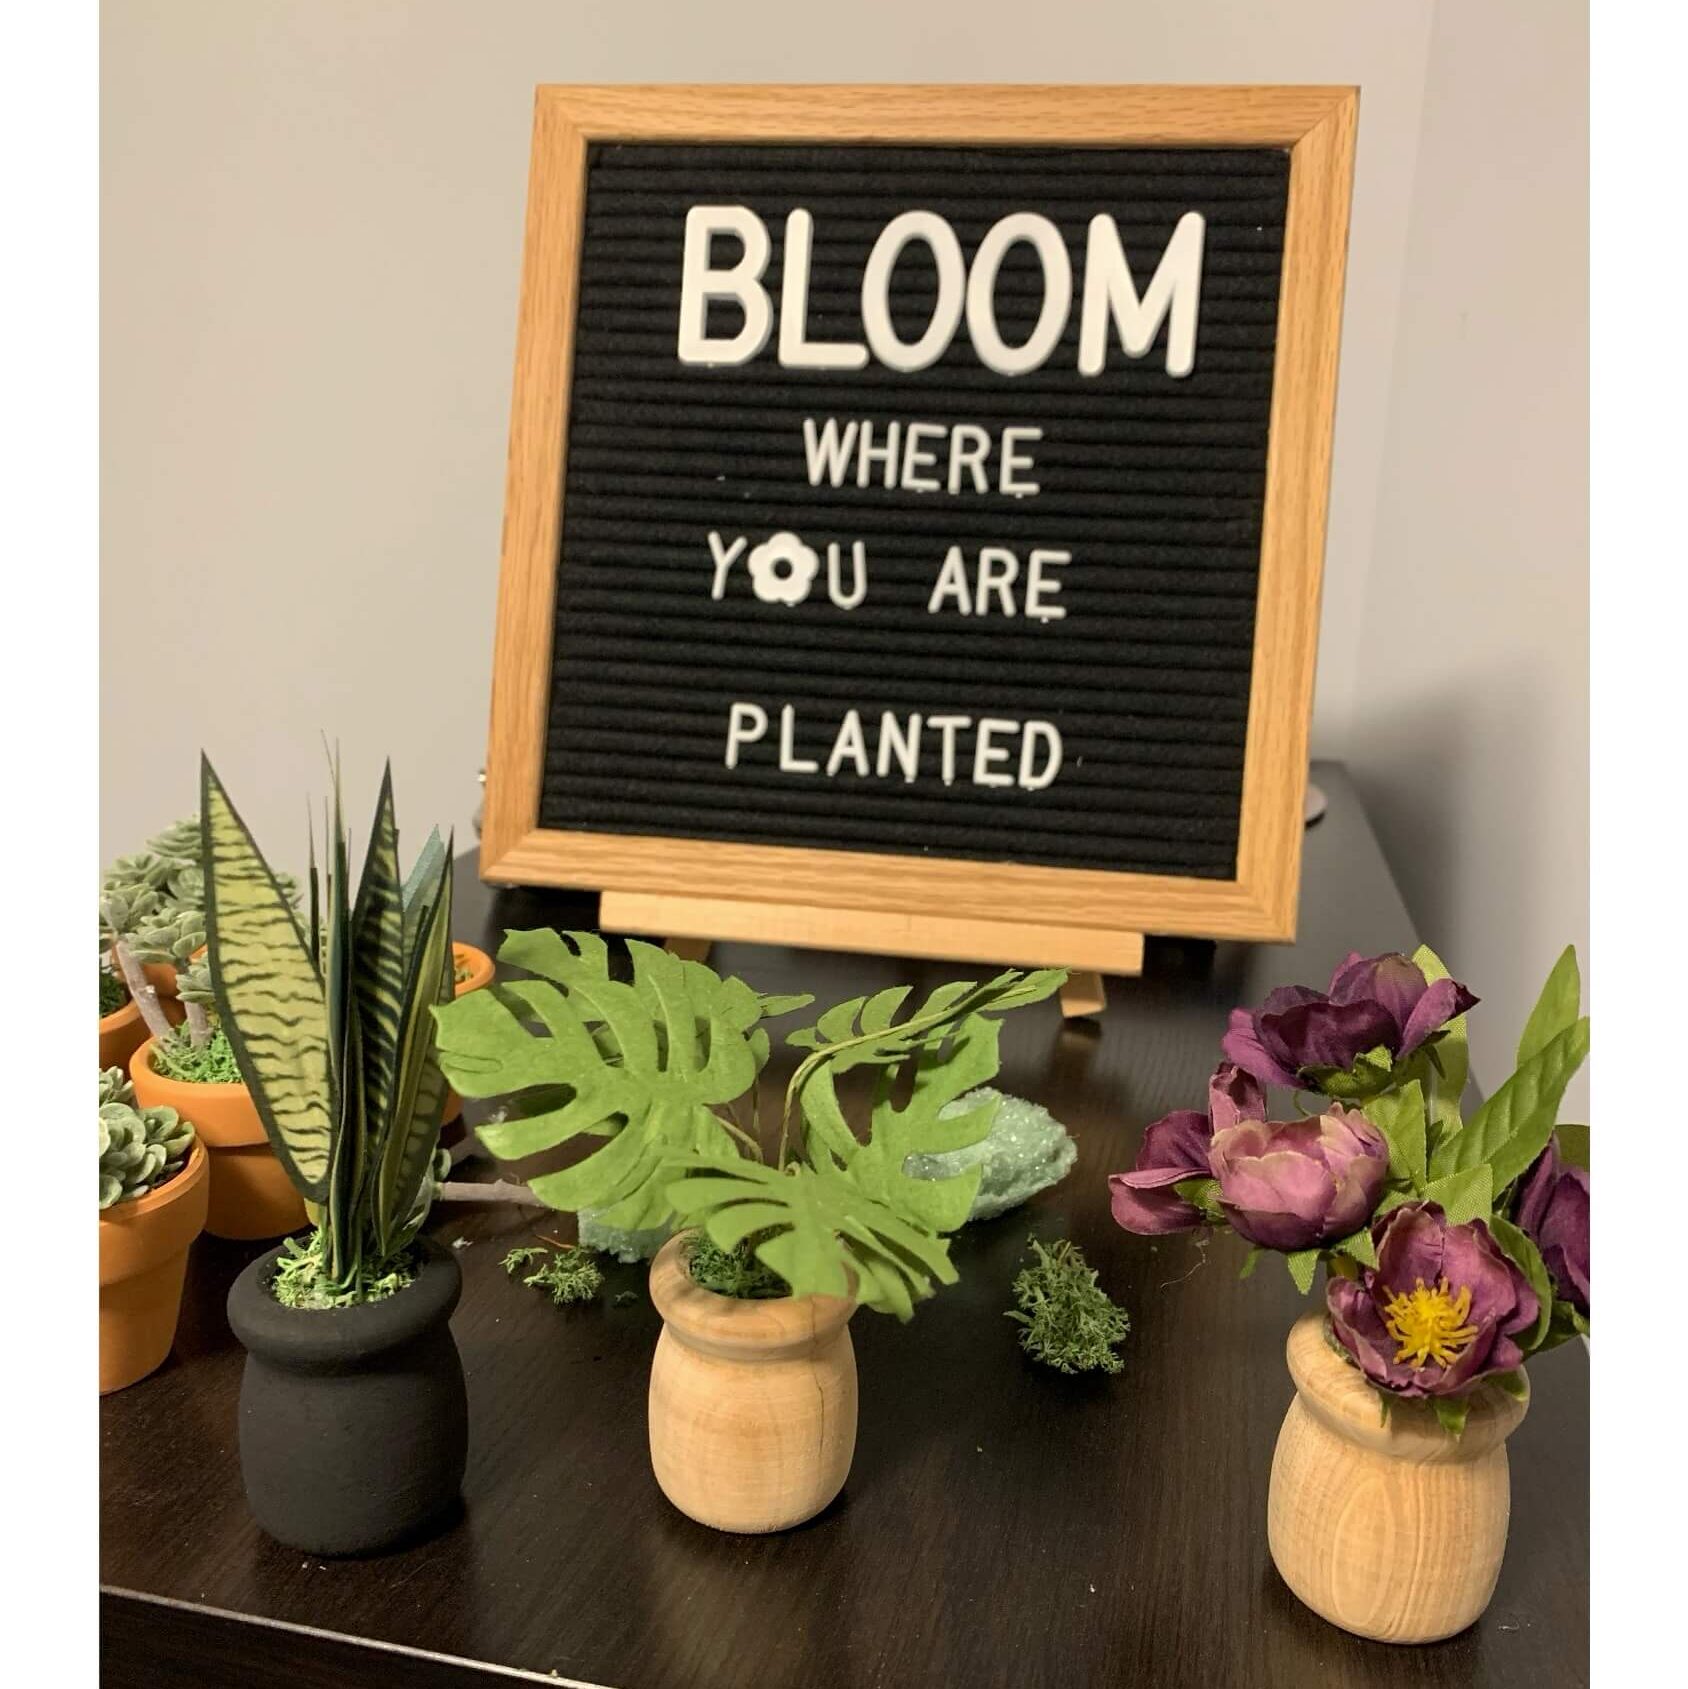
I had a ton of fun making some little plants for the house.
BEAUTIFULLY UPGRADED.
I AM OBSESSED with how it came out. I have so many little ideas I still want to do, but I had a goal to get it done by Christmas, so I had to stop somewhere.
I had to find the perfect balance of making it nice– but not TOO nice to play with.
It makes my heart squeal, and my Remi girl absolutely LOVES to play with it.
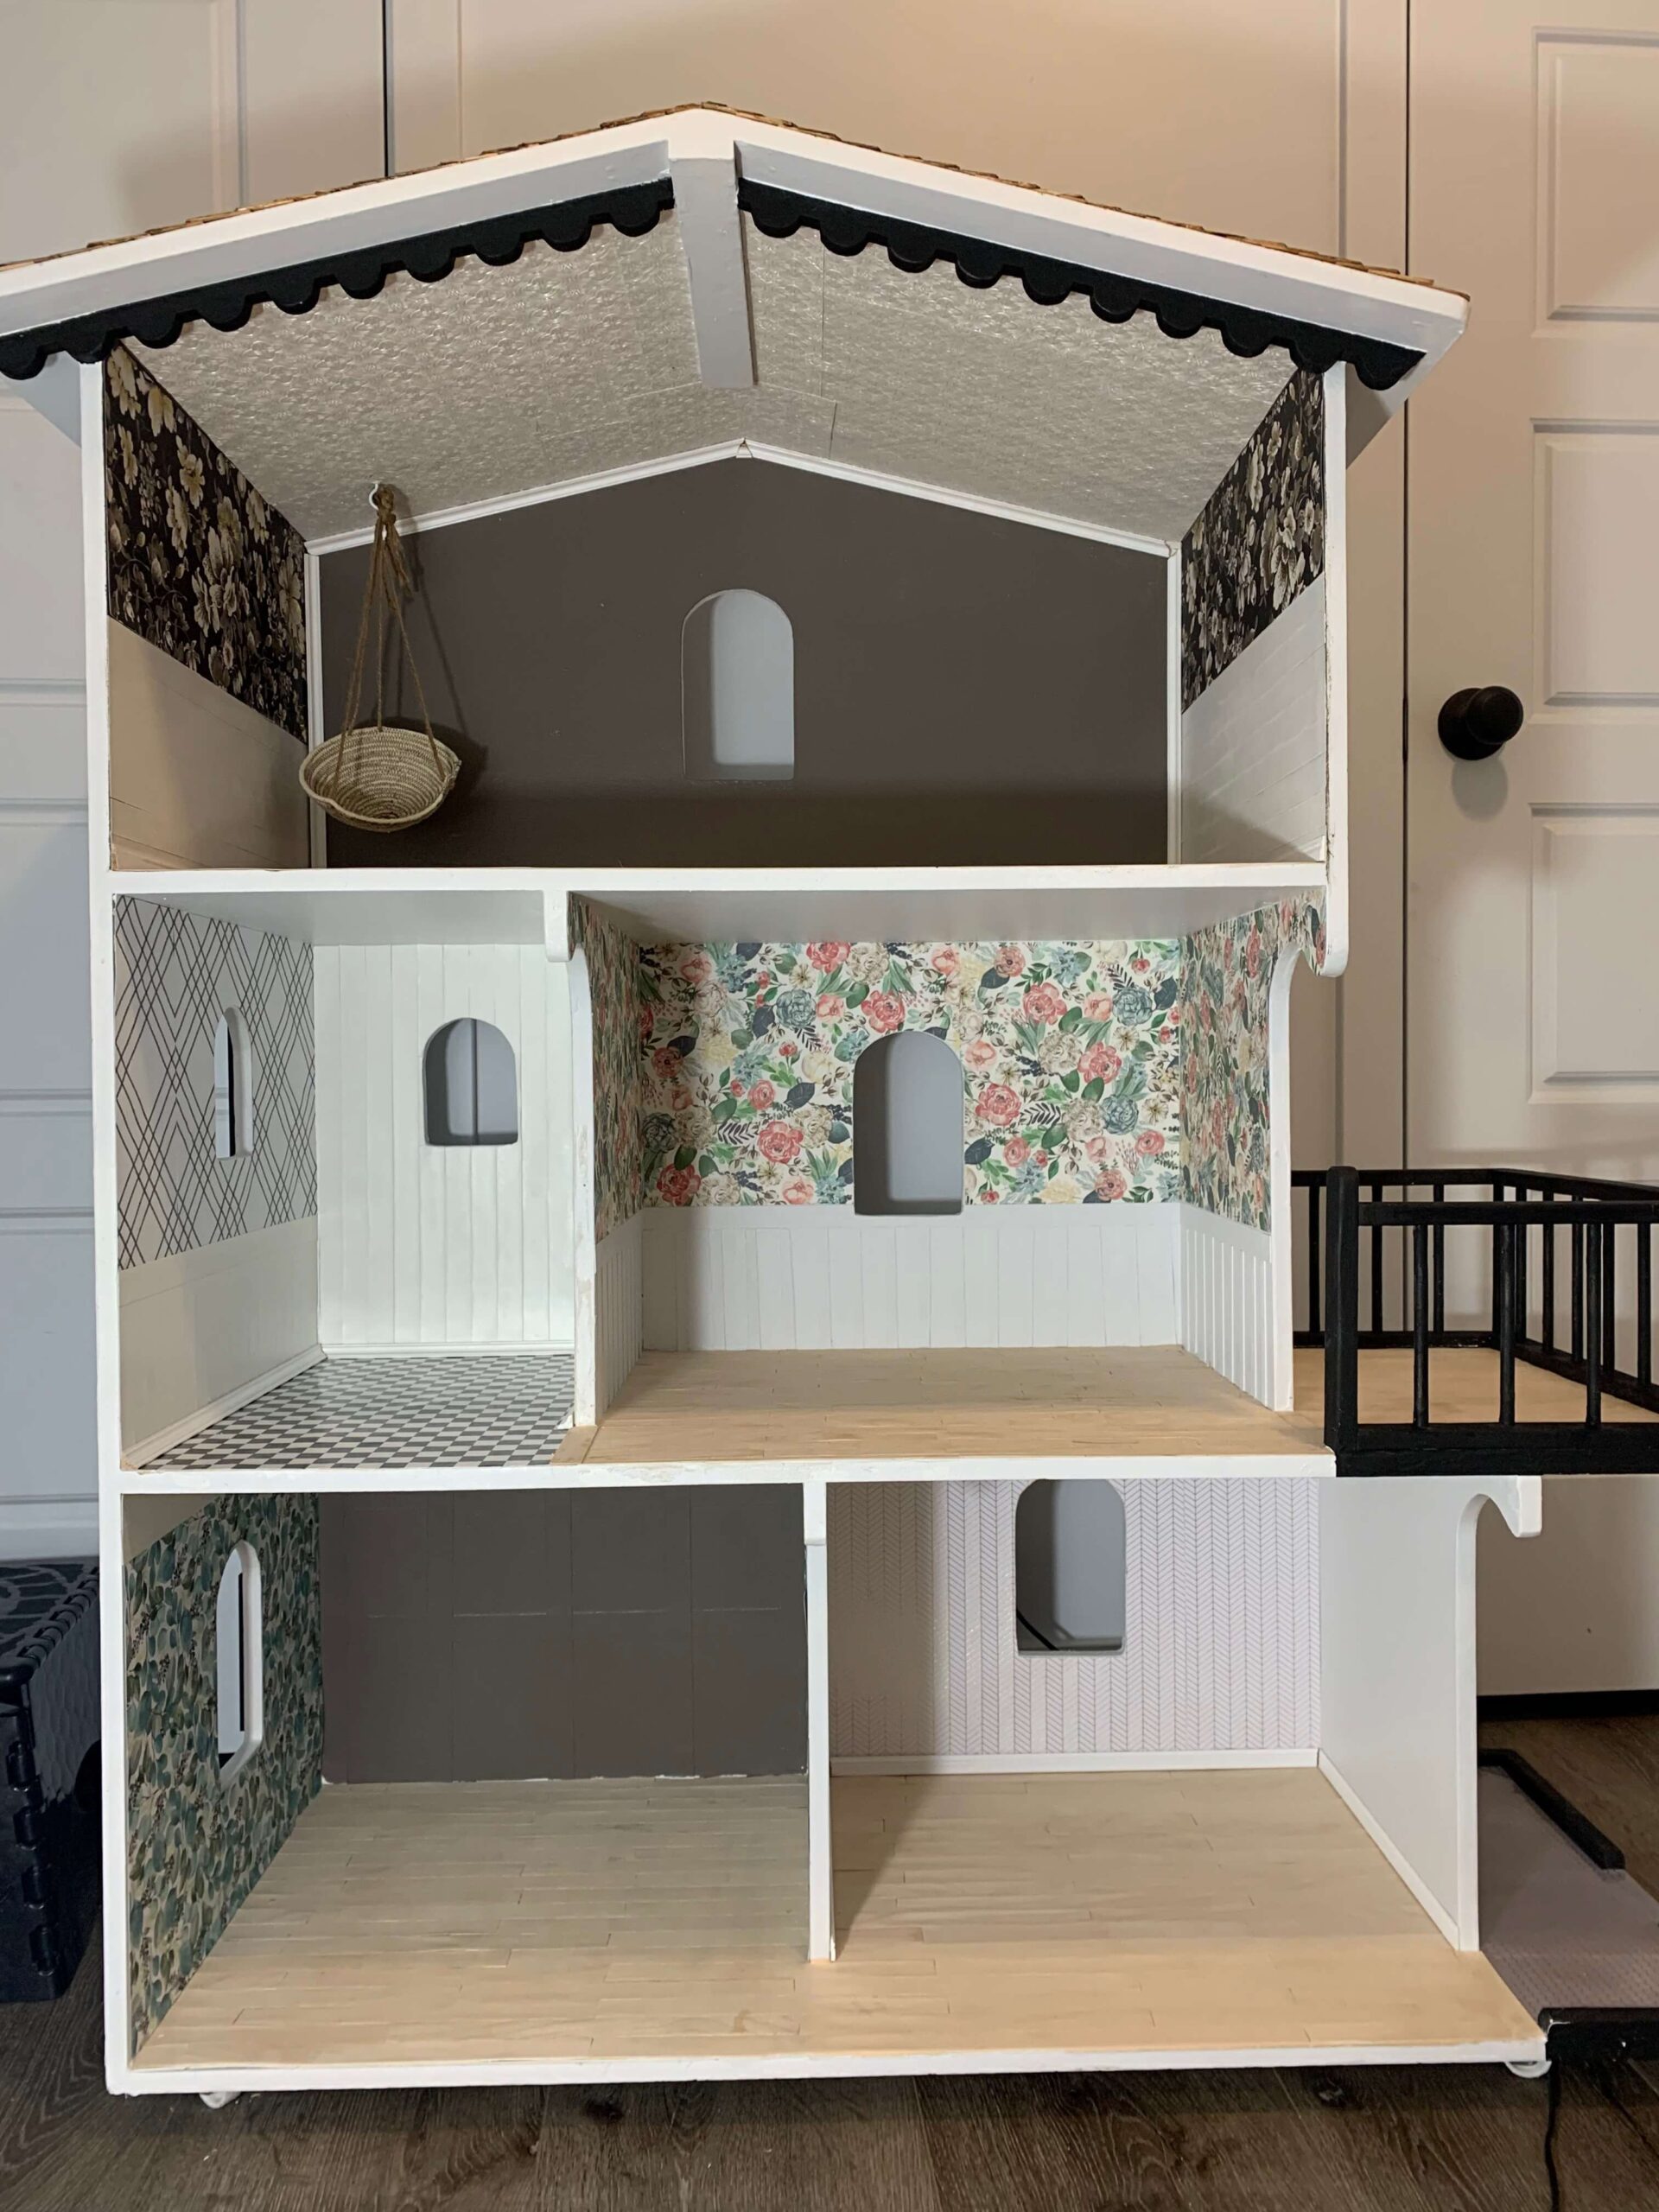
What is your favorite room??
Leave a comment below, I’d love to hear what you think!




Leave a Comment